


Welcome to Hank’s July 2024 Astrophotography Blog! The nights have been few to get out taking photos, but I’ve been busying myself with updates to my observatory software/hardware and calibrating the back focus for my focal reducer, learning a little about how our most skilled BHAS members process image data, and the NEW TELERSCOPE I got for my birthday. So let’s dive in….
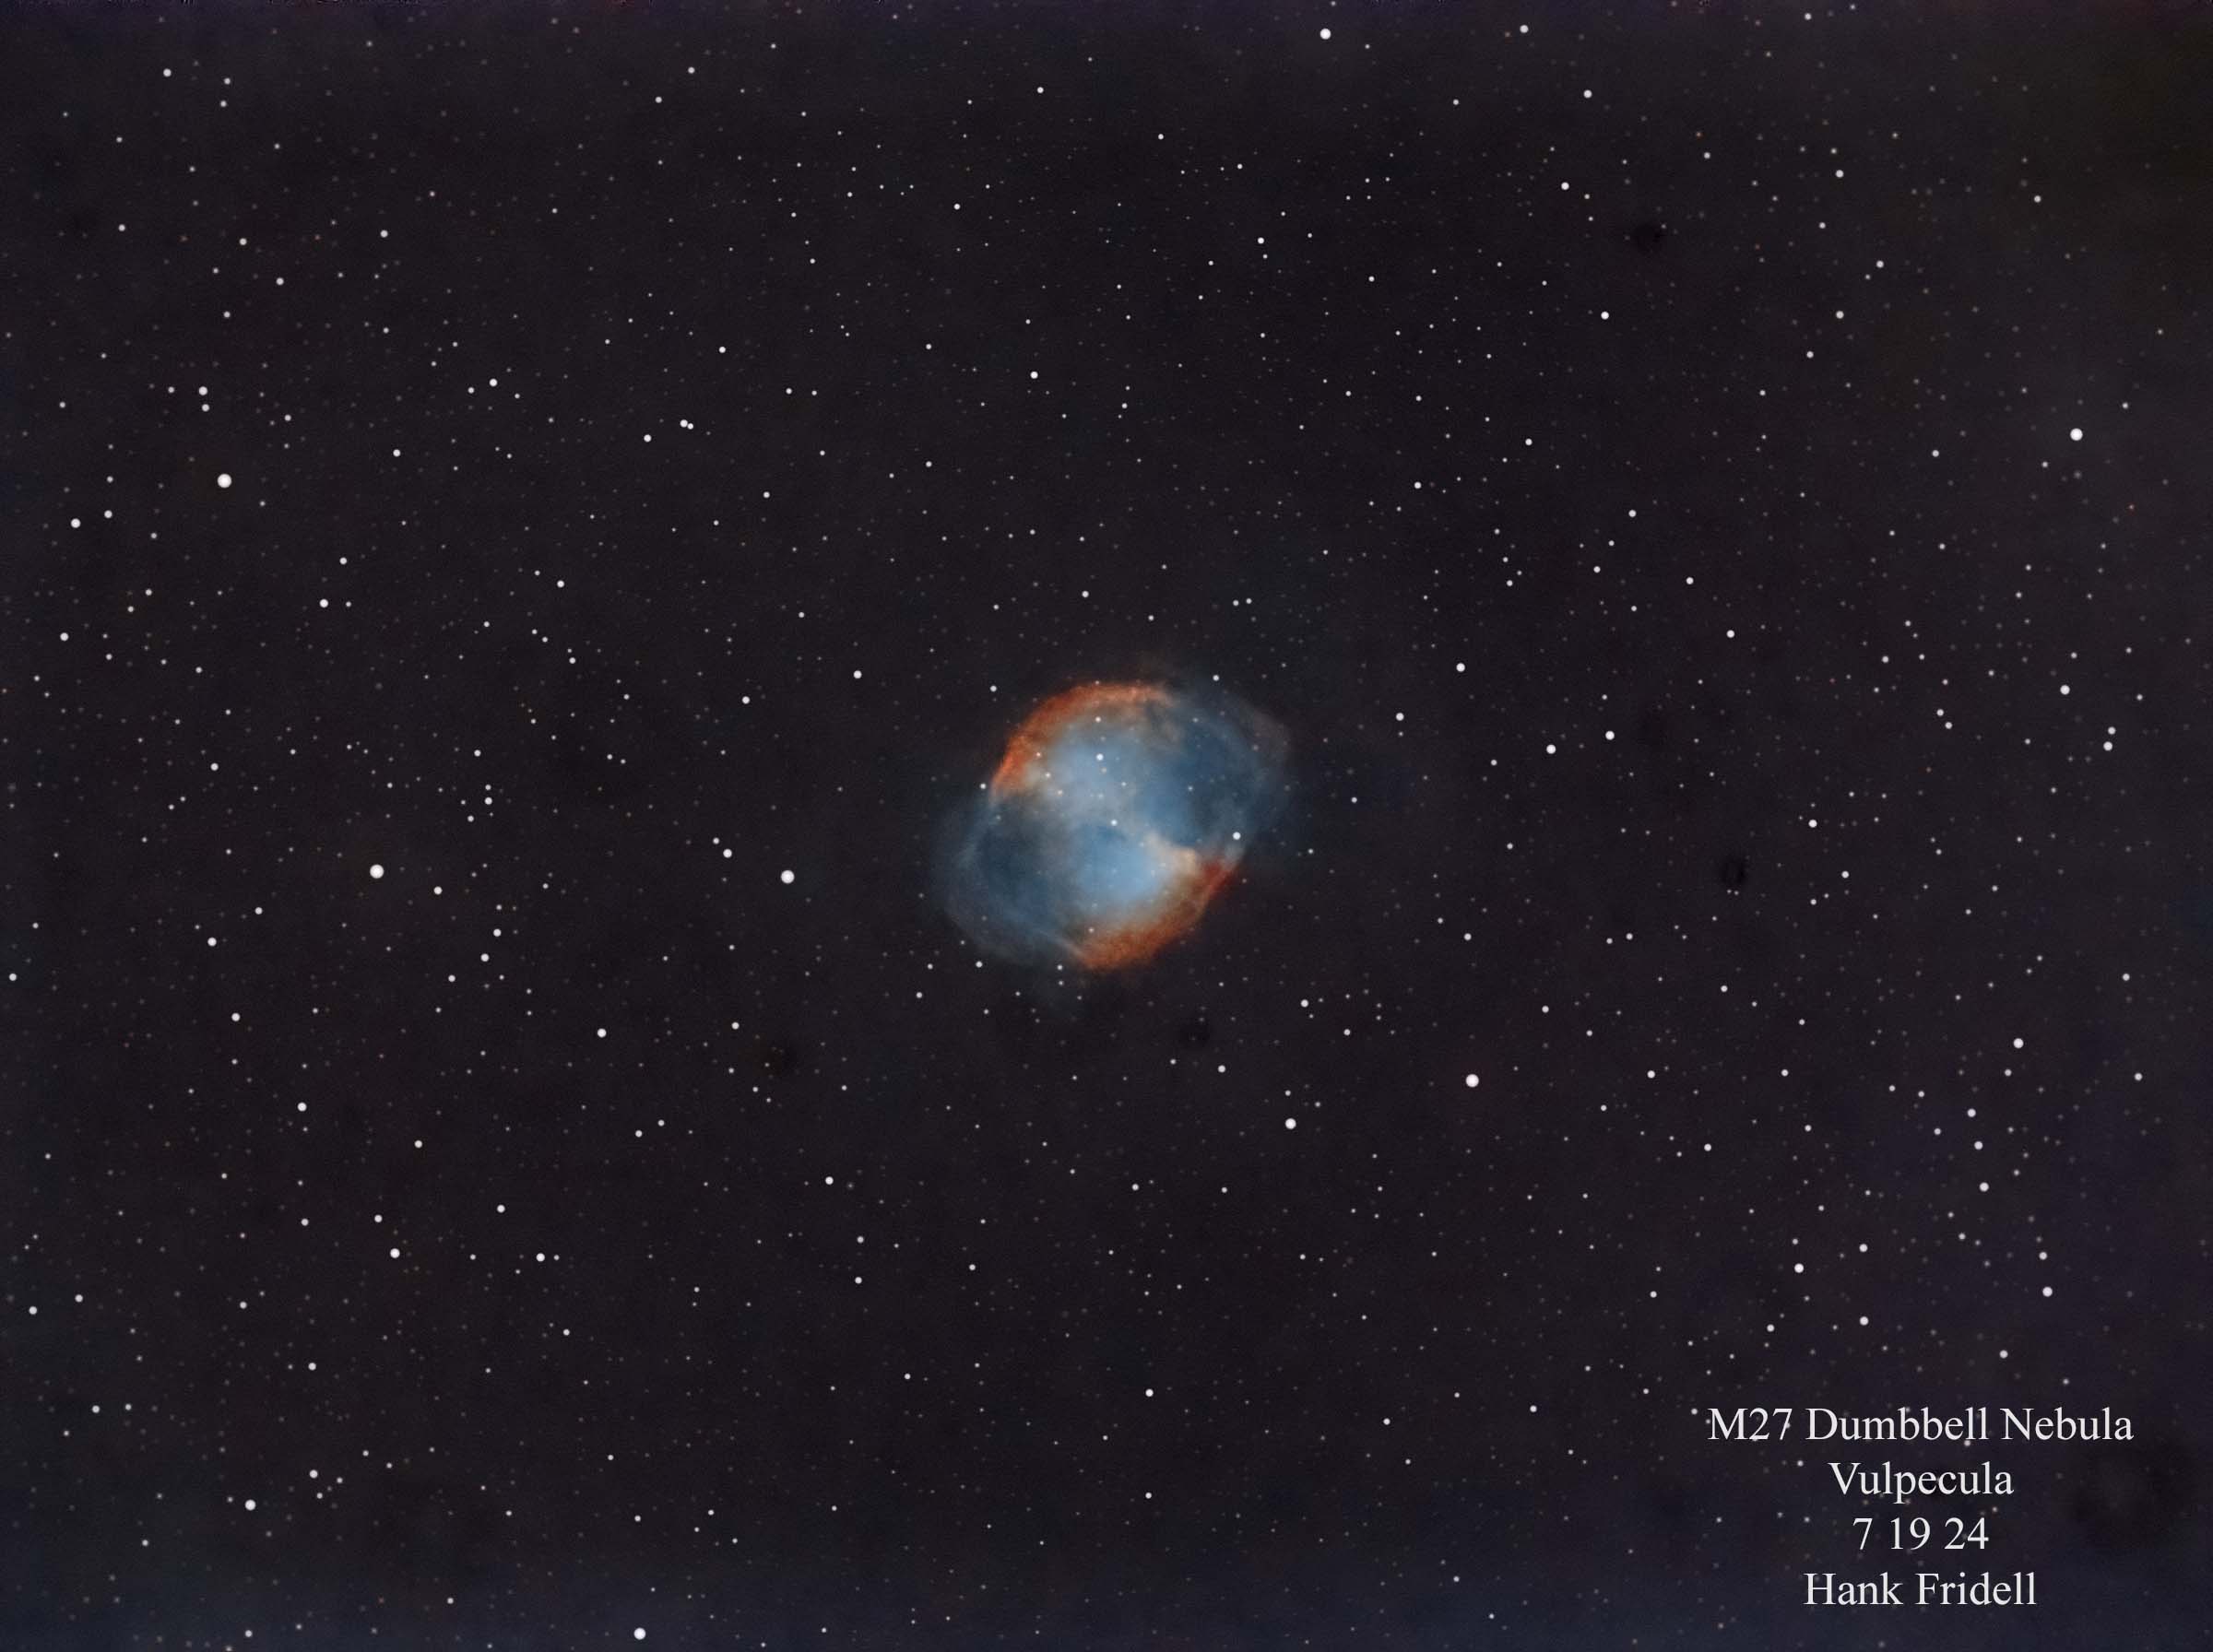
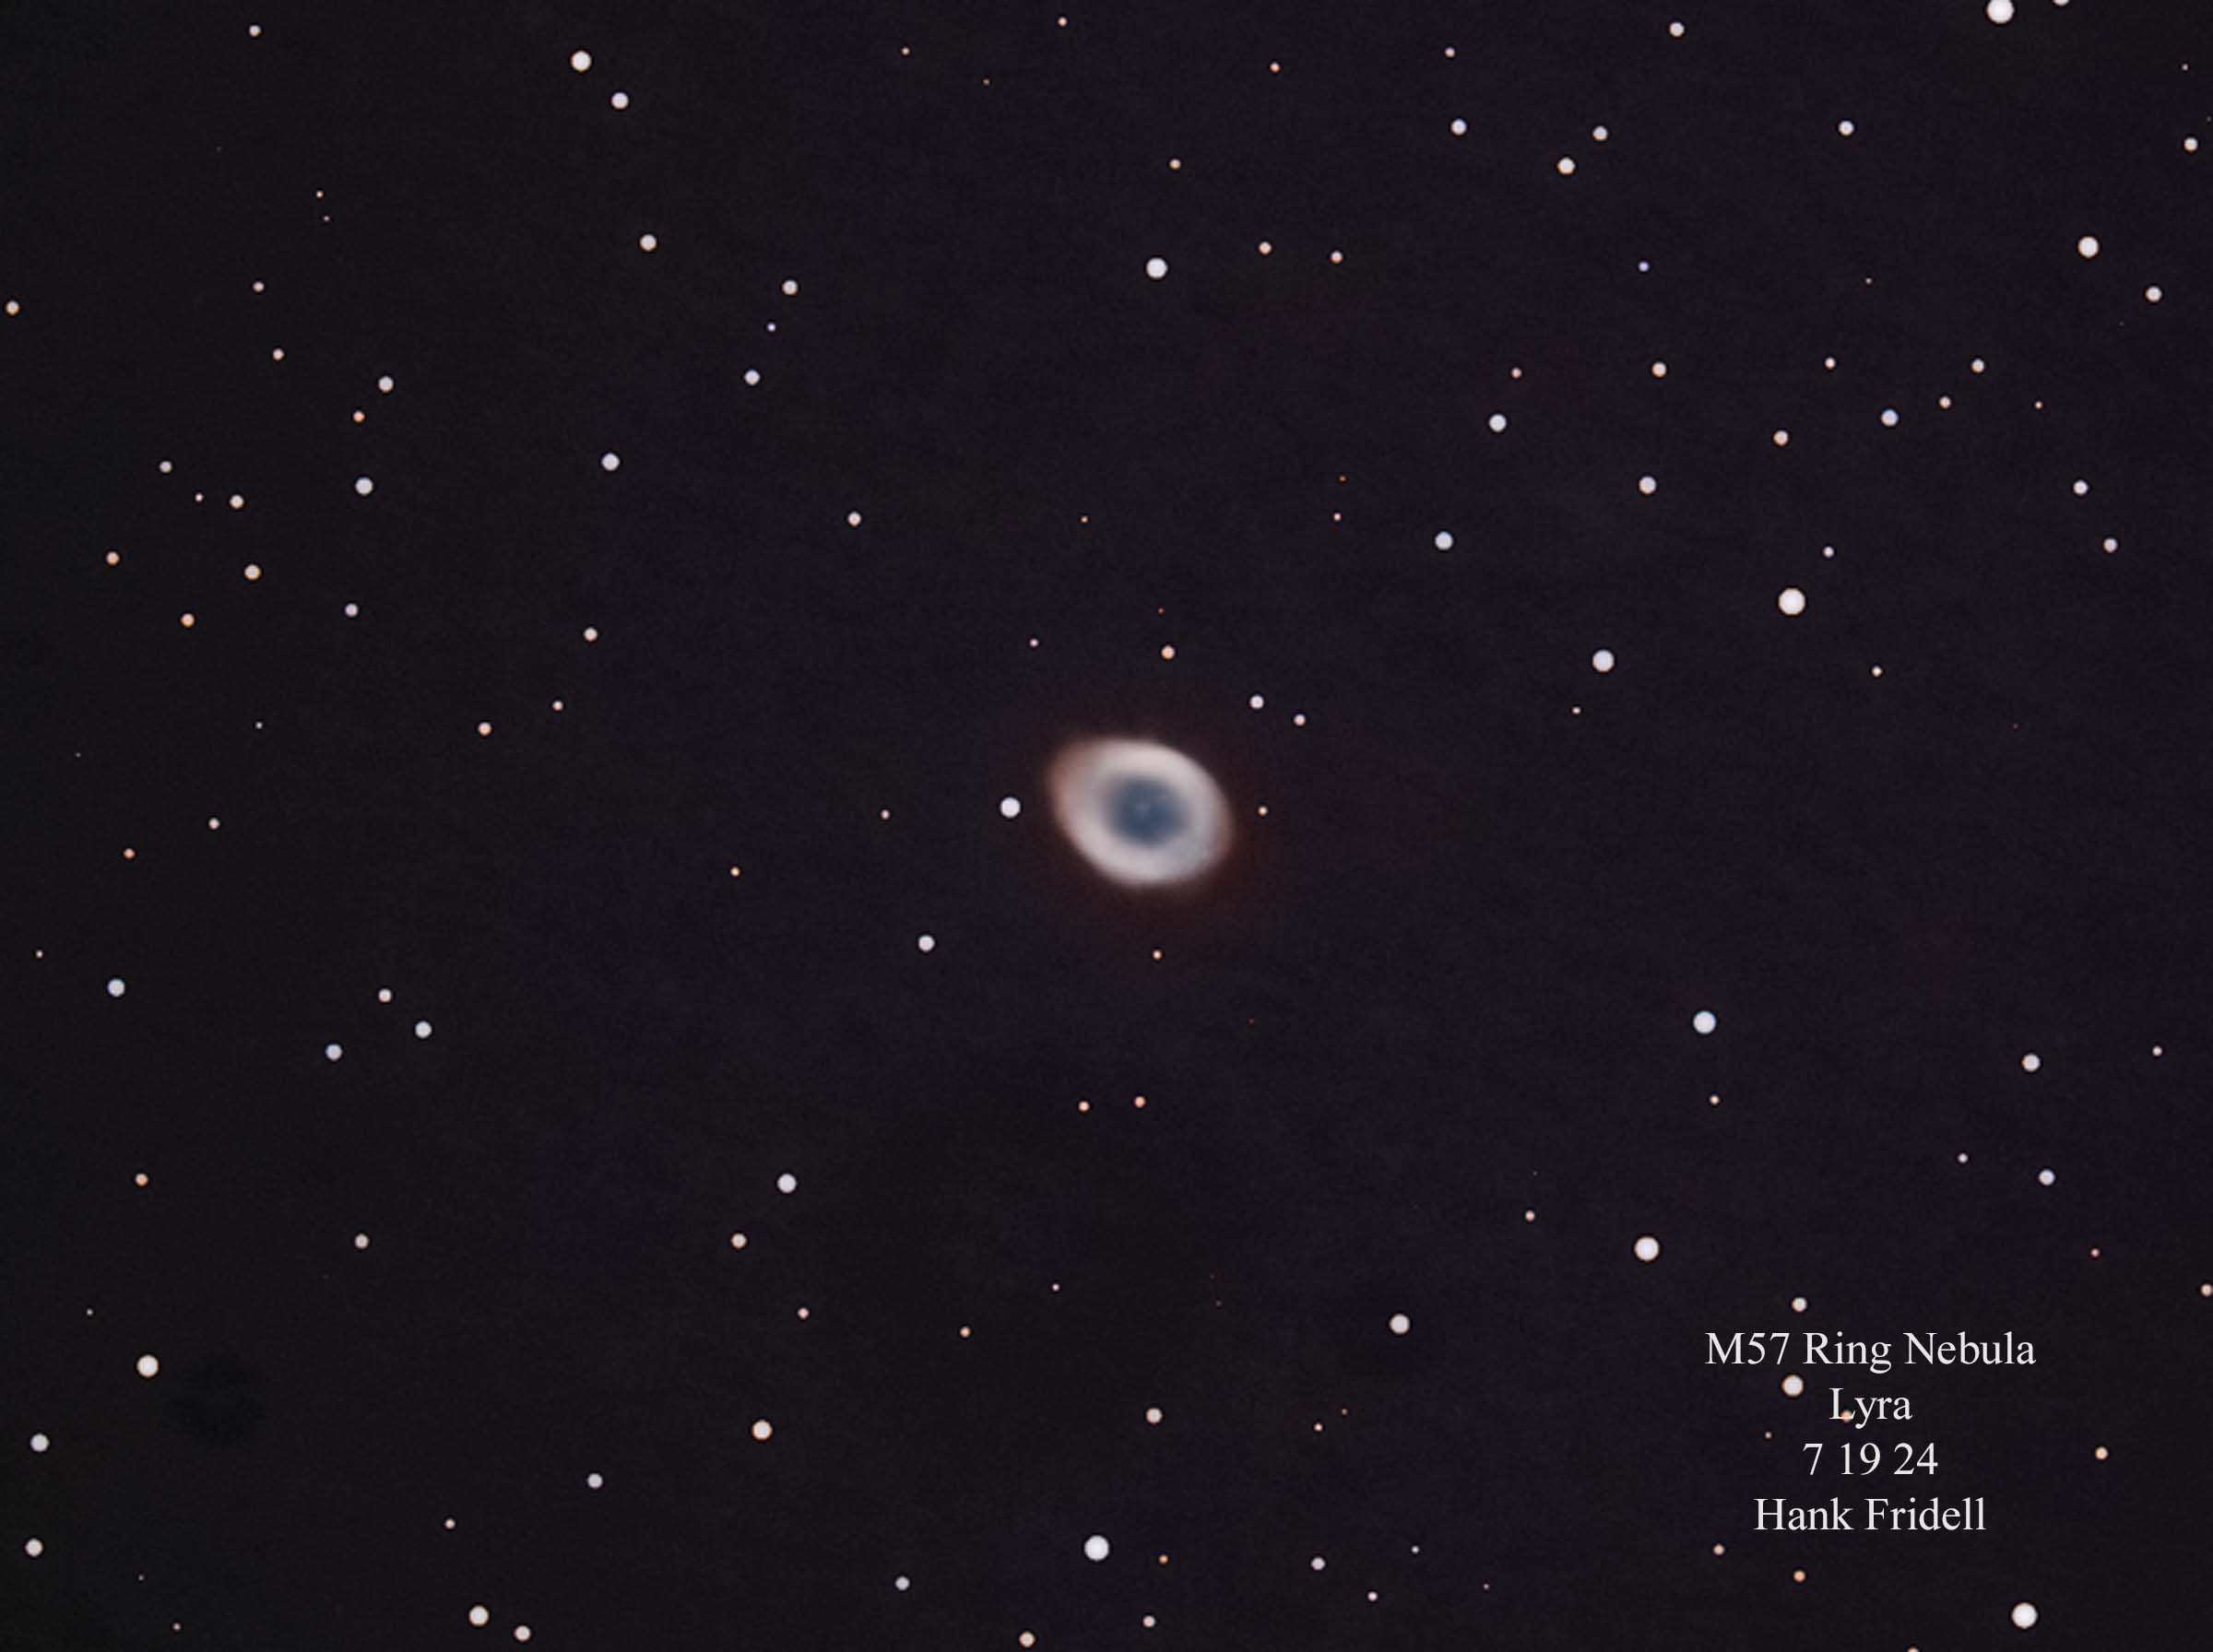
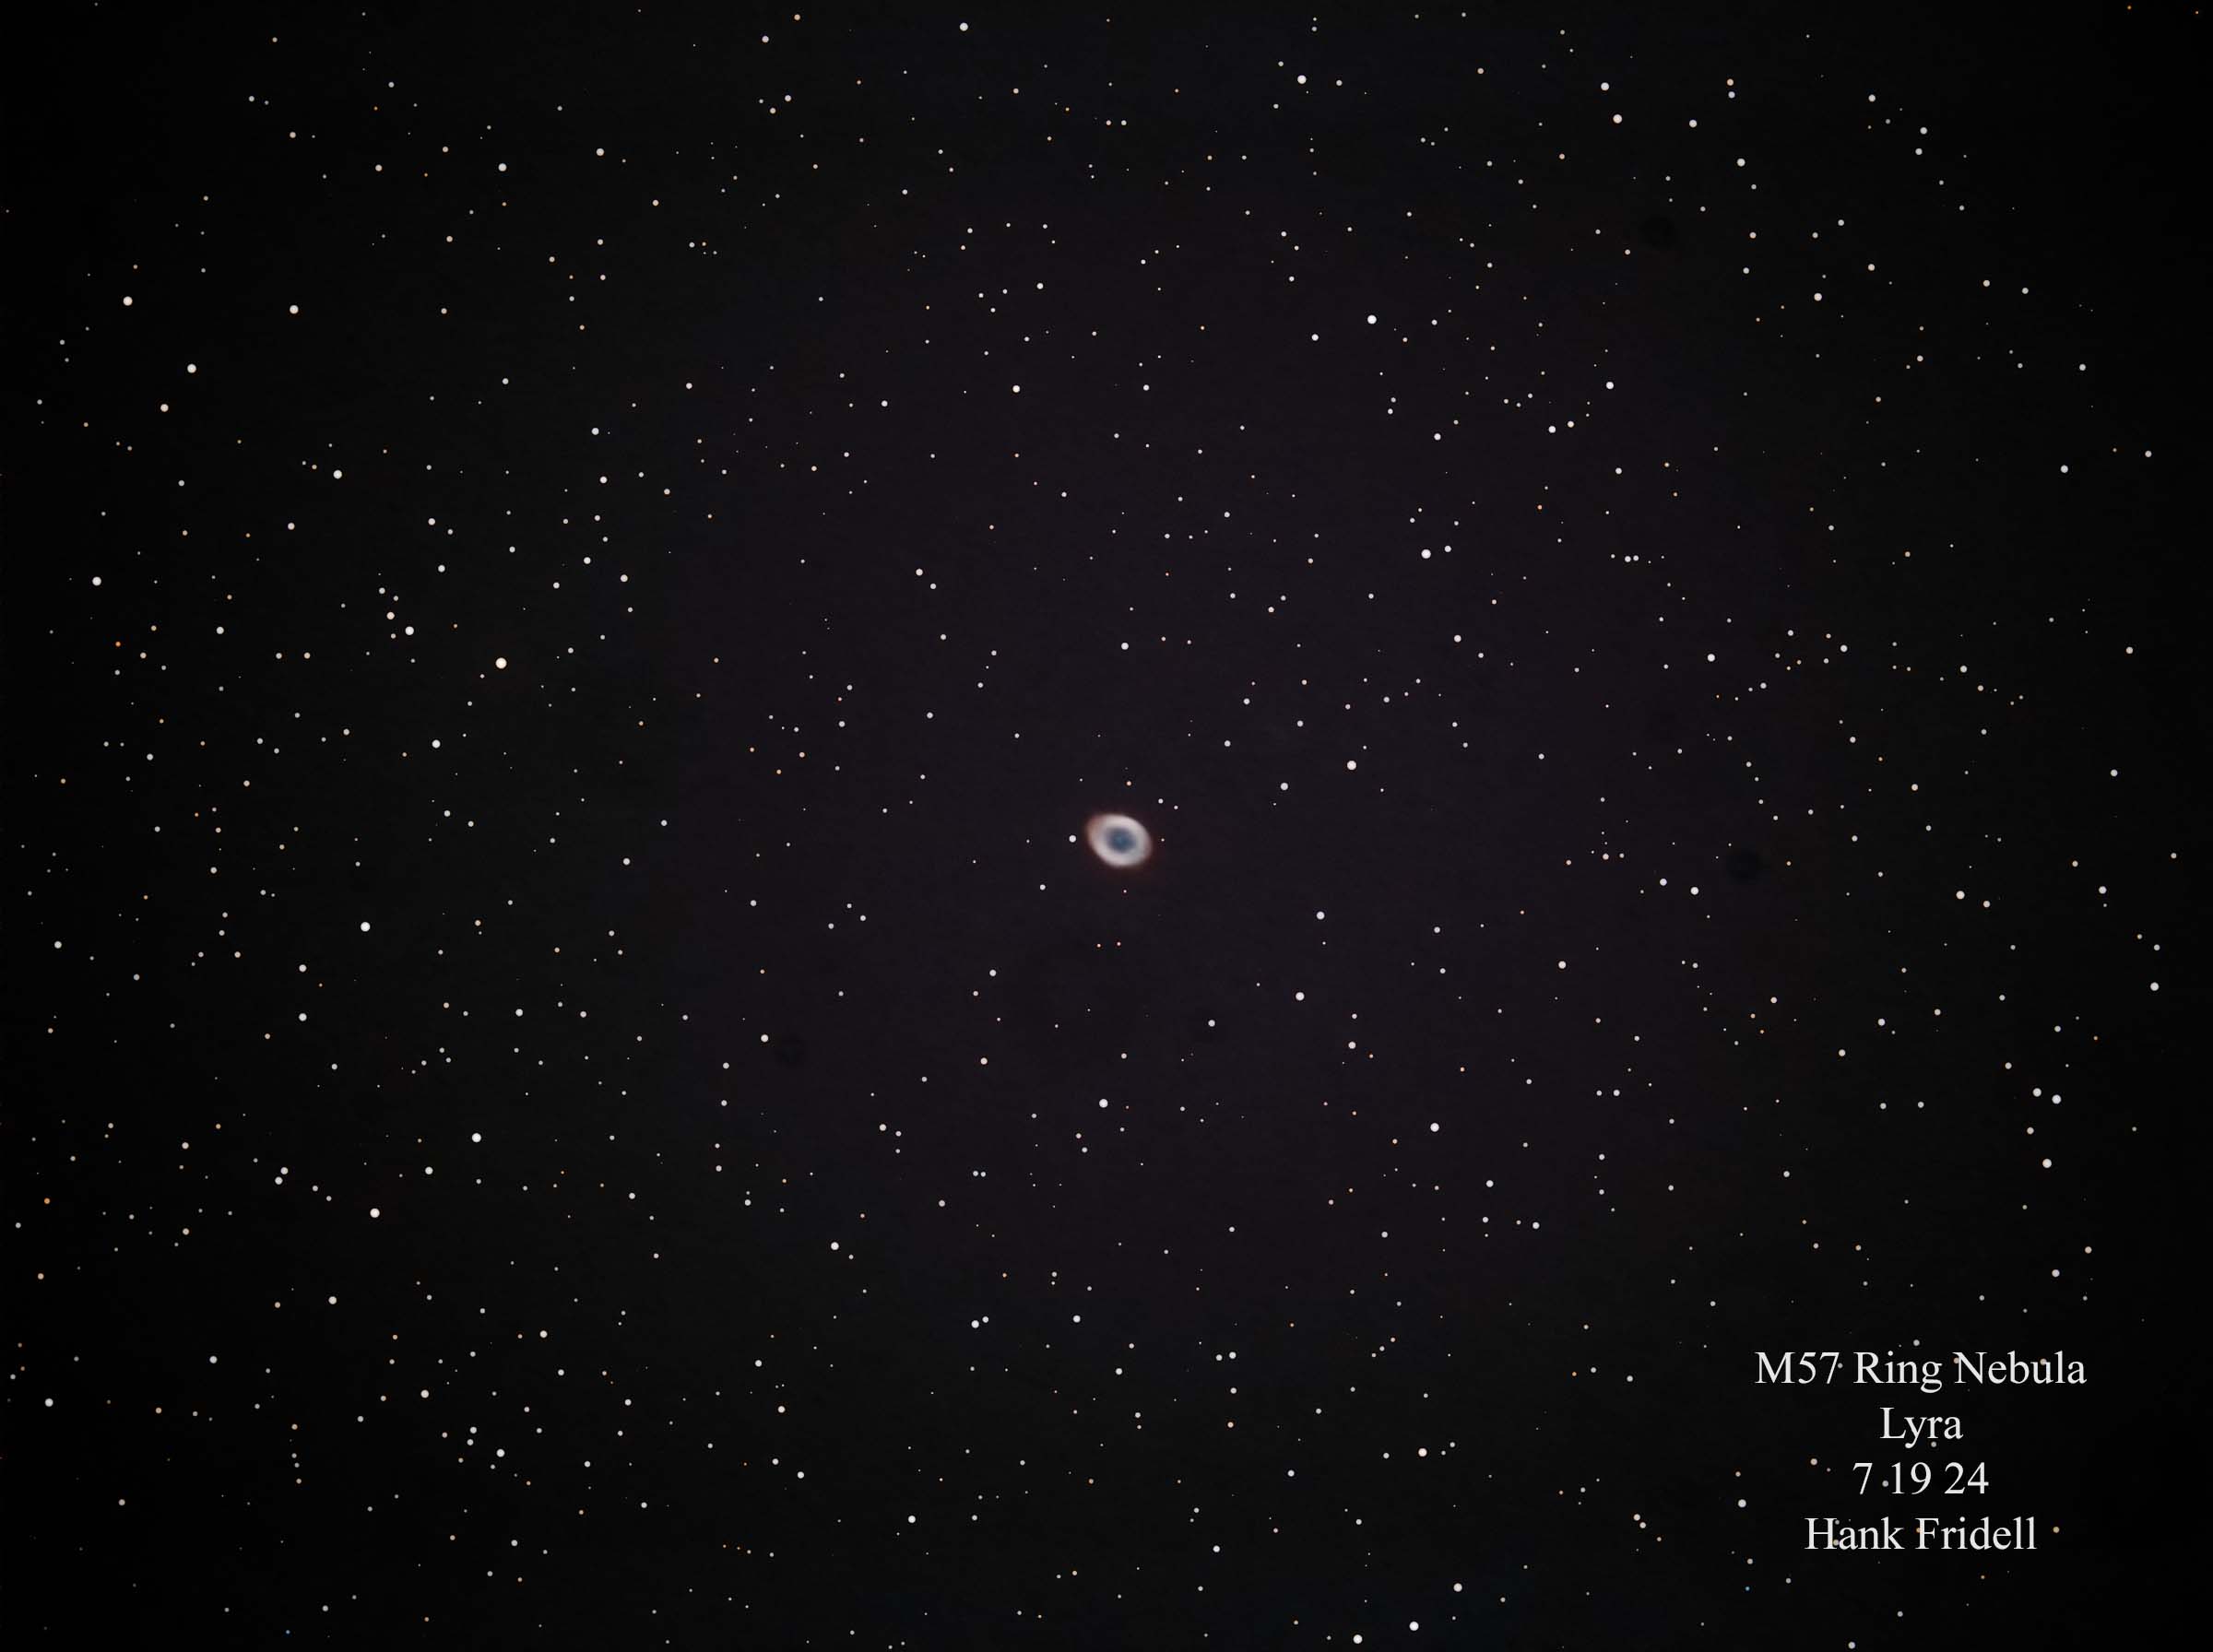
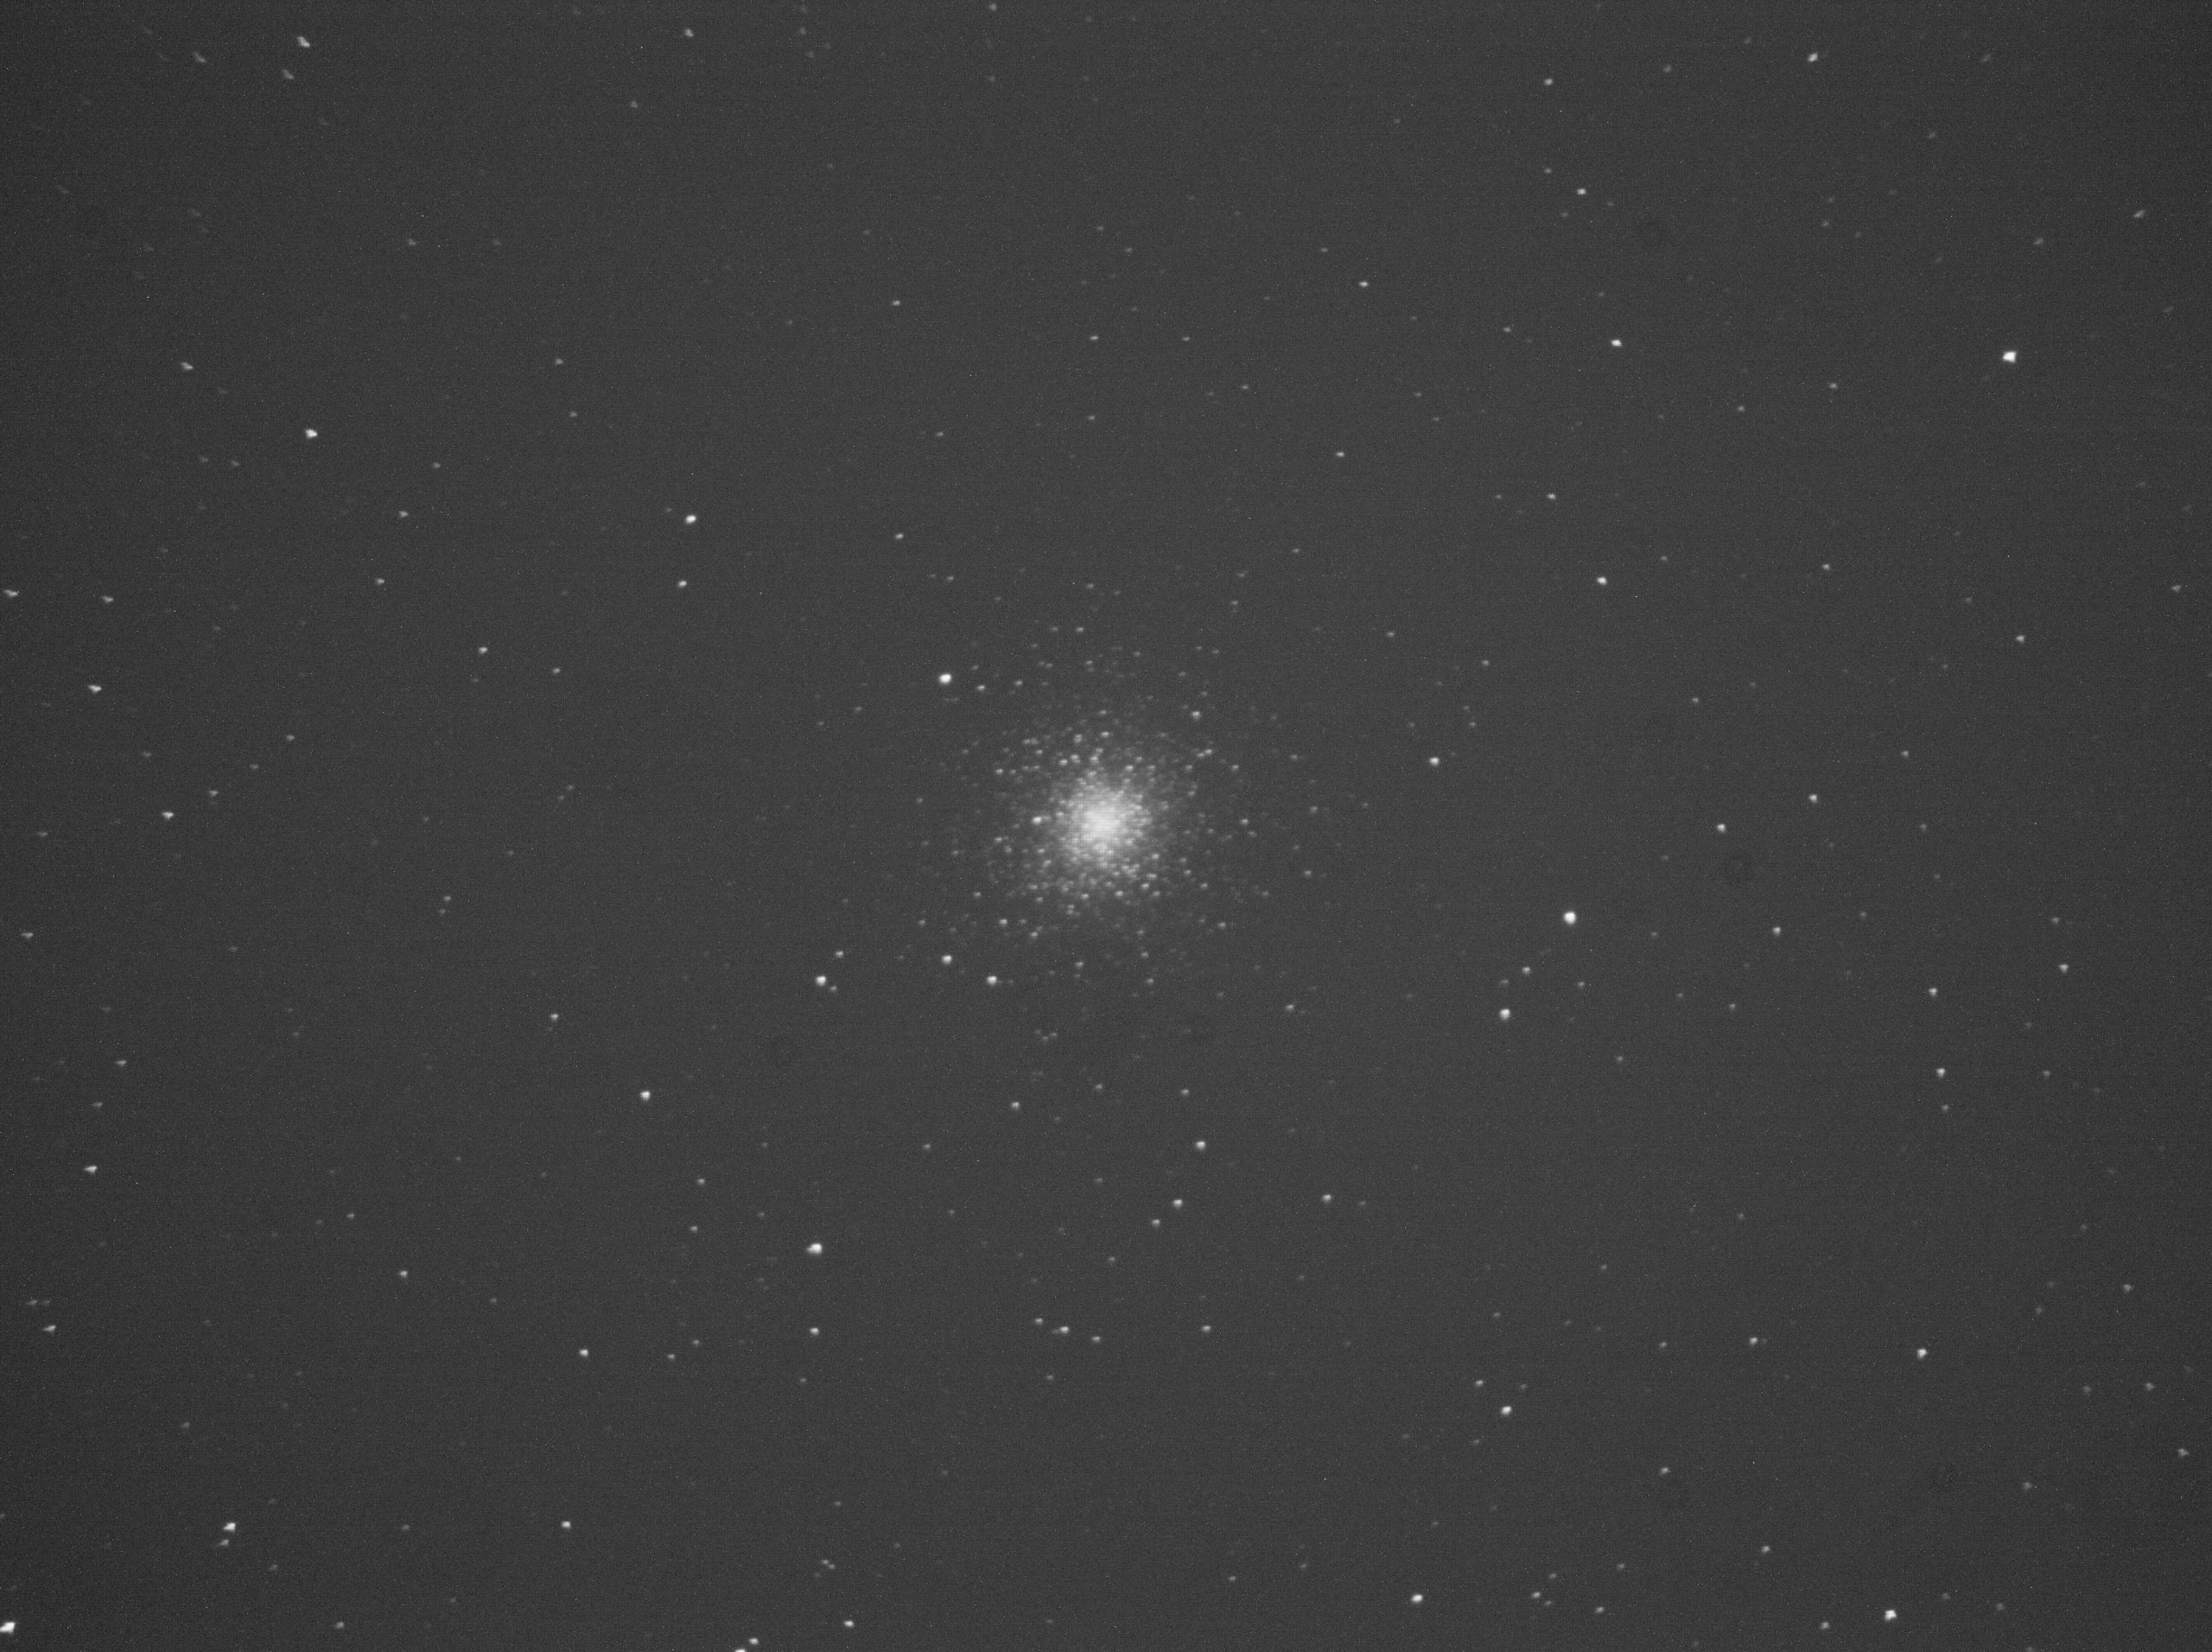
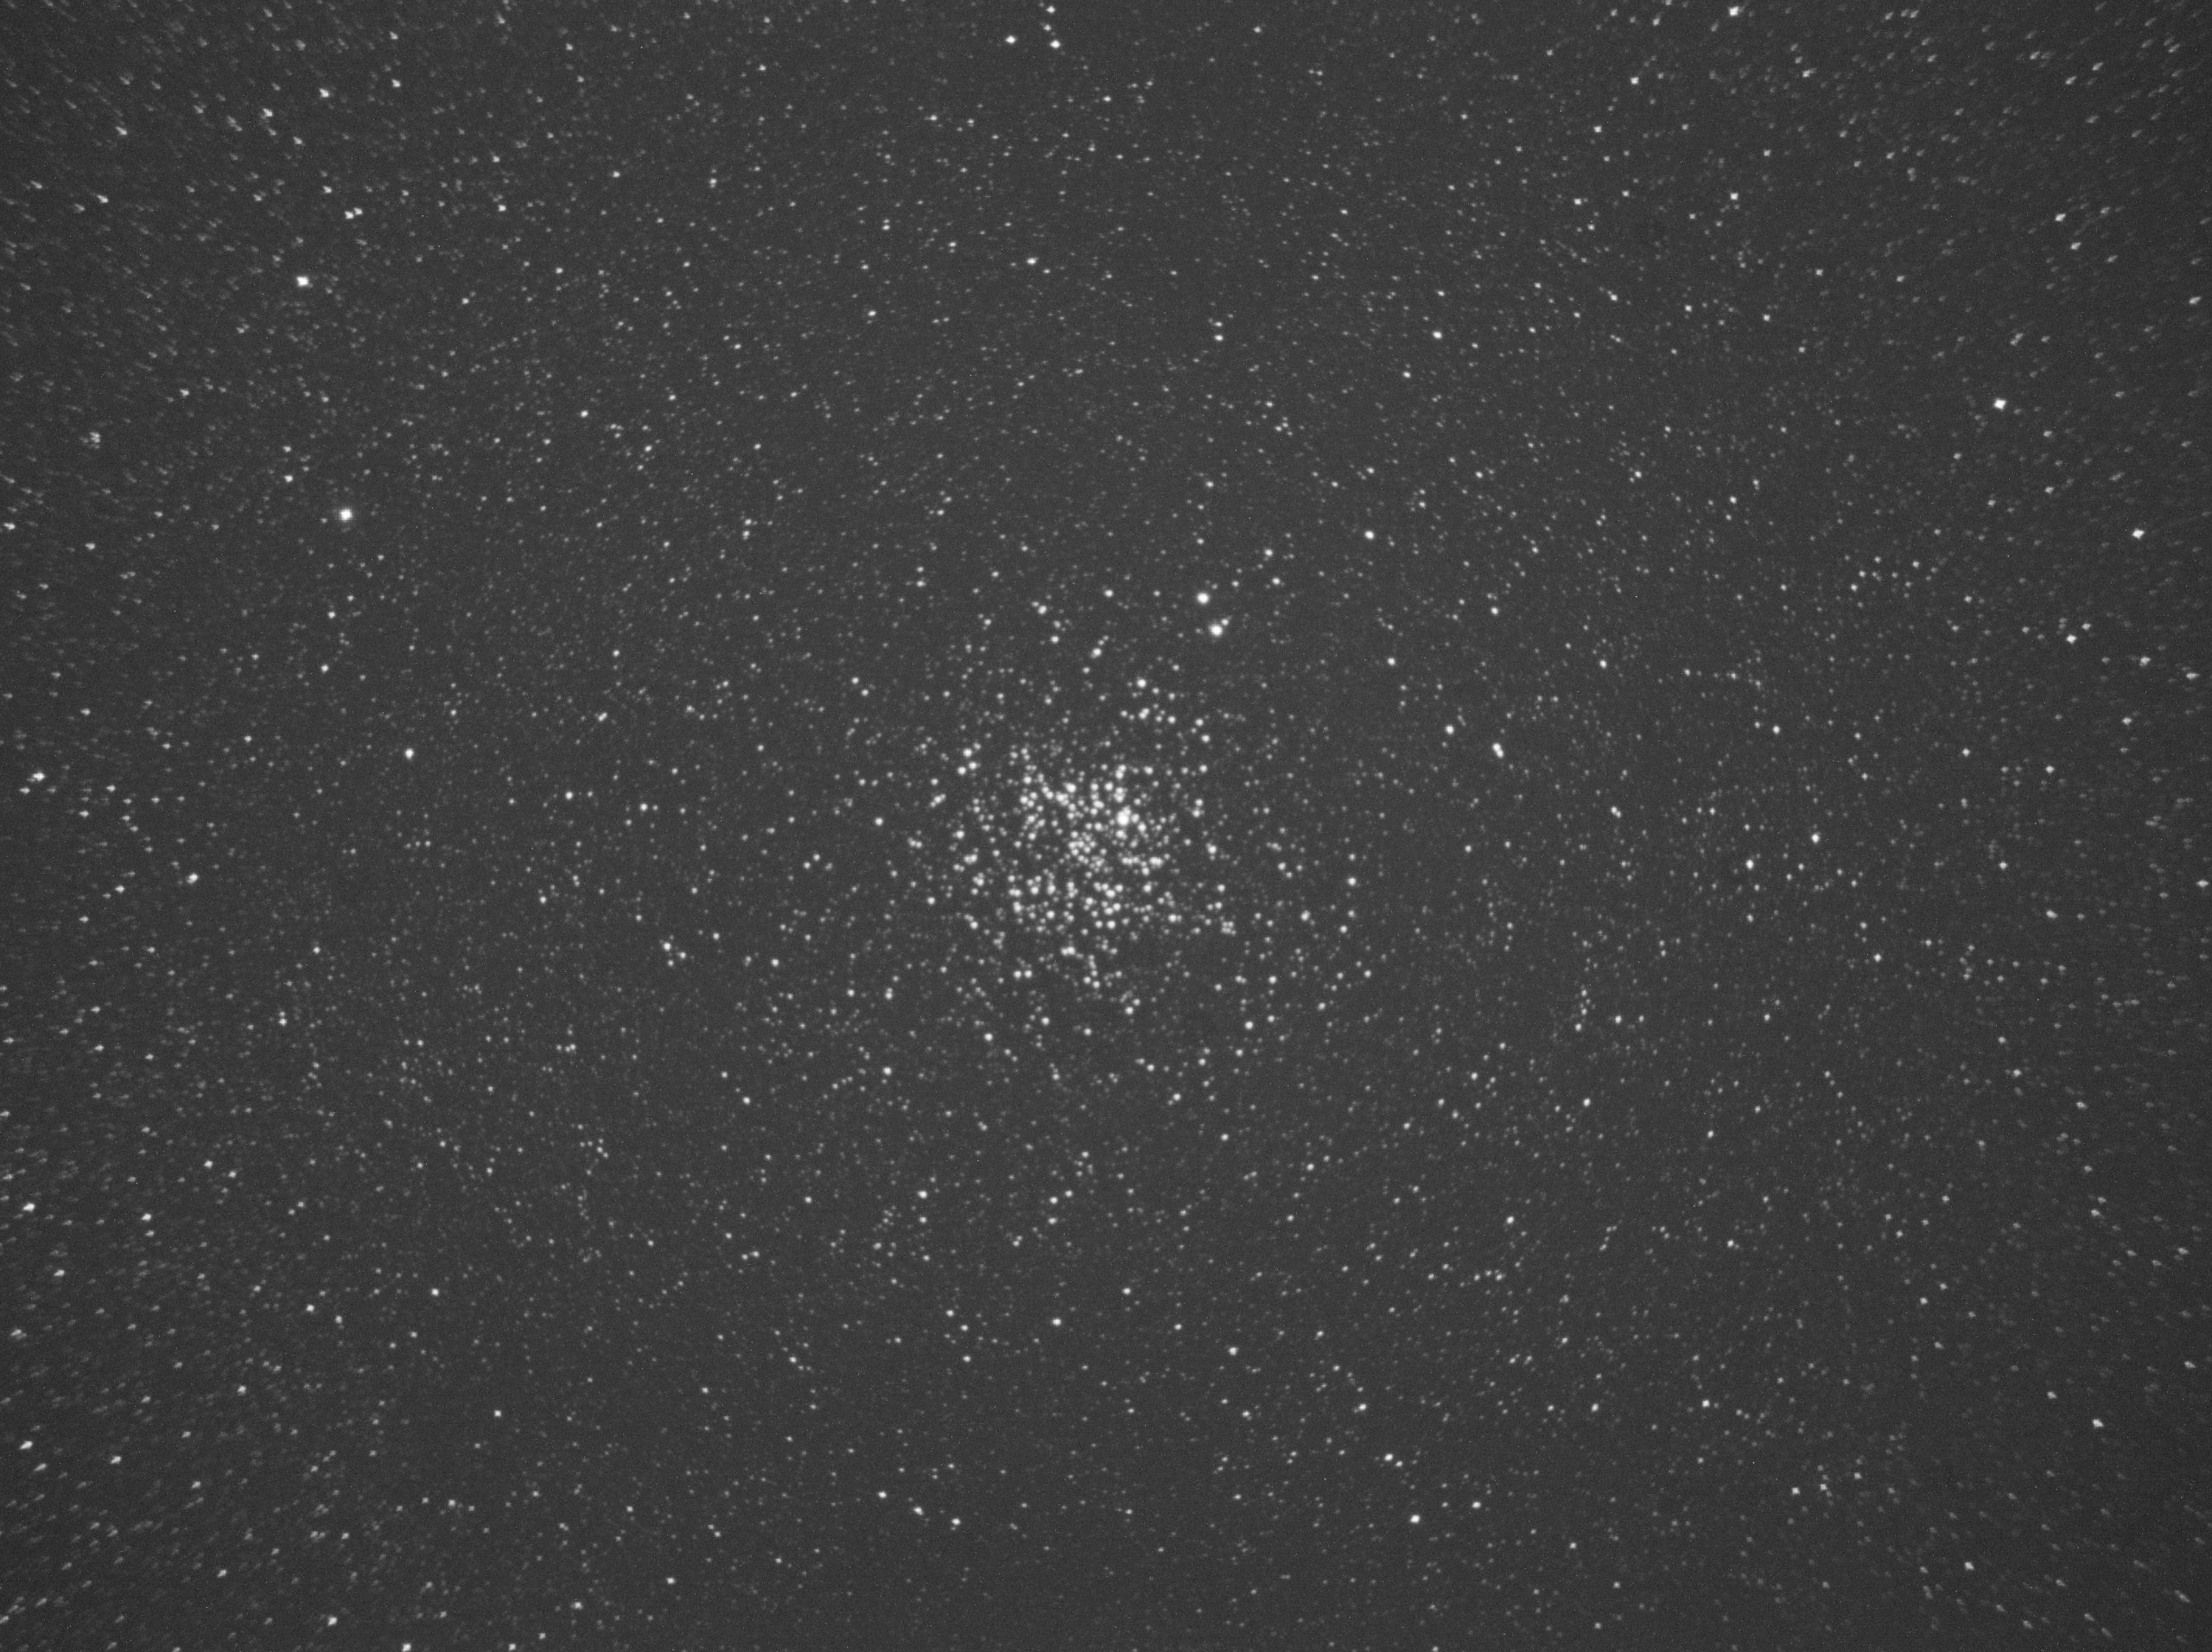
The Observatory: BHAS member Chris got me set up with a nifty add-on to my CCD Ciel software, that will automatically evaluate the focus of the telescope to determine if a refocus is needed, and if so, it instructs the software to do a refocus. This comes in handy when I set up the telescope to take images throughout the night unattended. It keeps the telescope on its toes! Below are a couple of images that I took of M 27 and M57 (and a couple of zoomed in photos to get a closer look) to test out how well my automatic sequence of going to an object, focusing, doing a capture of a specific length of time, with a designated exposure and gain settings, monitoring the focus and making adjustments, then going to the next object and do it all over again and again, until it gets to the end when it automatically parks the telescope and waits for me to go outside and put the roof back on the observatory and turn everything off. It worked!

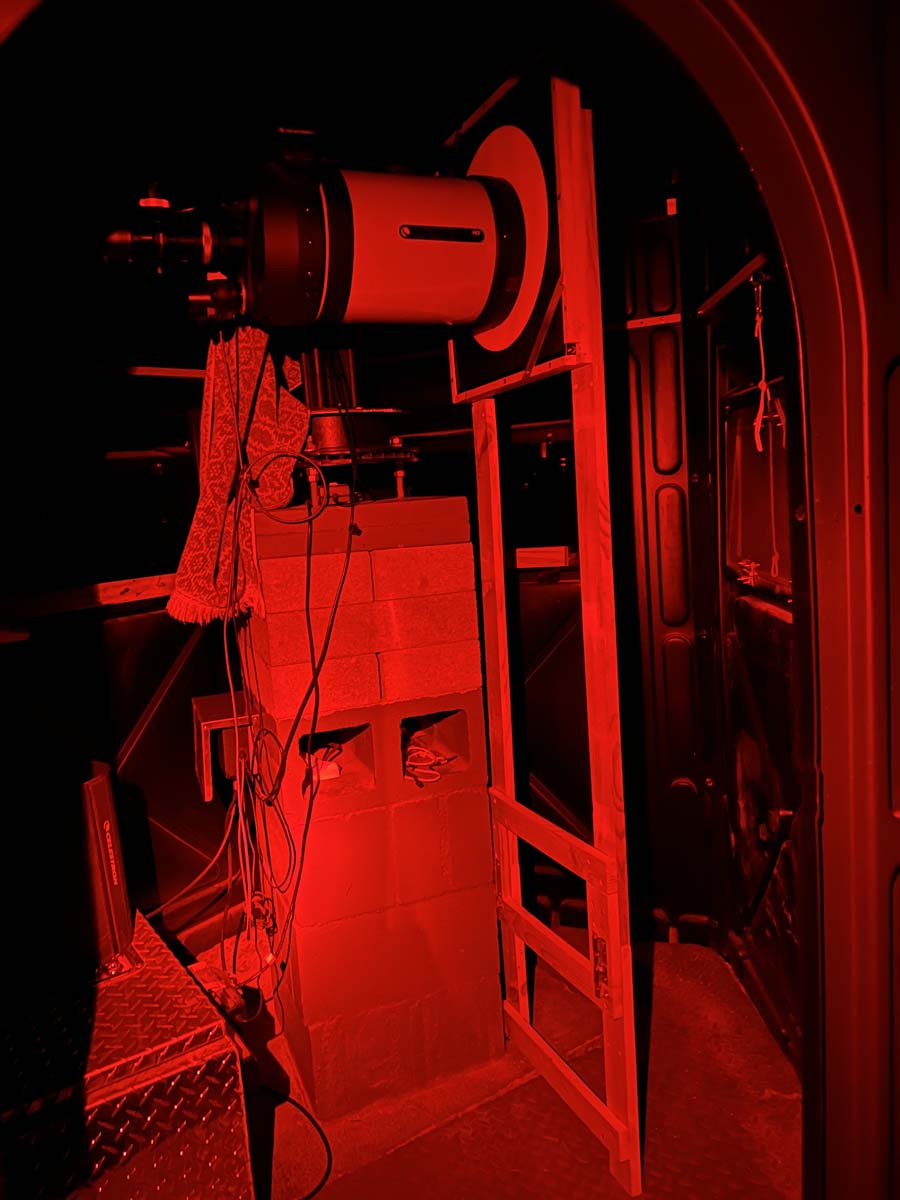
I also decided to build a stand to hold up my light panel, to make it easier to do this chore after taking images. The light panel helps me take Flats, which are images of all the dust bunnies, and imperfections in my image train. Those little specks on the mirror and lenses add “donuts” to the finished photos. To counteract this, I take a photo of the donuts and other imperfections, and the software subtracts those artifacts during post processing. I’ve had a chance to use the stand once. Here’s a photo I took of it in action. The telescope is in its Parked position, and I slide the stand holding the light frame up to it, adjust the light level, and the computer in the house takes the Flat frames. Not sure if any of that makes sense (I know it takes a while to get my head around this astronomy stuff!) but it works!
The other project has been trying to get the back focus (distance between the .63 Focal Reducer and camera sensor) right, so the edges of the image are as sharp as possible. The new focal reducer covers a wider field of view for my Celestron 8” SCT but if the back focus is not right, the stars around the edge of the photo look more like pieces of rice than nice round peas. They get stretched. The manufacturer said the back focus should be 105 mm. As with all things, it seems, I was getting too many stretched out stars at 105 mm, so I started to change the distance. To help me I used a short pair of tubes that can screw together, allowing me to be pretty precise in changing the distance. Precise enough, that it would take two turns of the tubes screwing in/out to move the focus 1 mm. So, one quarter turn would equal 1/8th of a mm. That’s tiny! So I started out at 104 mm and went all the way up to 110 mm in distance, 1 mm at a time, and took a picture of a field of stars at the same location in the sky and compared them. It turned out that 108 mm was almost good, but not perfect. So I did quarter turns from 108 mm and found that the best focus was at 107.75 mm. It took me several nights to do all that, and all I can say is I’m glad that’s over. It’s not perfect, but it’s close enough for me! The photos I took above of M27 and M57 show how “tight” and round my stars are.
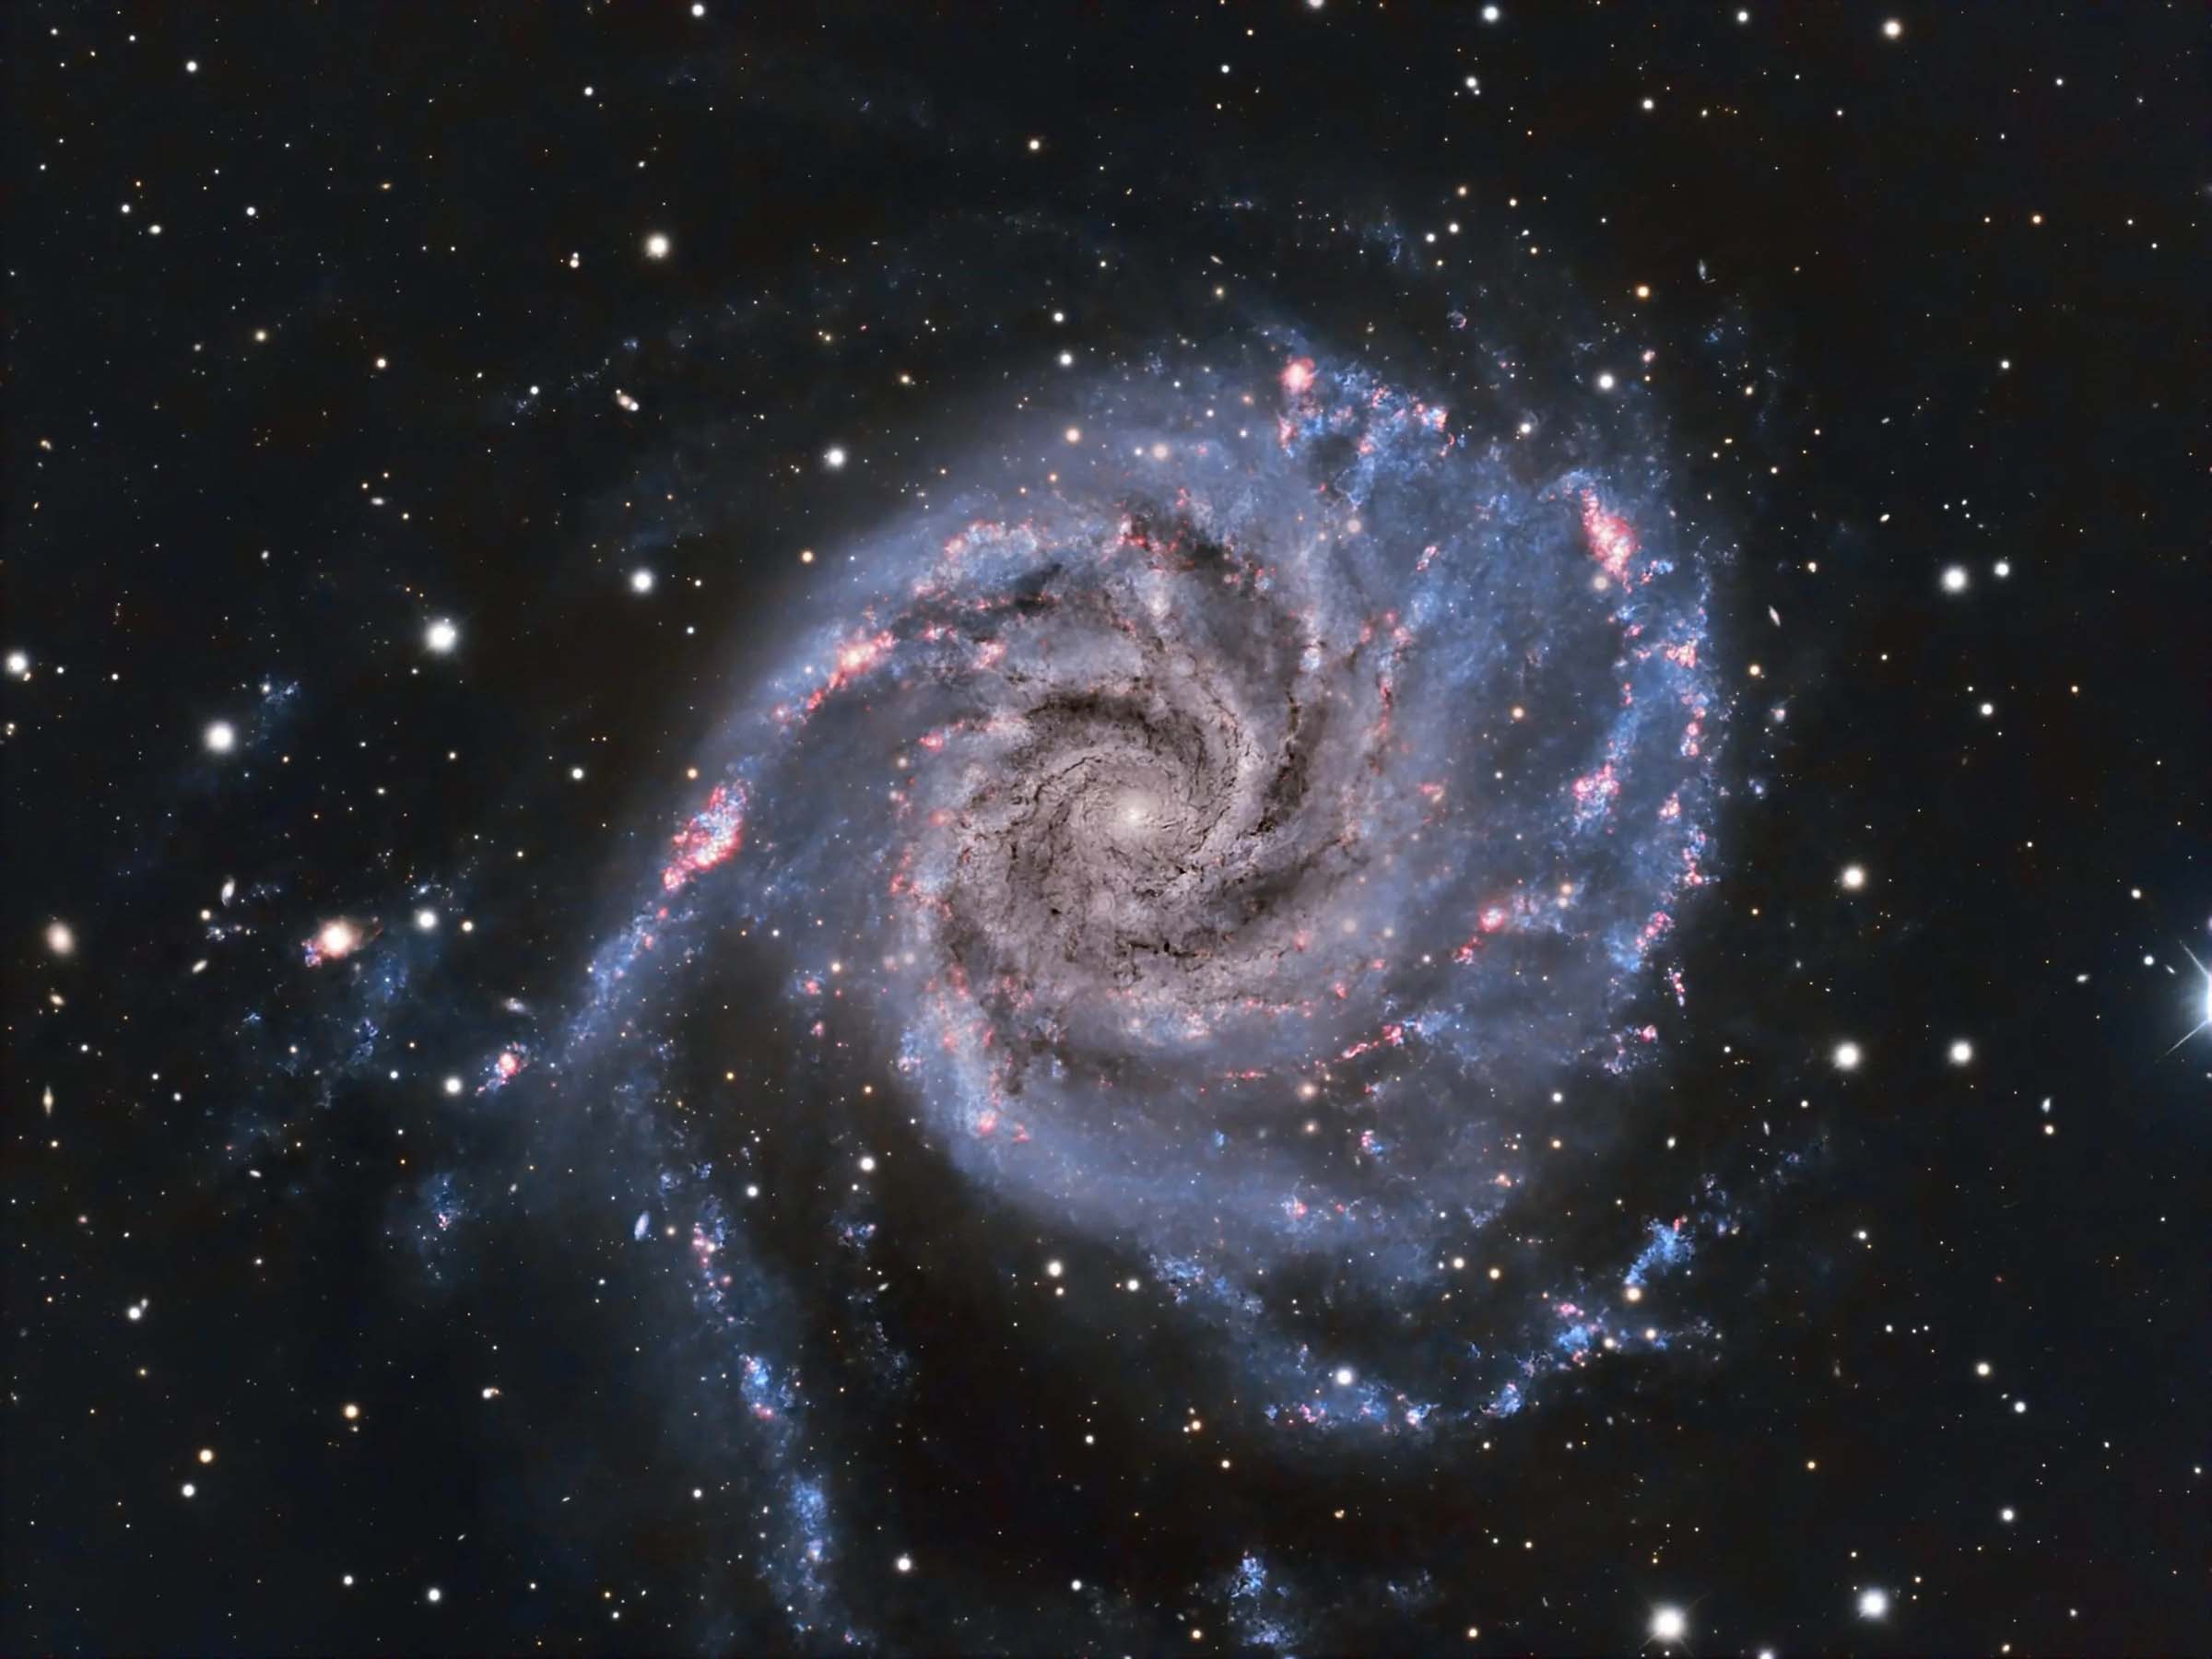
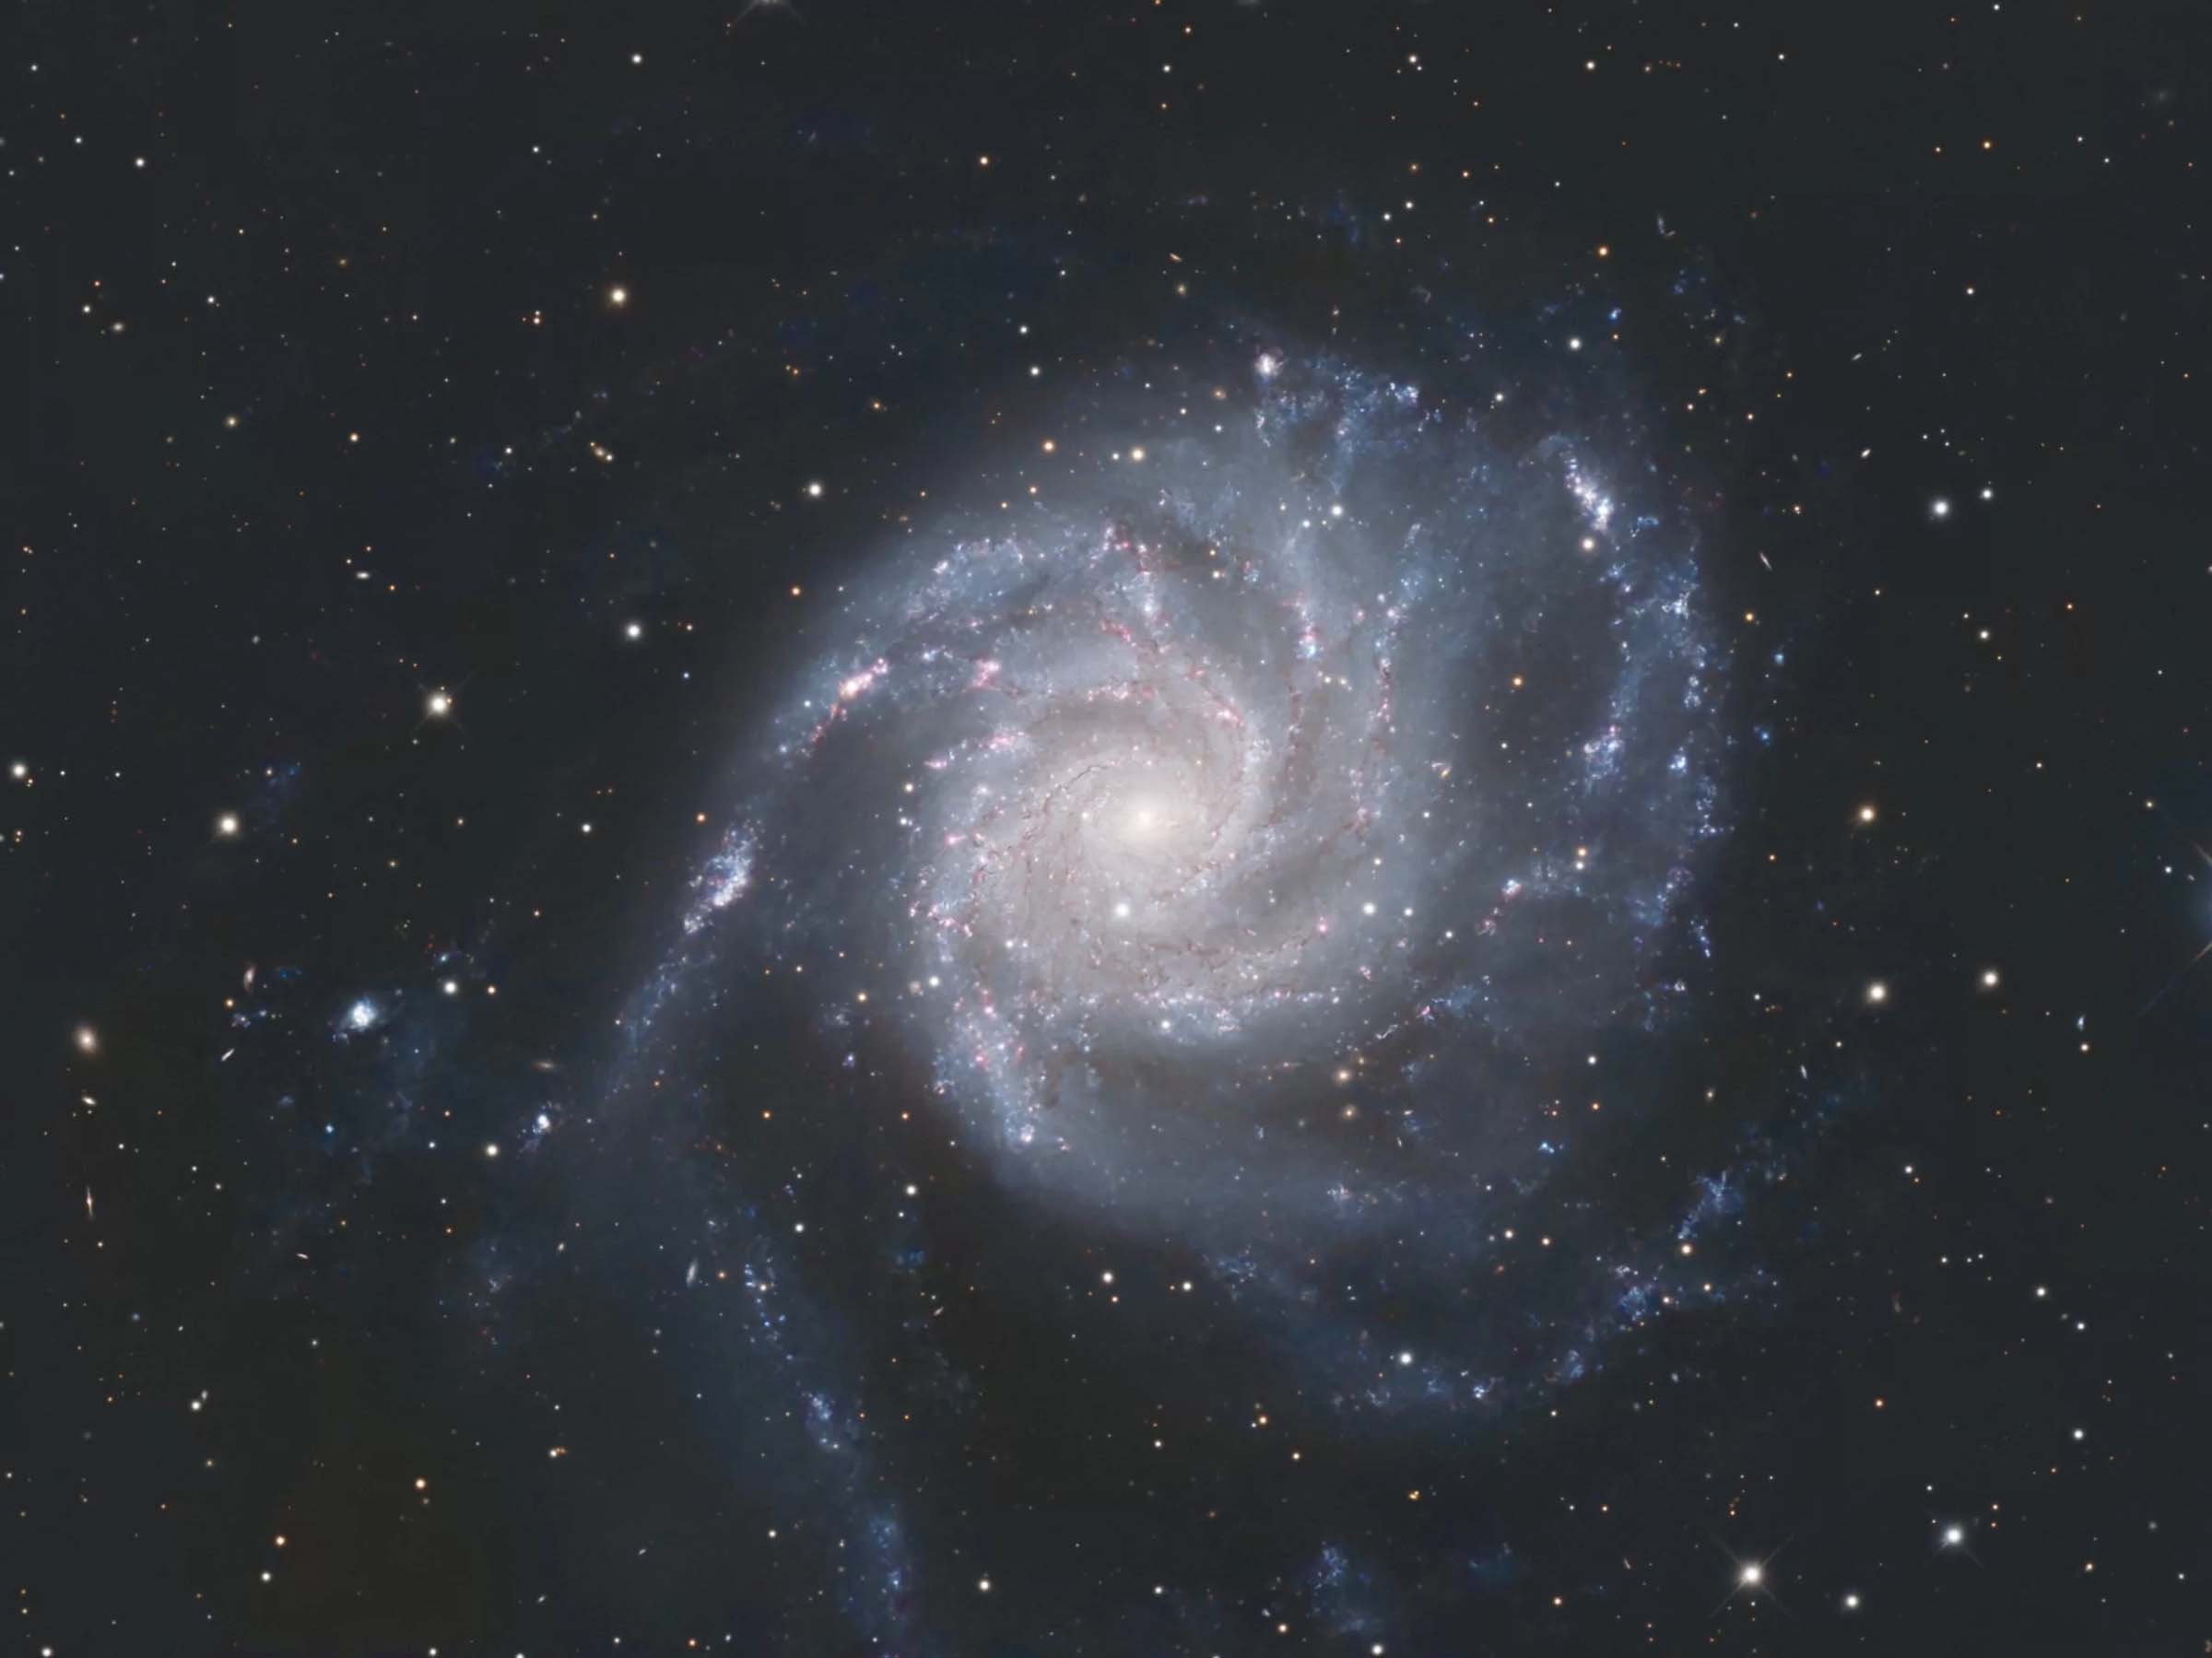
M101 Project. For the last few months, I’ve been reporting to you about our BHAS M101 project. Several of us dedicated hours to capturing M101, the Pinwheel Galaxy, until we had over 70 hours of light (you can see what my 8 hours of capture looks like here https://sdbhas.org/may-2024/). We tried this because of a photo that the Hubble telescope took of a small spot in the sky (about 1/10th of the size of the Moon, or about a 30 millionth of the whole sky!) where there didn’t seem to be anything. It was just dark. The Hubble took over 2 million seconds of exposure to see if anything might show up. Turns out that the exposure revealed about 5,500 galaxies! Time makes a difference! You can see the Hubble photo here https://esahubble.org/images/heic1214a/
So armed with over 250,000 seconds of capture, several of our BHAS members did their best to take advantage of all that light and used PixInsight software, a professional level post-processing tool, to do the work. This photo includes not just the RGB frames like I took, but also frames that used special filters to see the galaxy’s Hydrogen, Sulfur, Oxygen and Luminance light that bring out more details. Amazing! Check out the threads of dark near the center (called dust lanes) and the bright lights (young star forming areas), and the wispy arms of the galaxy’s outer reaches! Very cool! The first image was processed by BHAS member Chris and the second was processed by BHAS member Mike. It’s cool to see how different processing techniques alter what the final images look like. We’re talking about maybe doing another long exposure image later this year! Stay tuned!
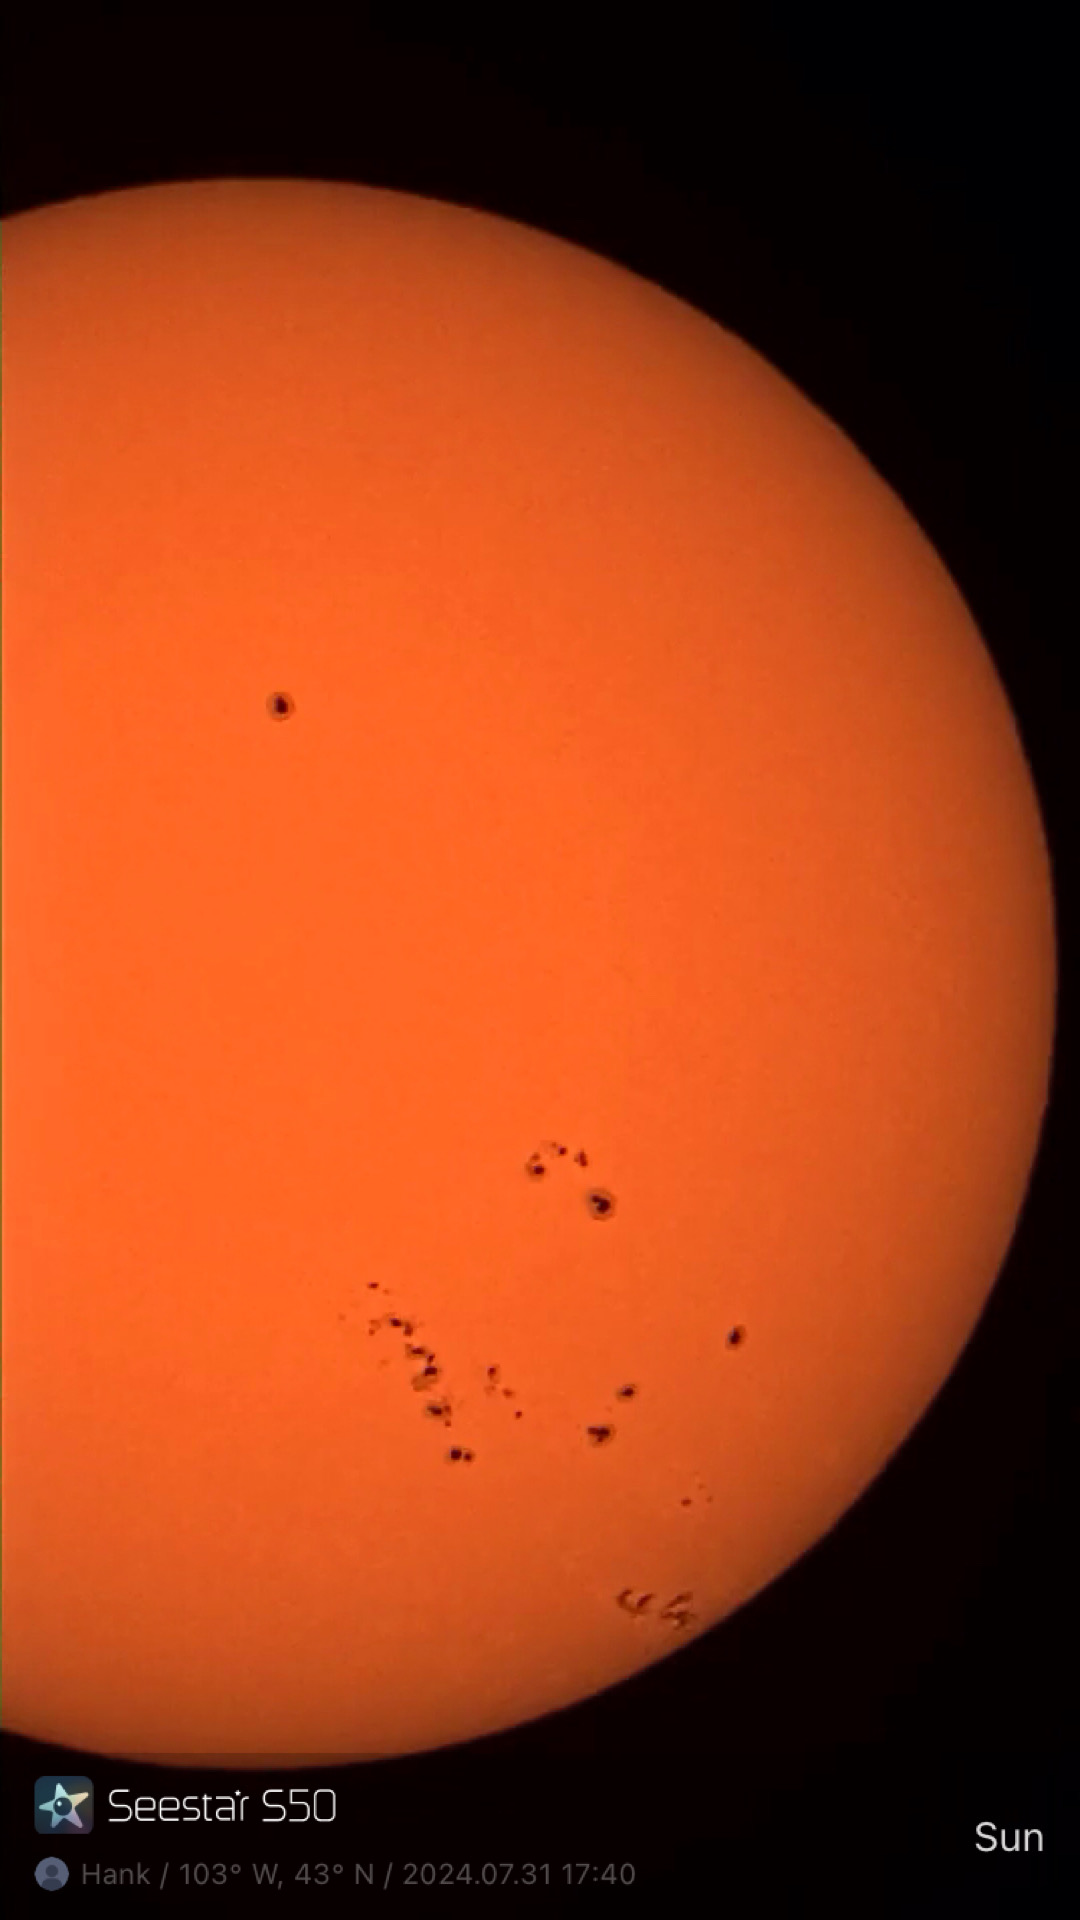
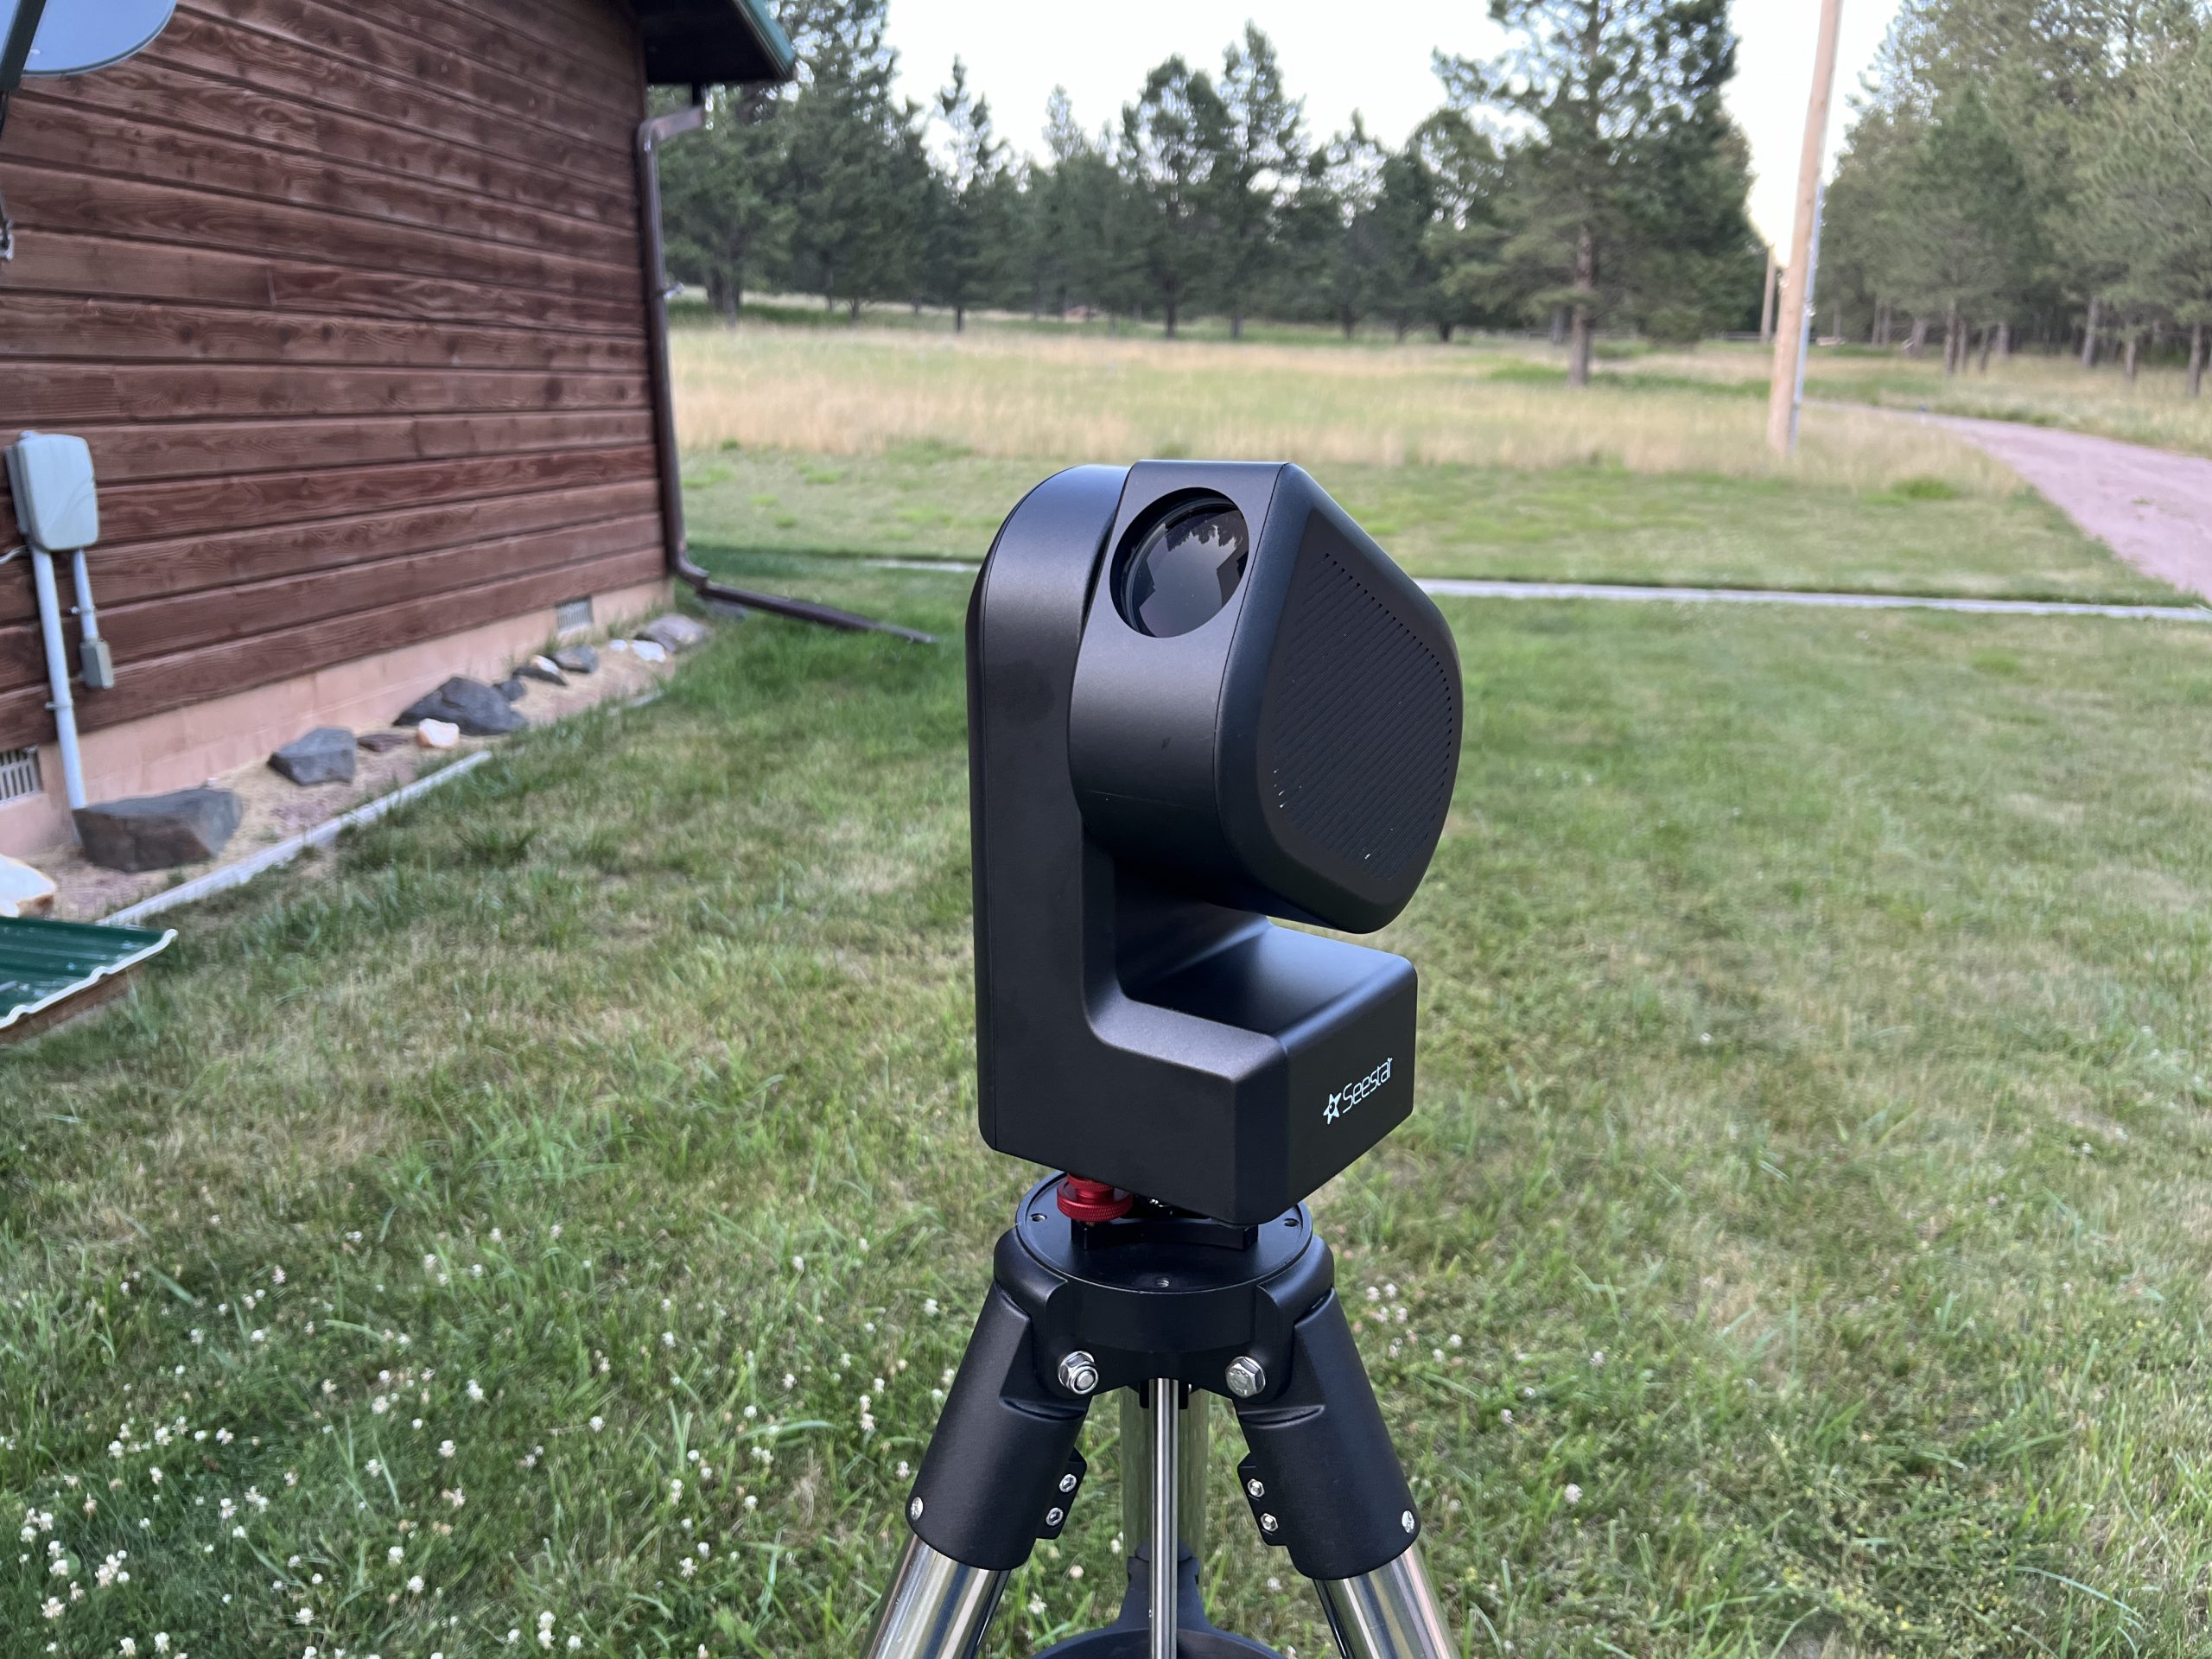
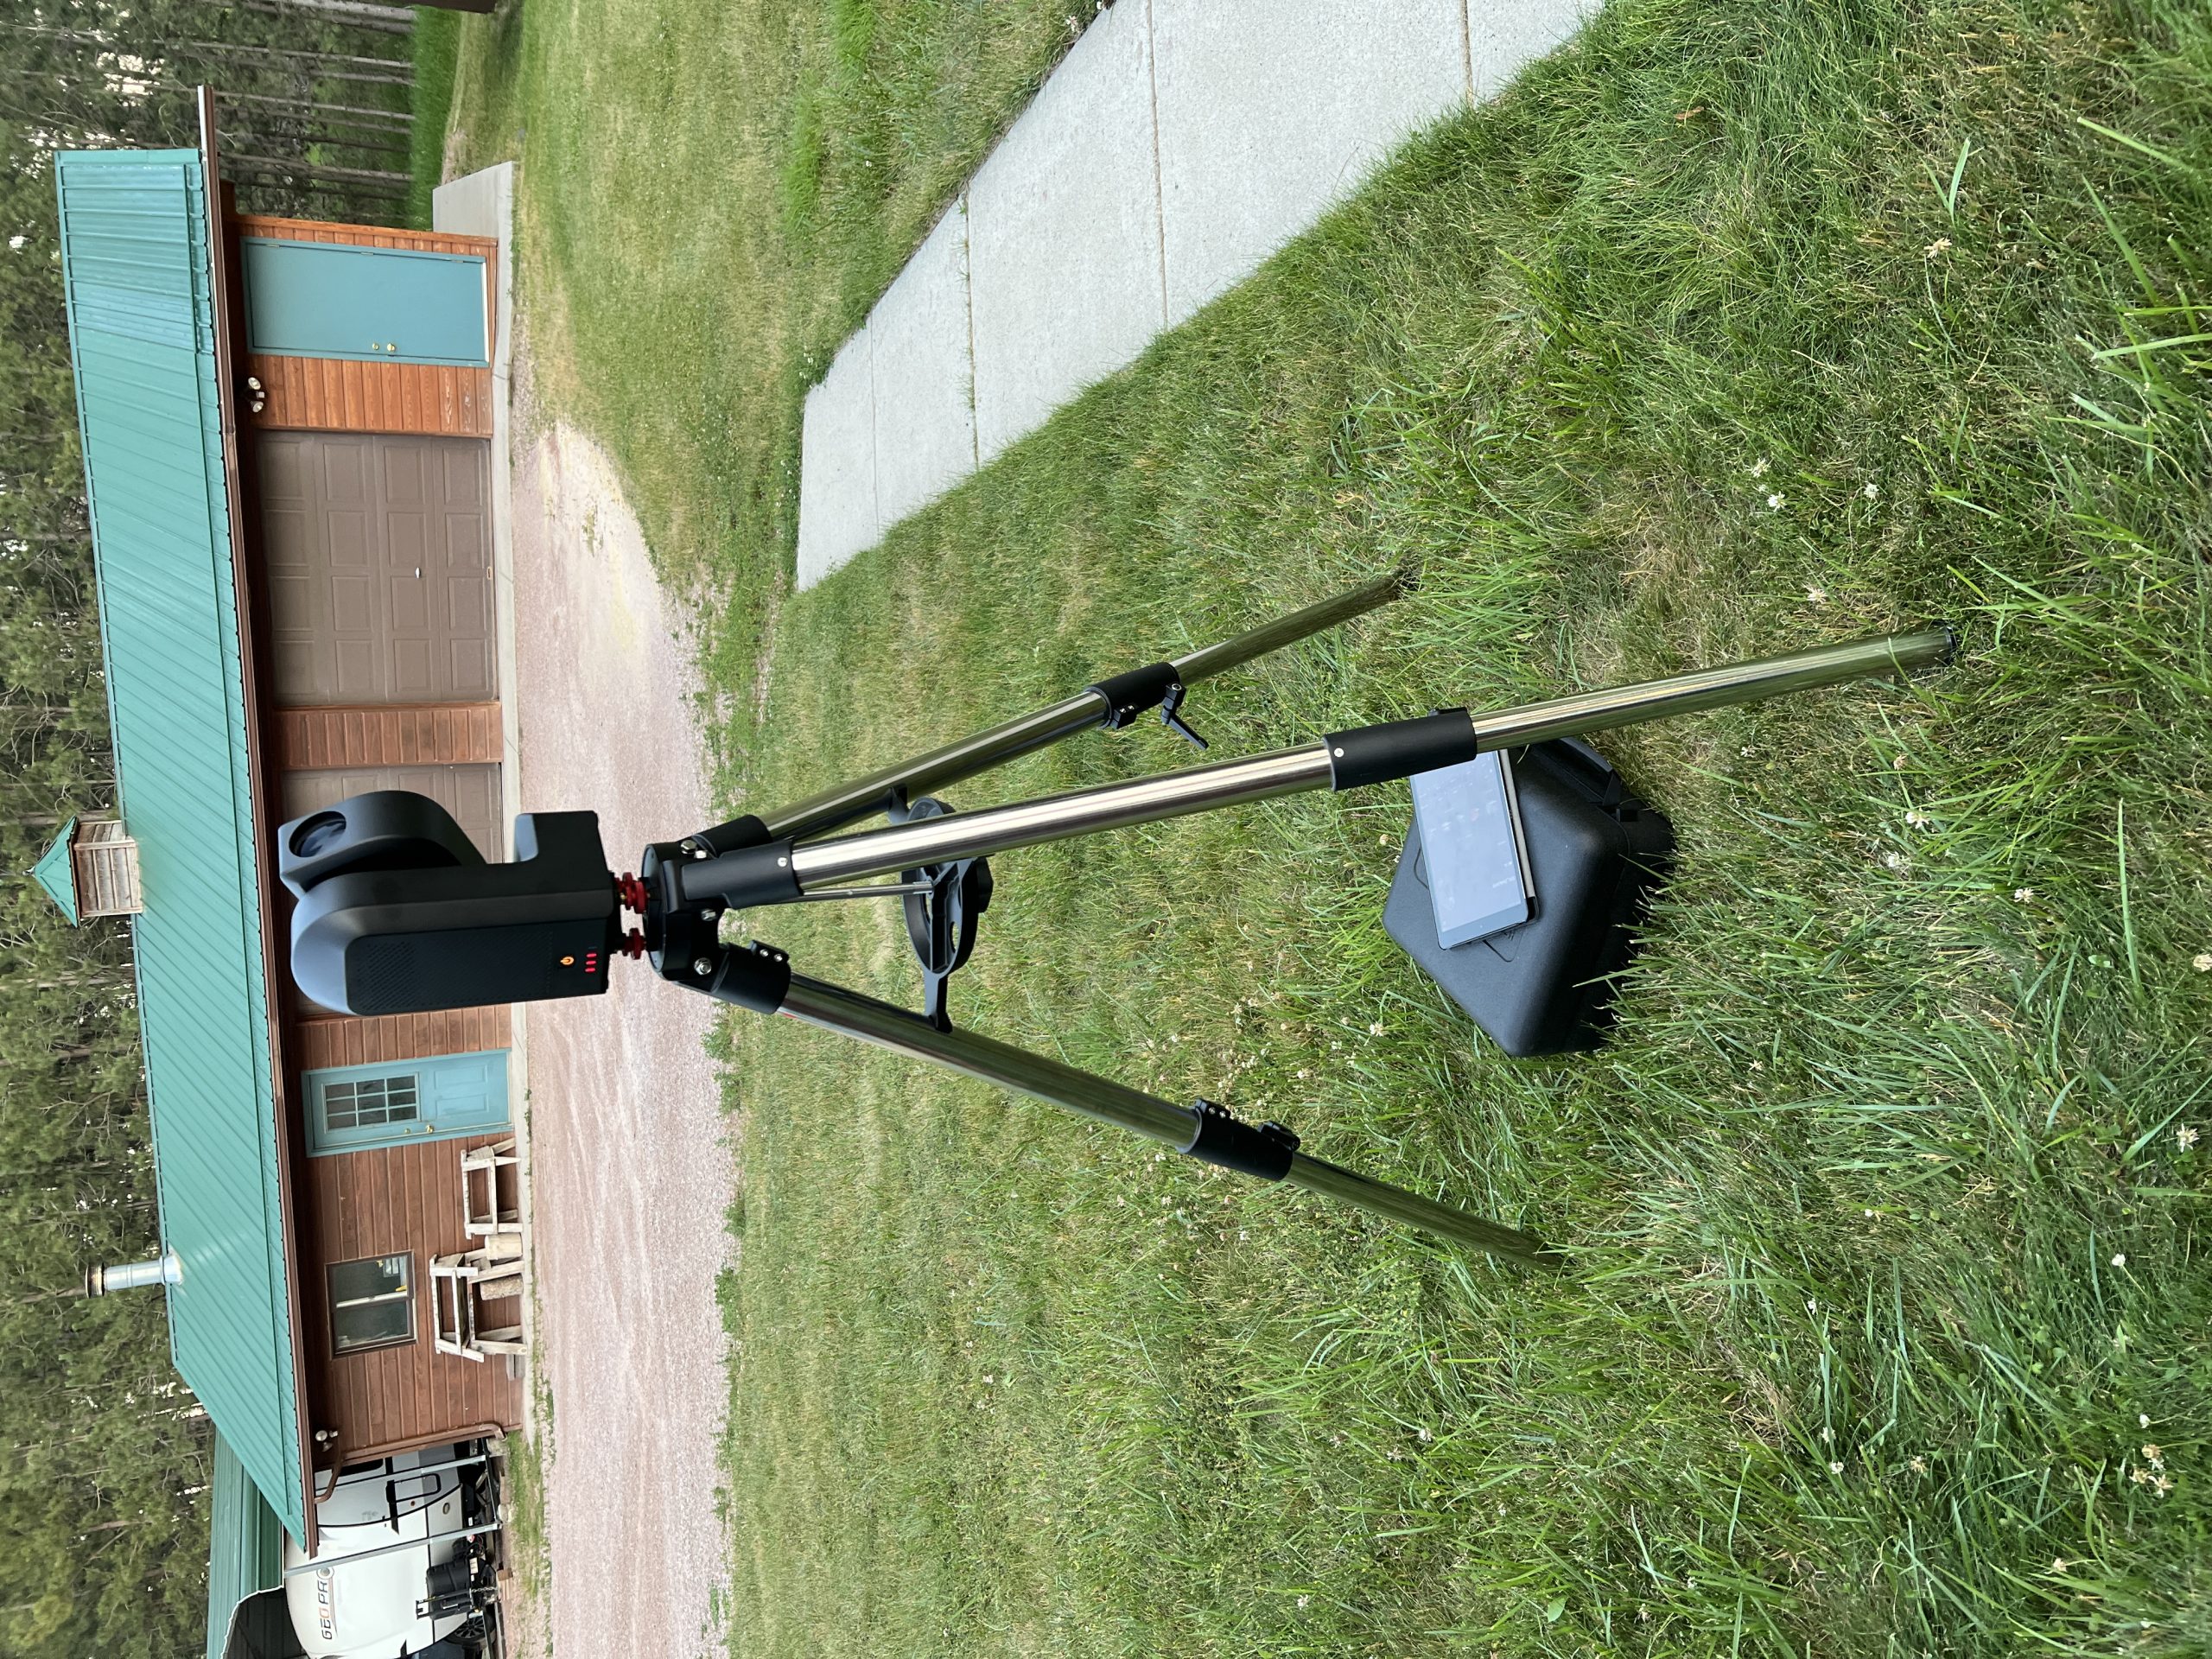
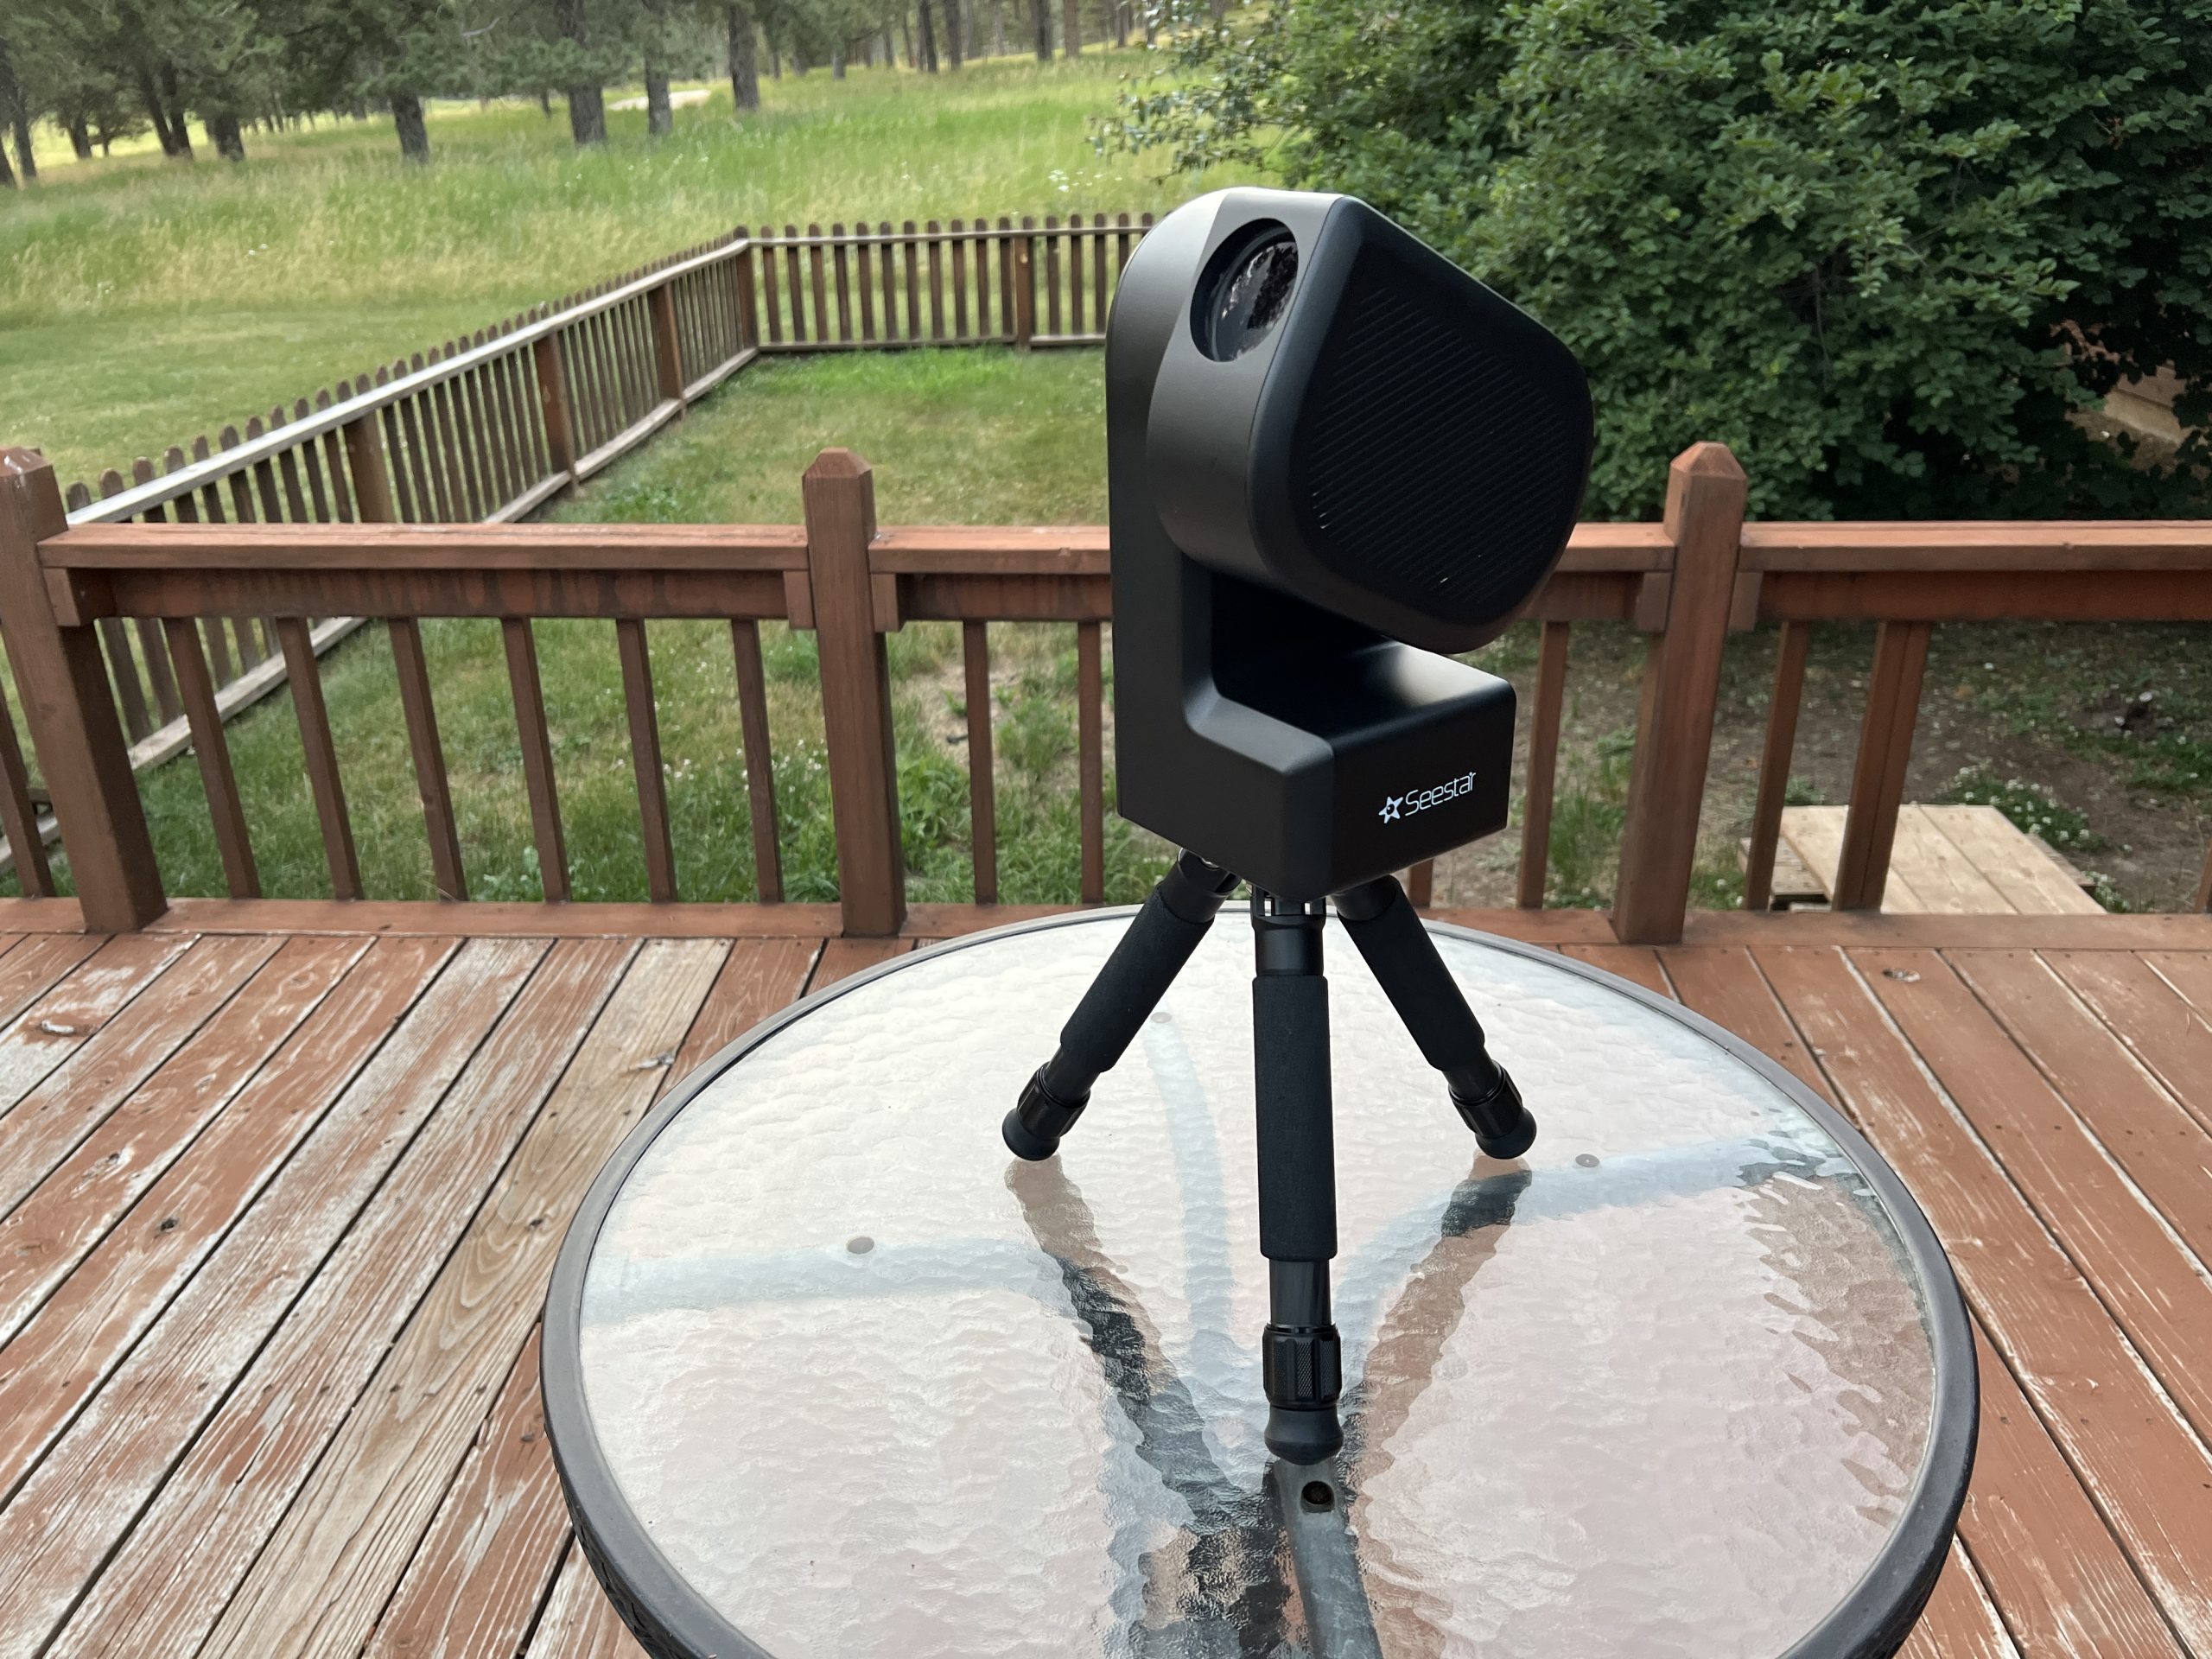
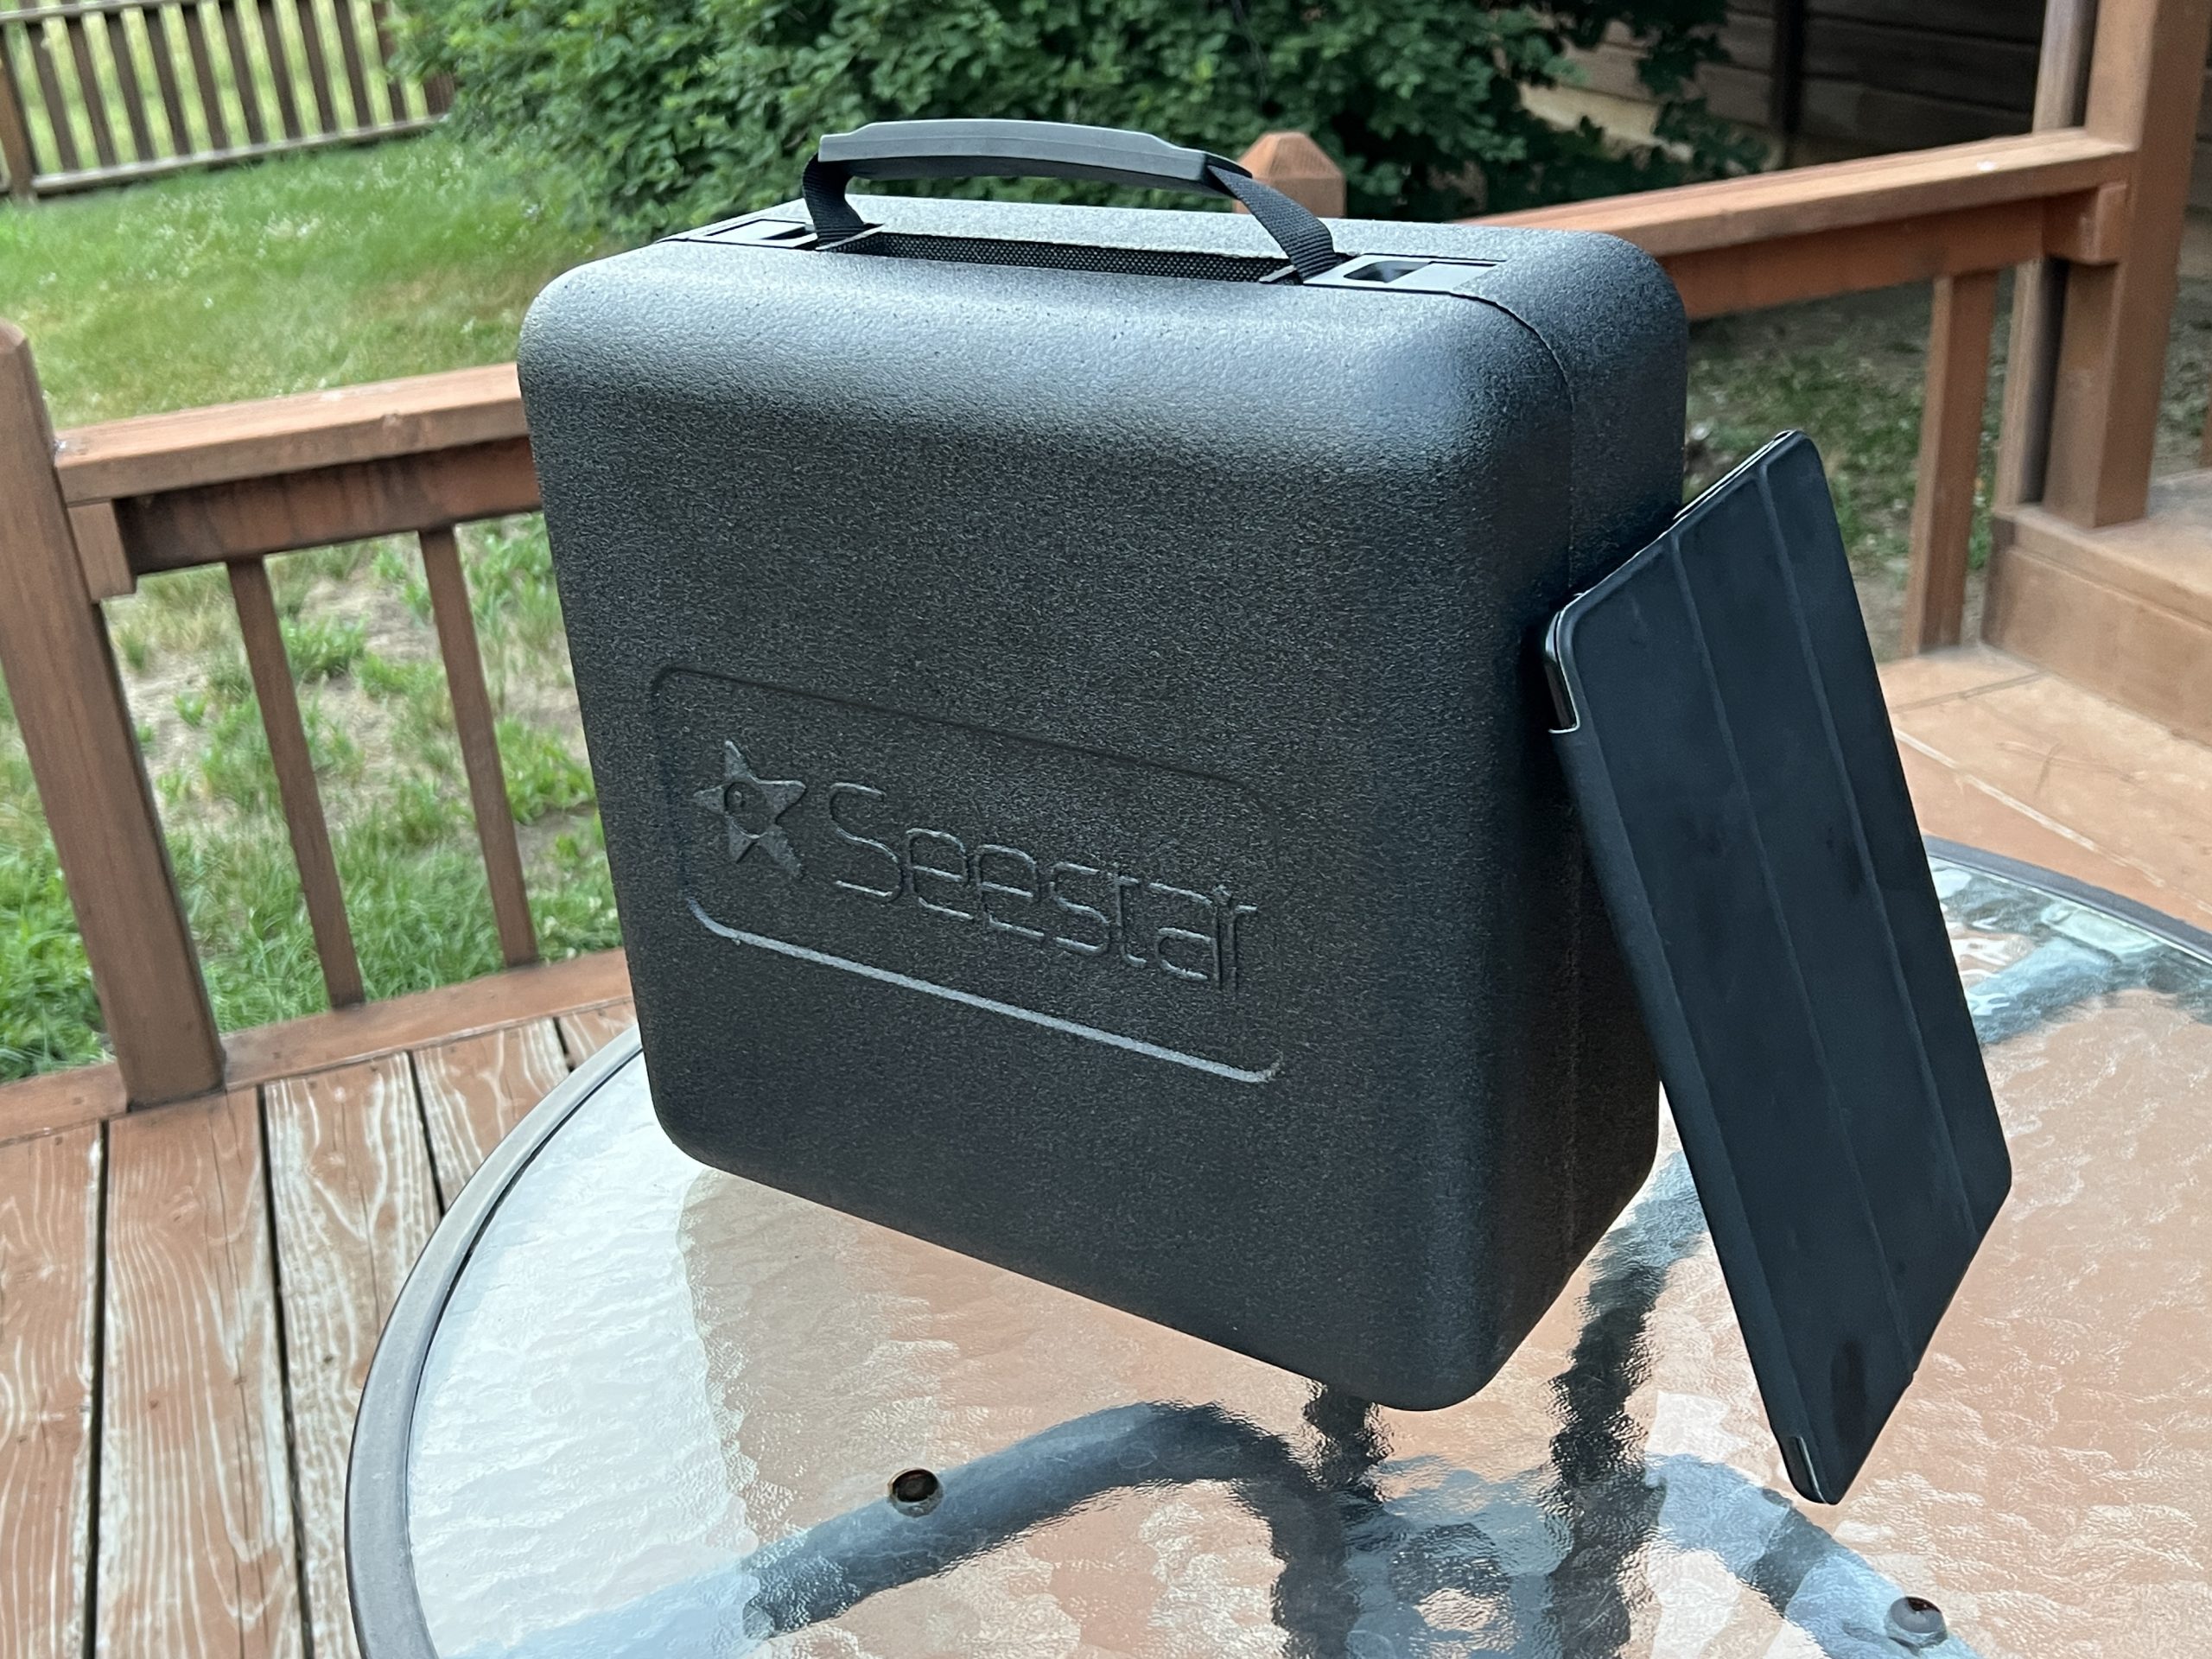
New Telescope: My birthday was this month and Marianne got me a new telescope! How could she have known? It is a ZWO SeeStar S50. It all fits in a little case, works for about 6 hours on an internal rechargeable battery, and comes with a little stand. Once you turn it around so it knows where North is and level it, it will automatically goto what you want to look at, center the object, automatically focus it, take photos, and you can zoom in. It is controlled by your smartphone or tablet, which has all kinds of cool features. I like the SkyAtlas to help me find what I want to look at, and its built in WiFi lets me be in the middle of nowhere and still have my iPad talk to the telescope. It can take multiple exposures of an object and stack them as it goes, displaying them on the phone/tablet, allowing you to see the image get brighter and more defined as it adds more exposures. It also saves the individual .fits files so you can later do your own post processing to tweak out more details from the data. It comes with a solar filter to take images of the Sun, and another “enhancing” filter to sharpen up deep sky images. It has a good tutorial, is easy to use, and you can share your images to their website, or send them to your friends. The SeeStar is a game changer in that it packs so much into this little telescope, its easy to use, and its list price is $500. It doesn’t replace what I have in my observatory, but it sure makes traveling with a telescope a reality. It will be perfect for eclipses and comets, and when I need to get to a remote location to capture an image.
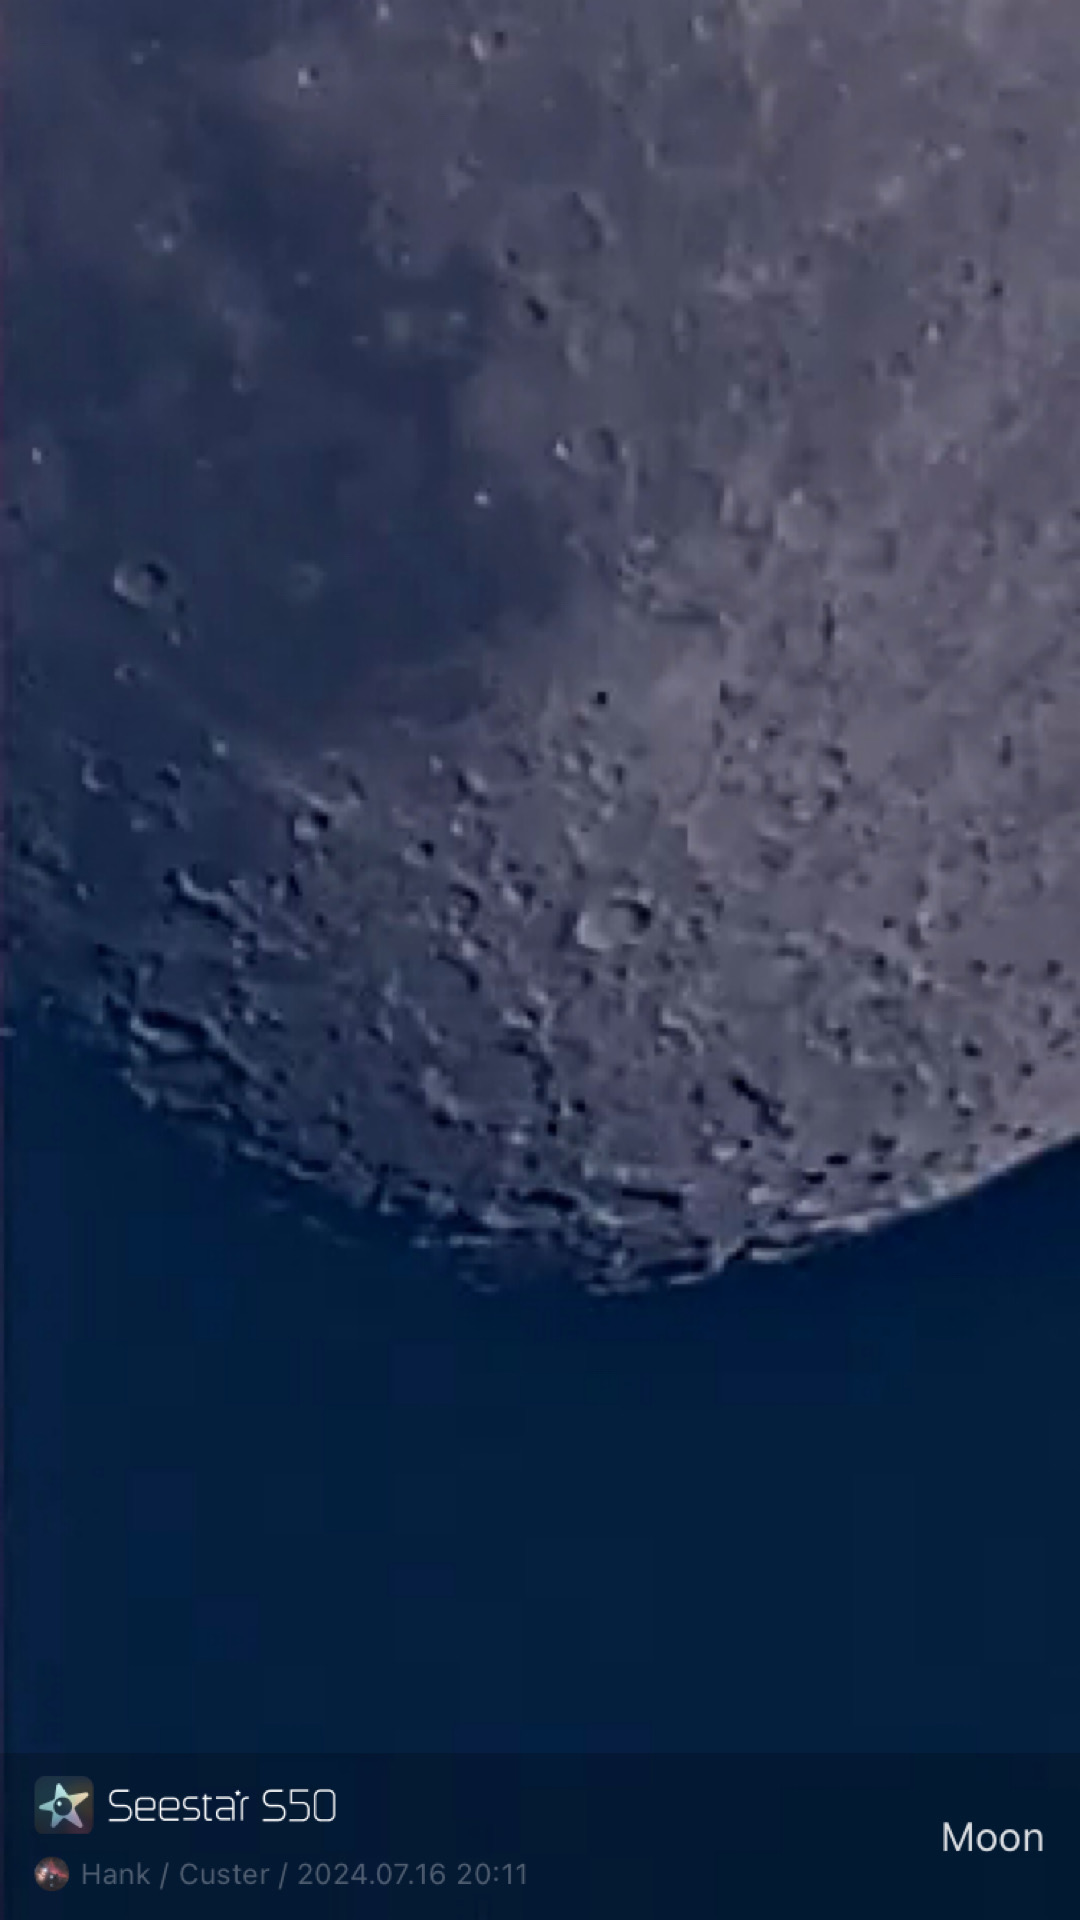
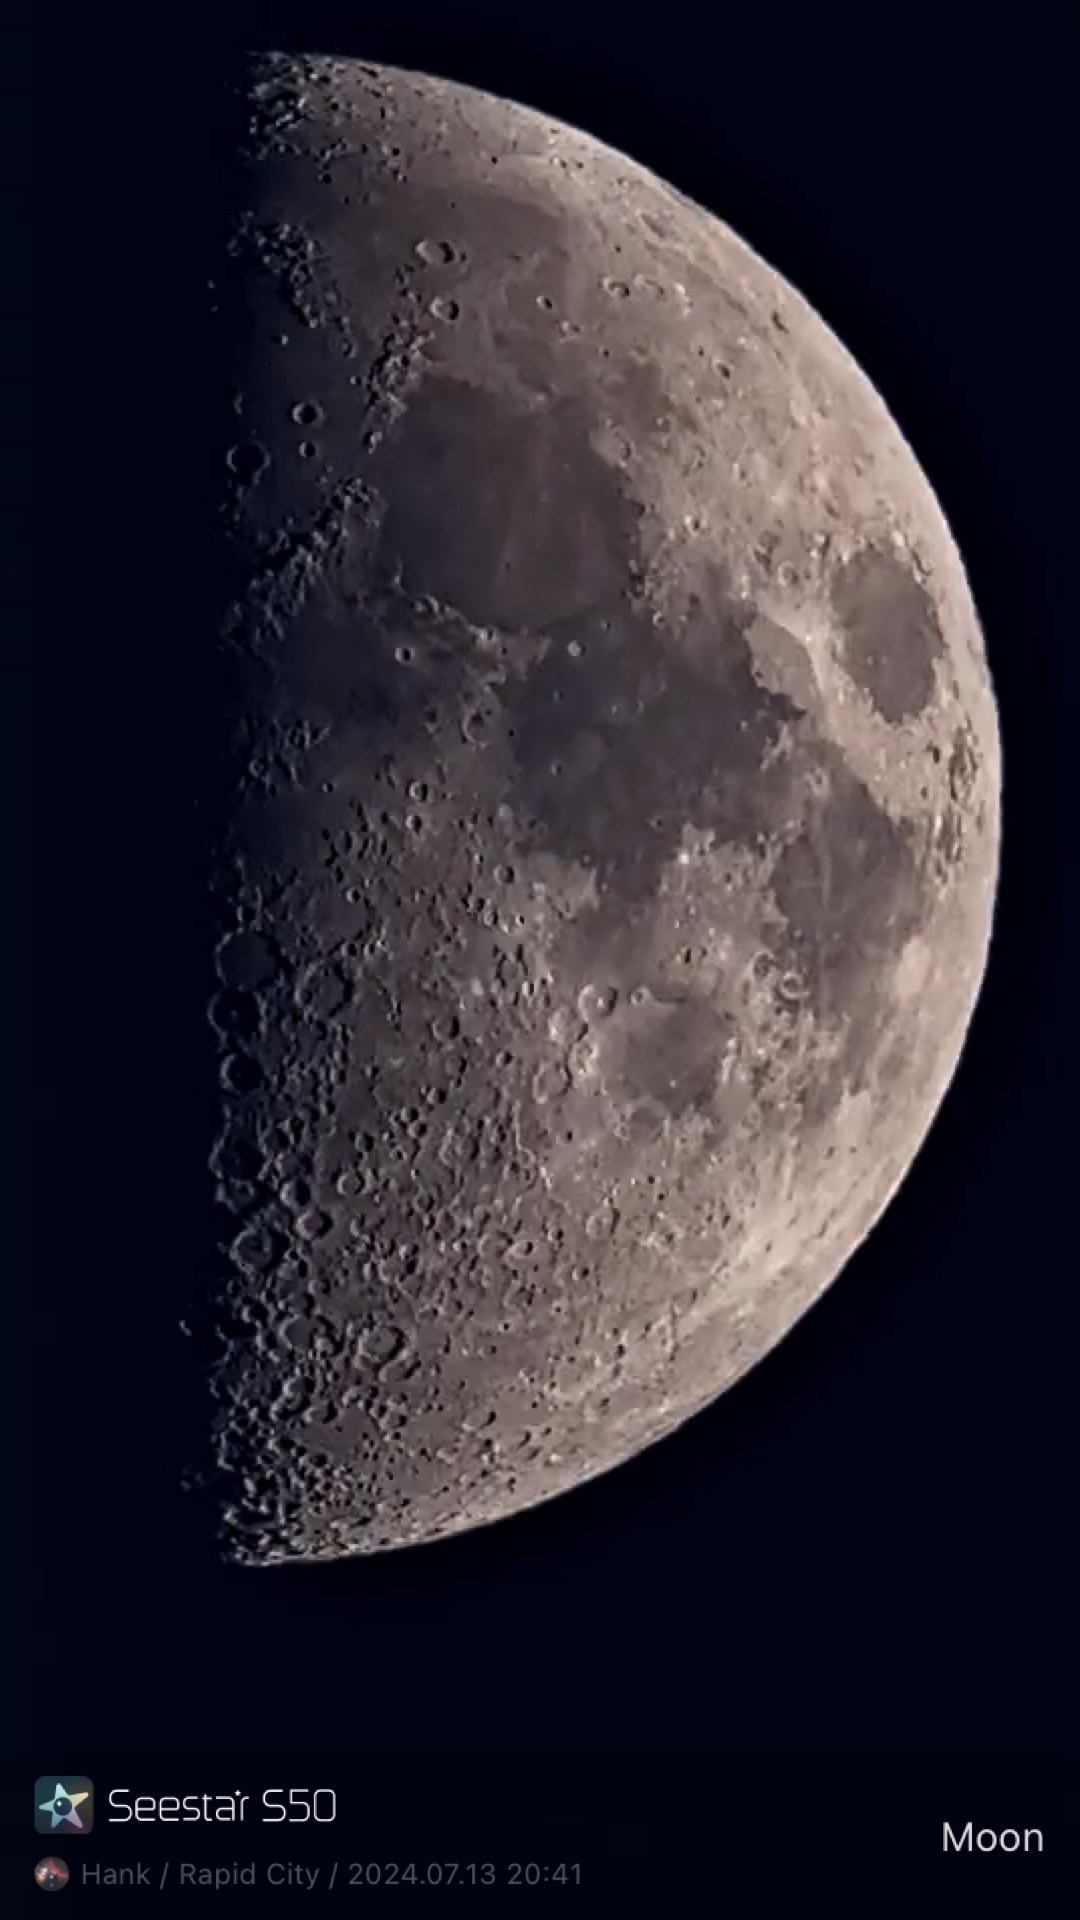
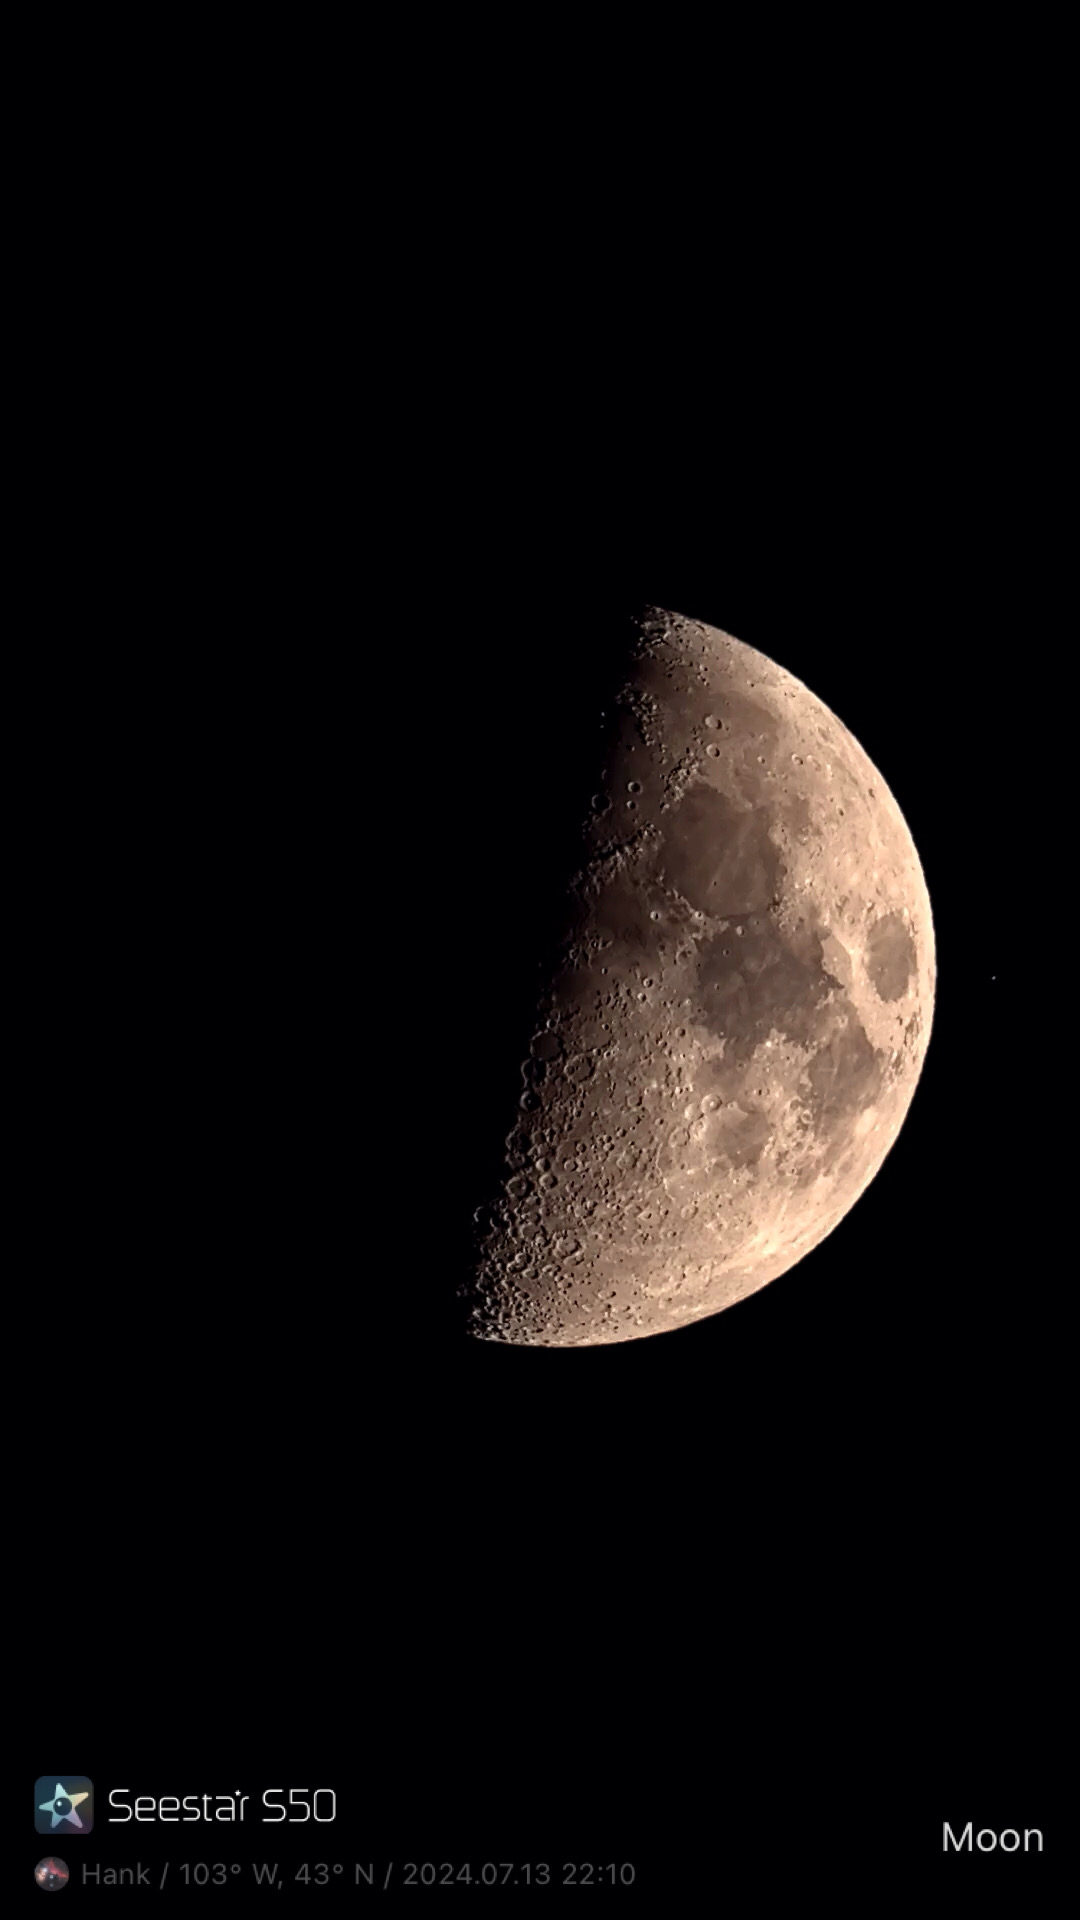
I am using the big tripod that I got with my iOptron mount (the mount is now in the observatory). It is much taller than the mount that comes in the SeeStar case. I also added an attachment to the tripod to help me level the telescope. If you are thinking about getting started in Astronomy or astrophotography, give it a look. Here are some photos of the images I have been taking with Seestar, and some photos of the telescope. Notes: The bluer Moon photos were taken during the day, and notice how many sunspots we are having! Our skies have been smokey, so the quality should improve on those deep sky images when things clear up.
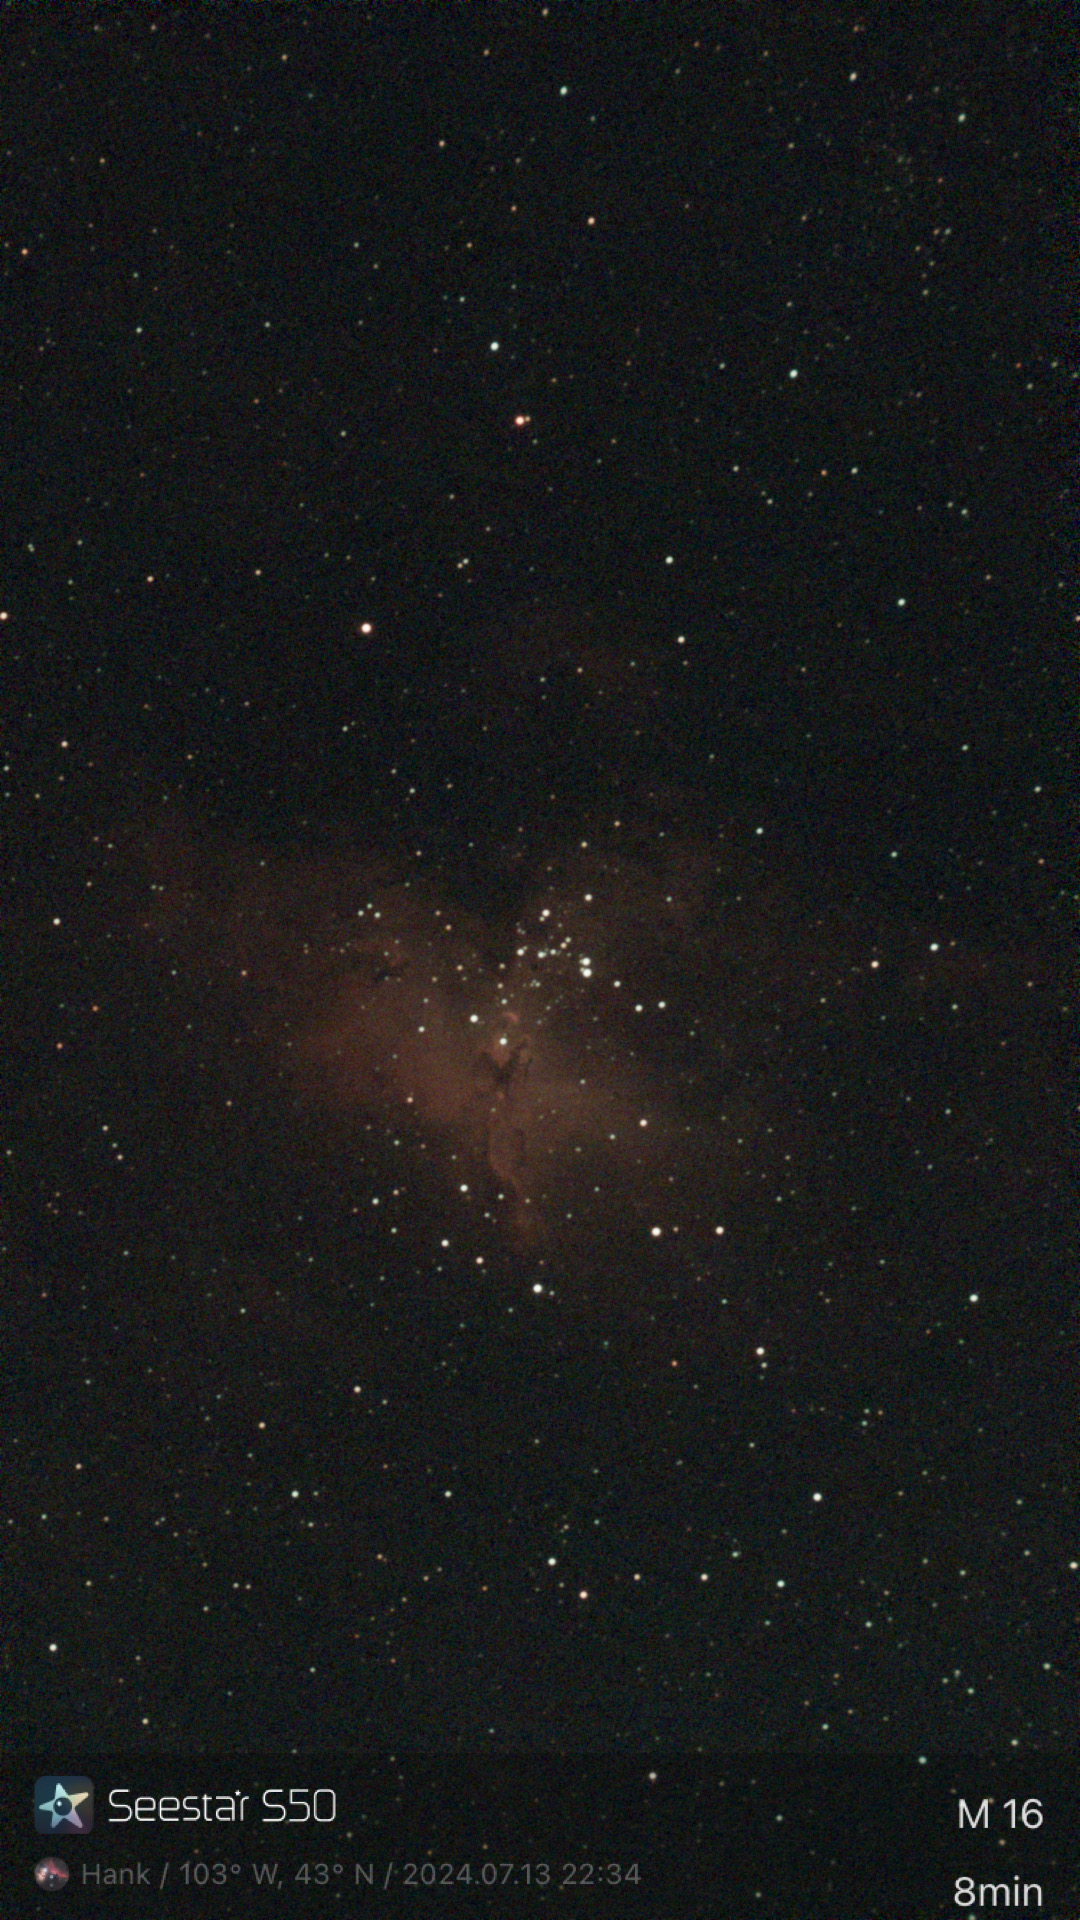
M 16
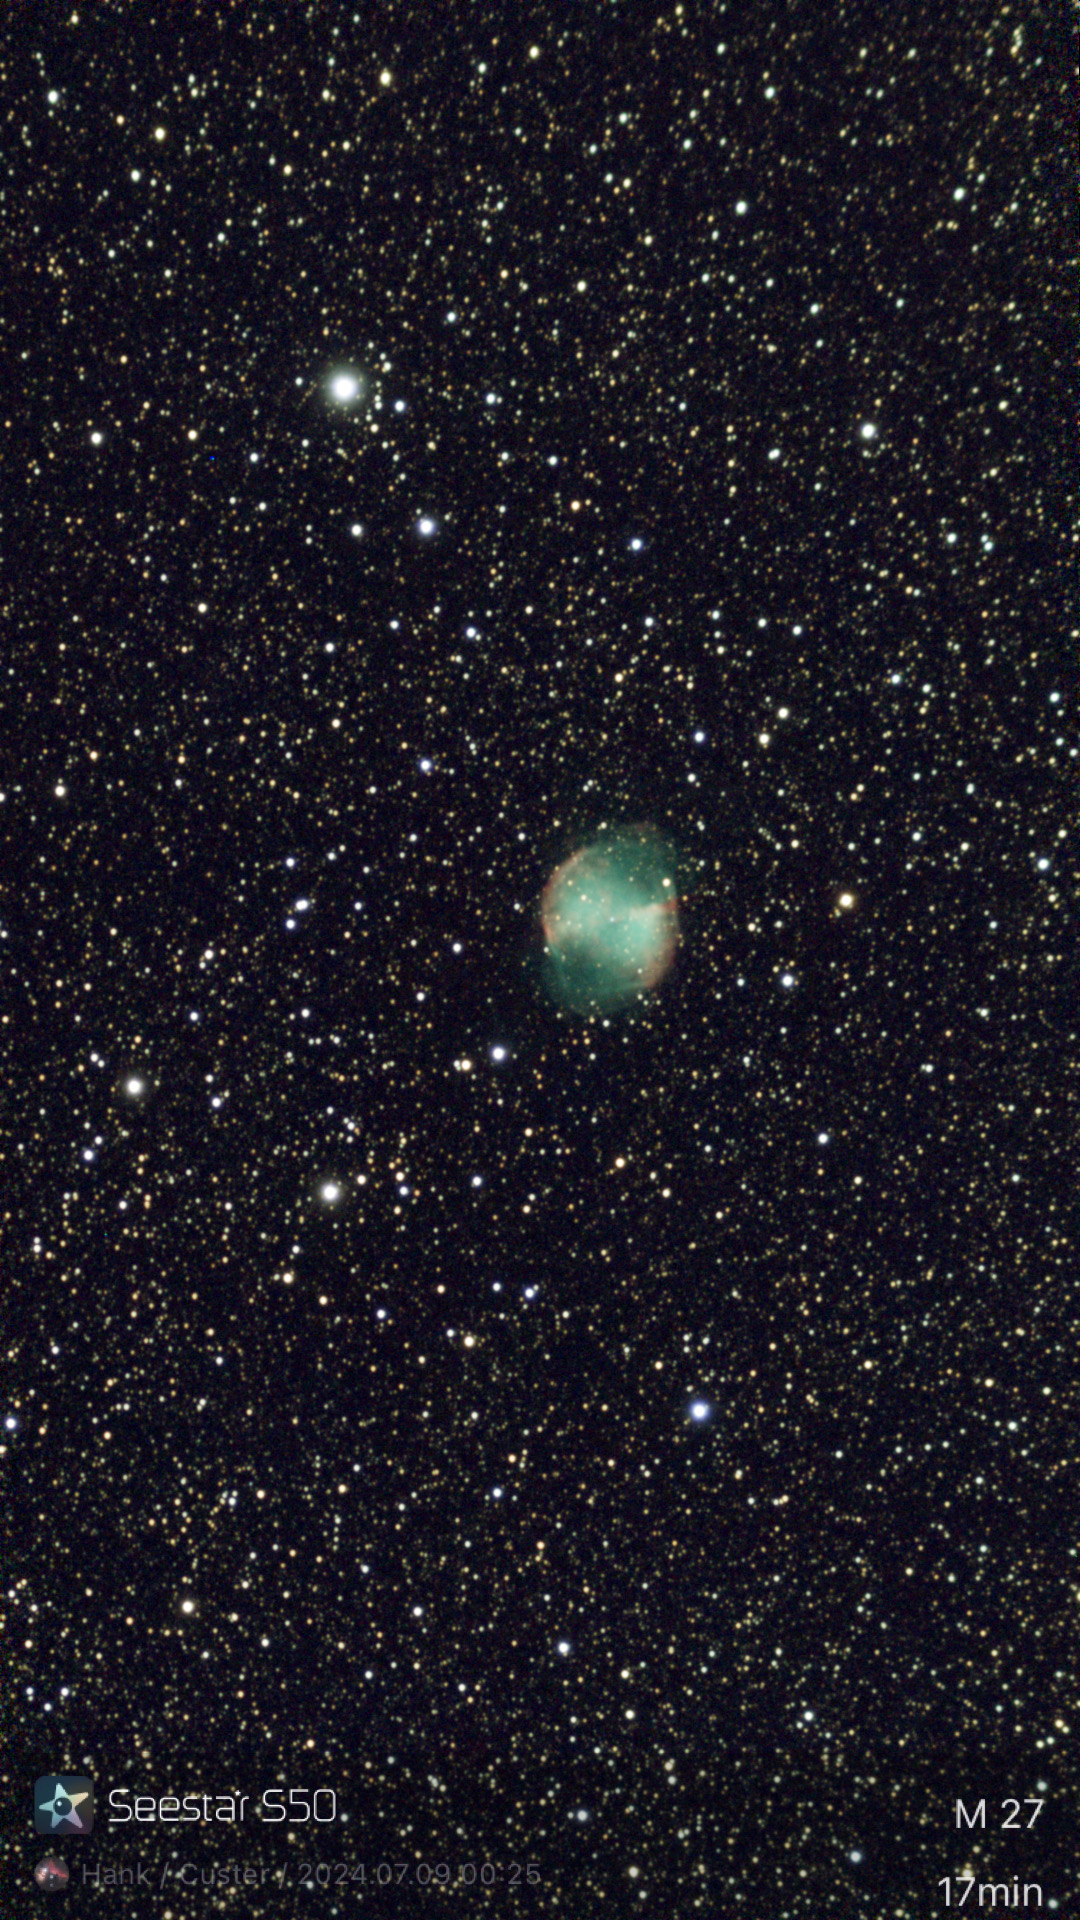
M 27
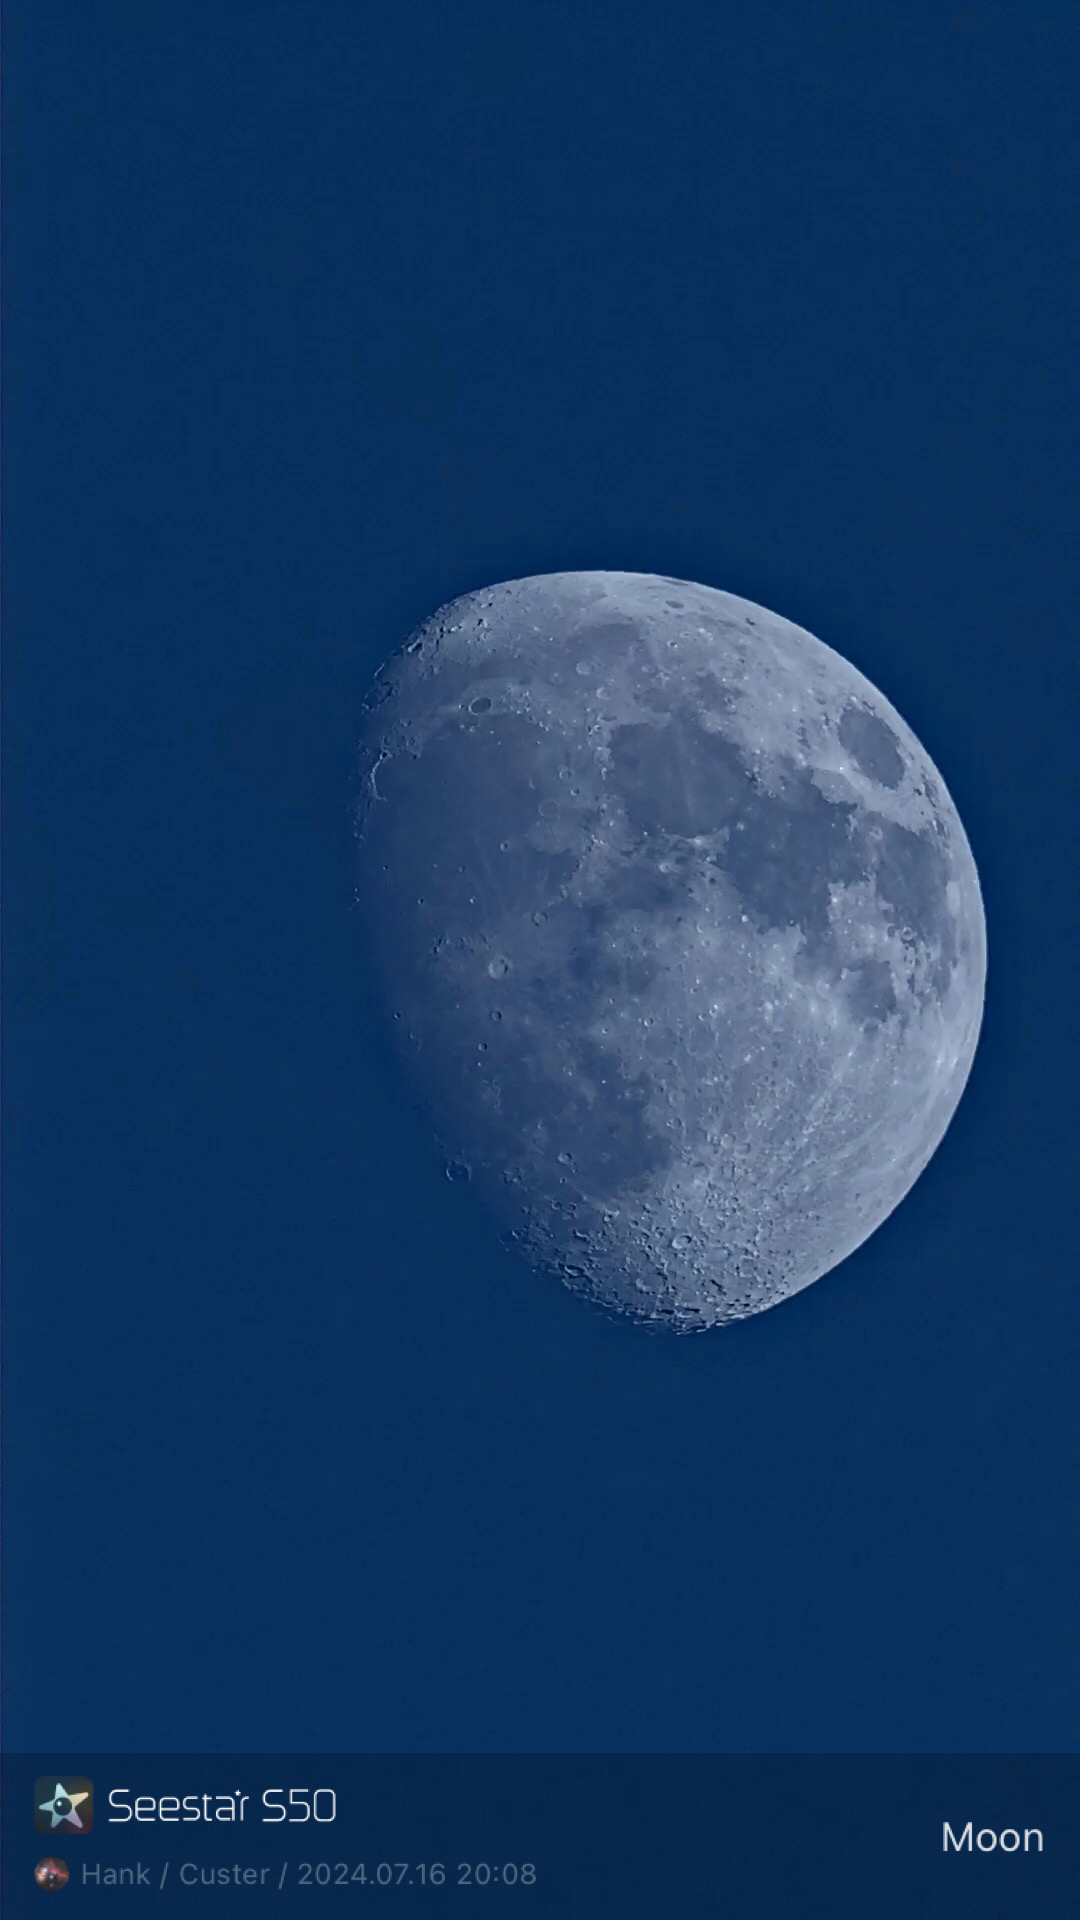
Moon
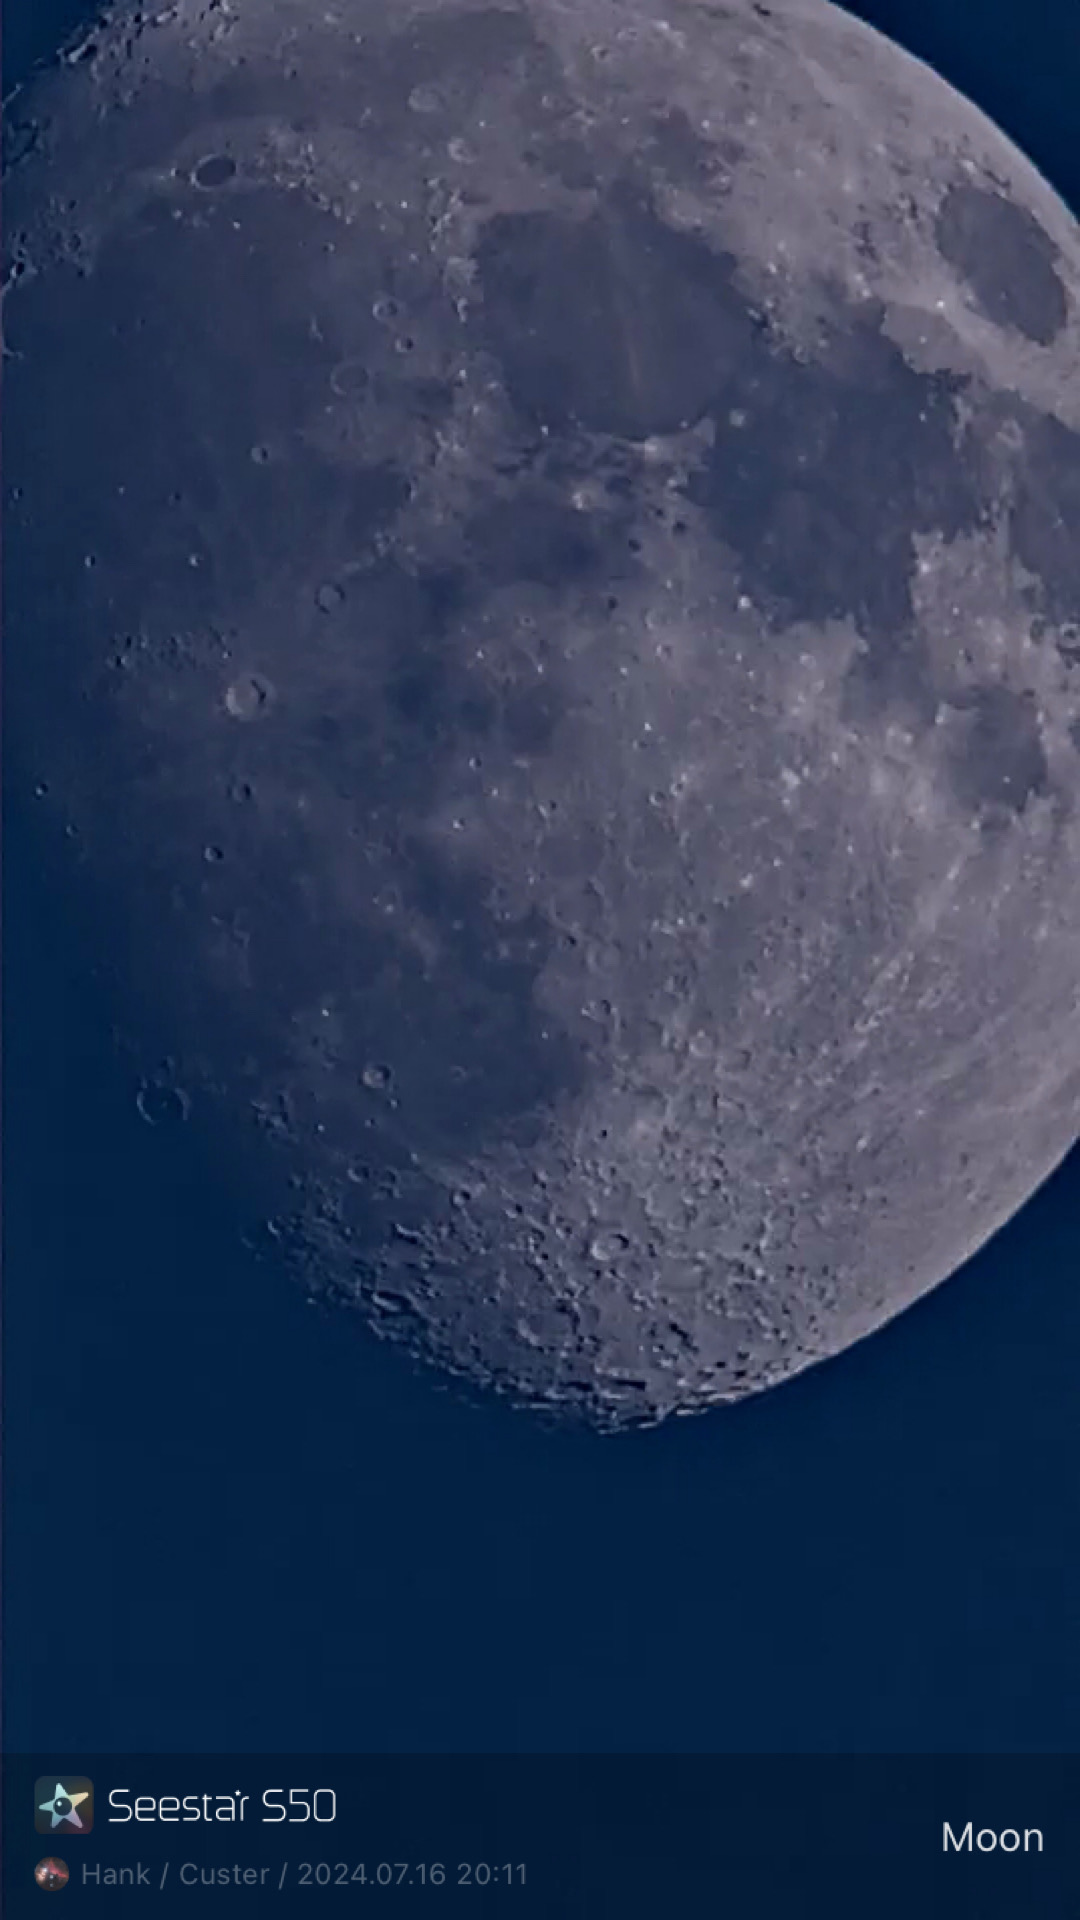
Moon
Moon
Moon
Moon

Sun
Sun
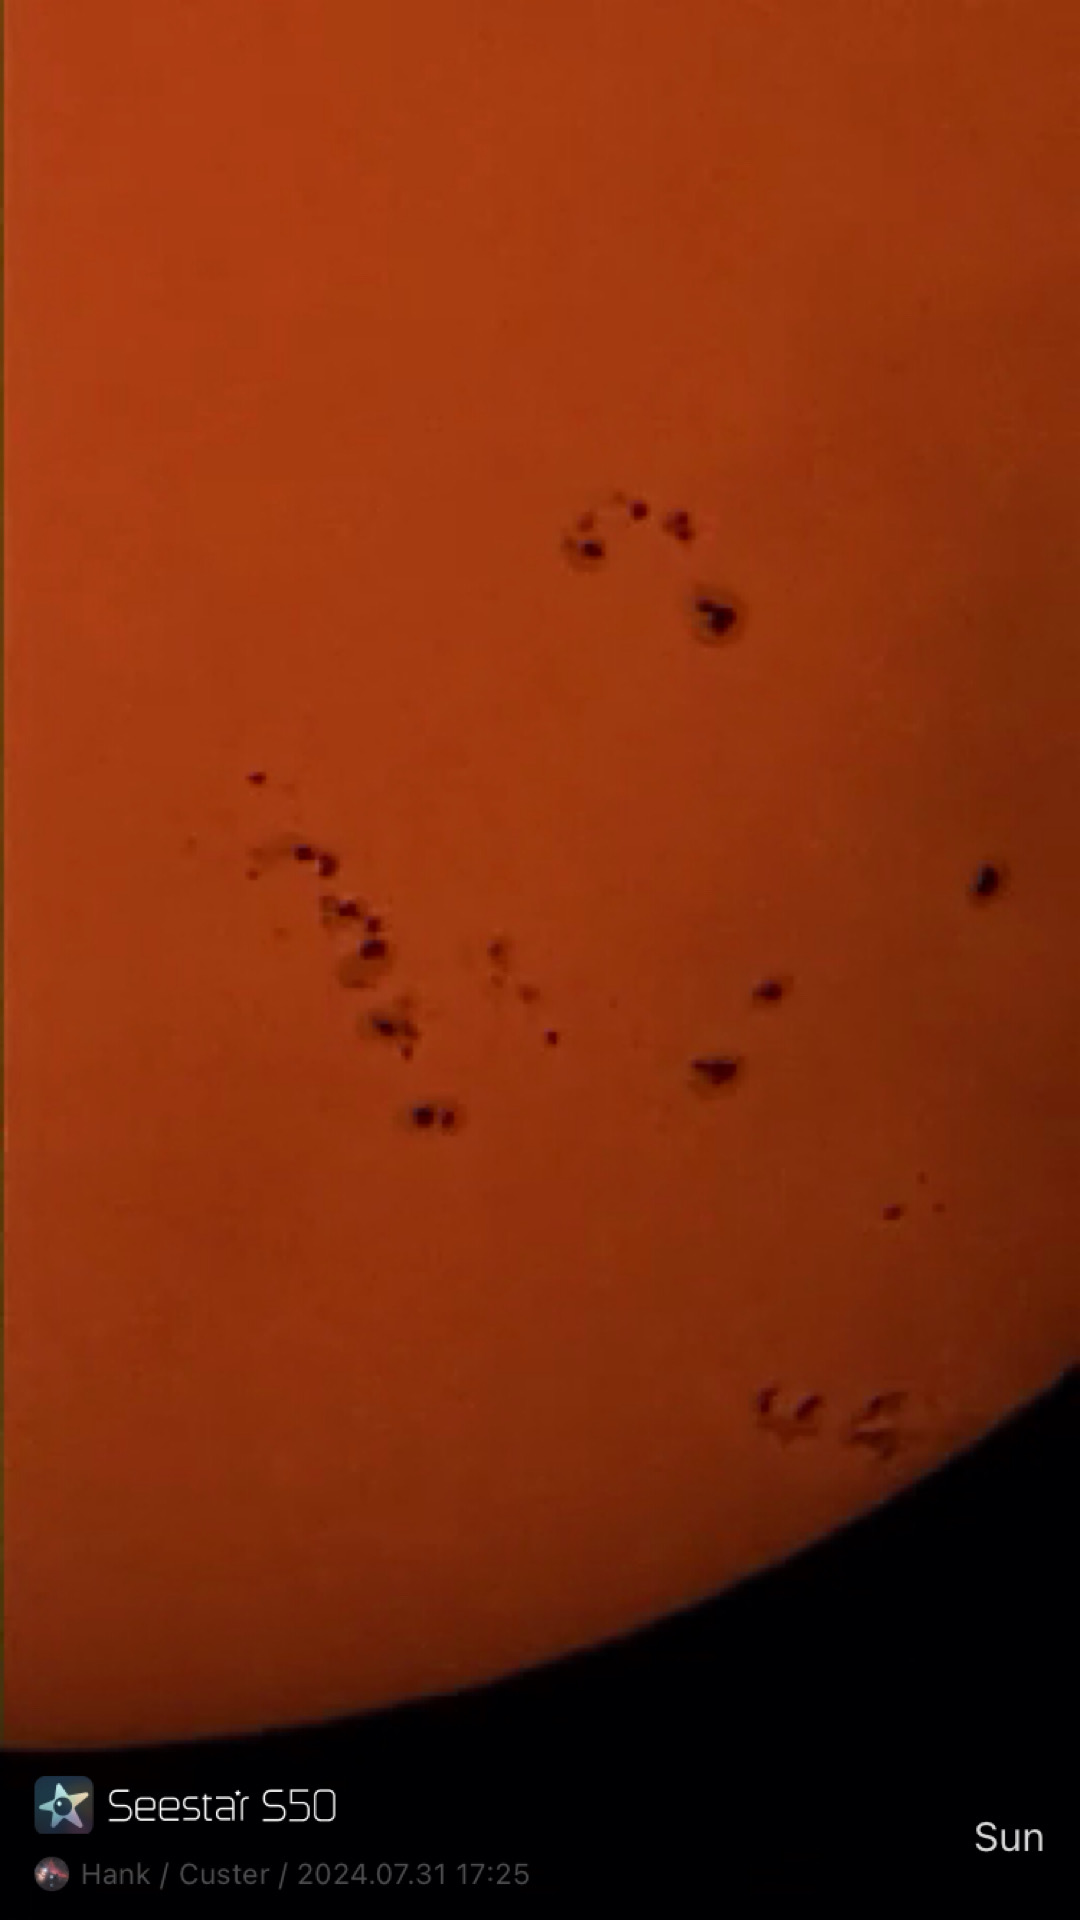
Sun


Until next time, Clear Skies!
-Hank
Pretty incredible what you can get out of that SeeStar, not to mention the ease of use.
Mike–I’m lovin’ my SeeStar. I’m enjoying the challenges in getting the telescope in my observatory up to speed, but some nights I just wish I could turn it on, go to a target, and get the capture, like the SeeStar does. I’m really excited to be able to take it with me when we travel… -Hank