


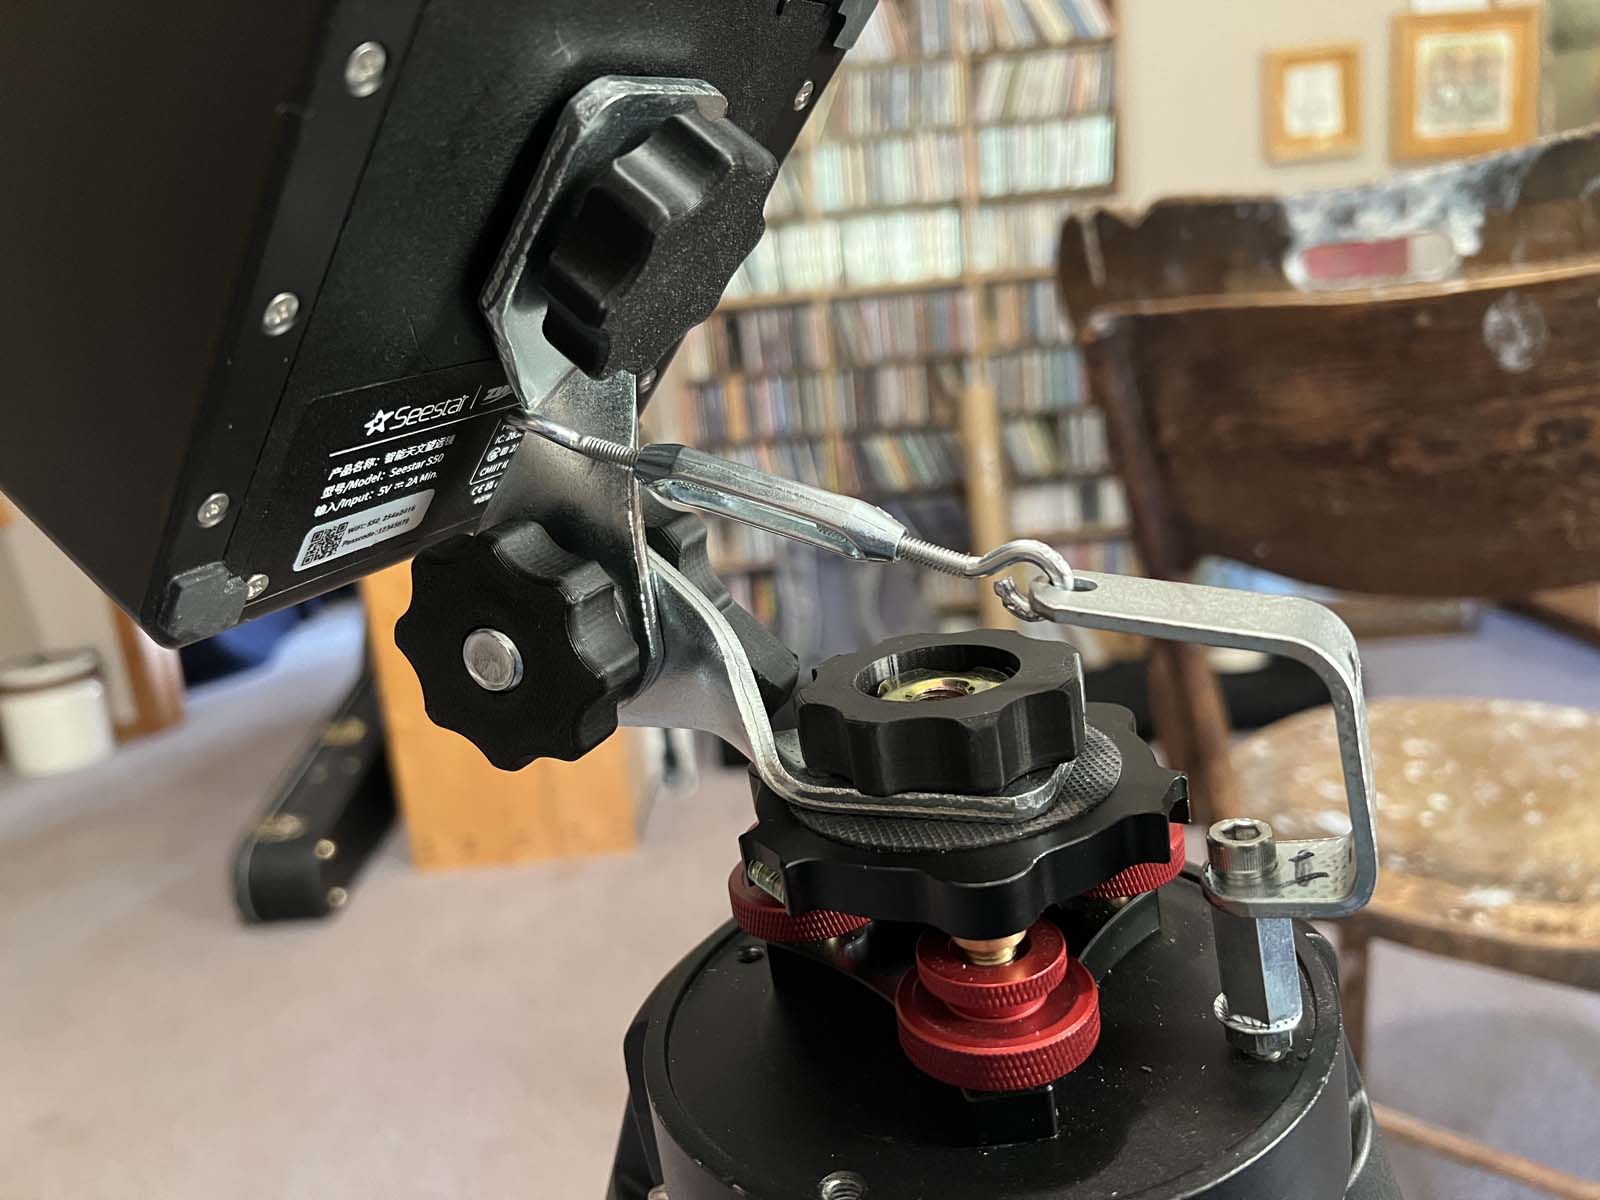
Welcome to Hank’s Astrophotography Blog. Spring in Custer, South Dakota is in full bloom with its rain, wind, sunshine, clouds, snow and a little smoke from the fires in Manitoba. I’ve been imaging with both the 8” Celestron in the Observatory and the Seestar telescopes on the same night. The way it works is I create a script of the images I want the Celestron to capture over the course of the evening, and once it’s dark, I set it in motion and the CCD Ciel software guides the captures until dawn, when it parks the telescope. When I get up in the morning, I slide the roof back over the observatory and begin processing the images. Once I set the CCD Ciel in motion, I’m freed up to get the Seestar set up, aligned and taking photos. When I get tired I pack the telescope back to the house. I’ve been able to do both telescopes on 3 nights this month, and so far things have been running smoothly. One modification I’ve added to the Seestar setup, is that I got a cheap wedge for it, which allows me to turn the Alt/Az captures (the telescope stays vertical while moving up and over to take photos) to equatorial captures (the telescope is tilted back to allow it to track along the arc of the ecliptic). The equatorial (EQ) captures have a couple of advantages, the most important being that the telescope/camera rotates with the object across the sky. This gives a larger field of view over the course of time and is much more accurate in tracking. I was having problems with the cheap wedge I purchased, so I built a small jig to better keep the wedge aligned and it seems to be working.
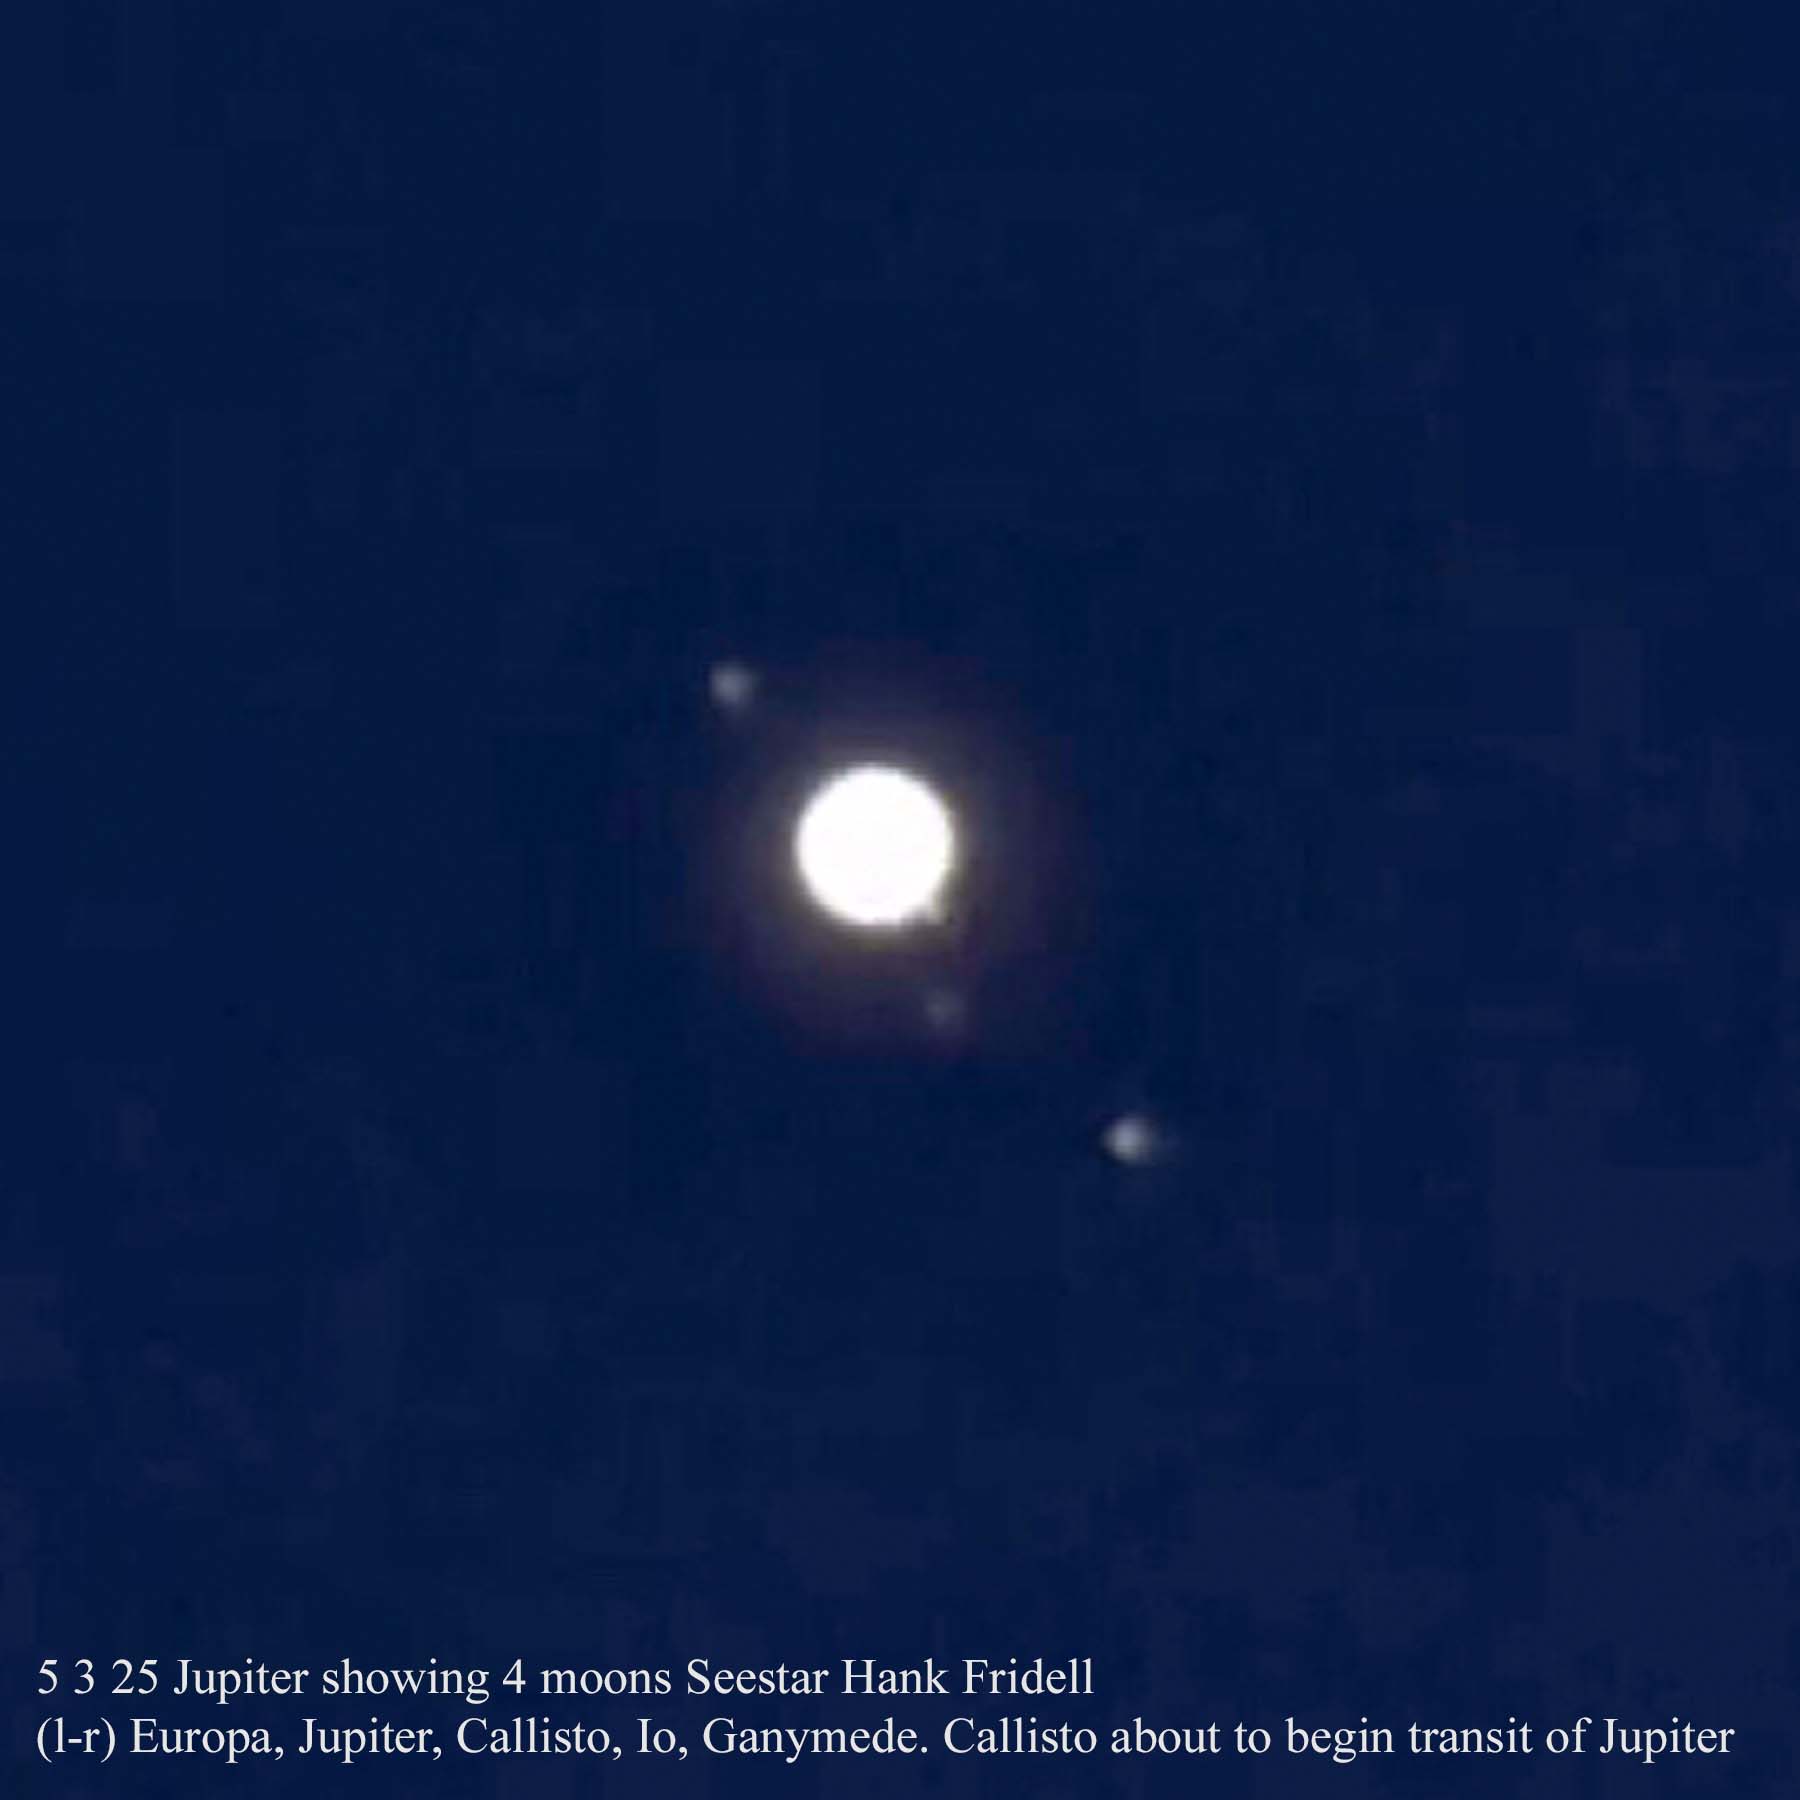
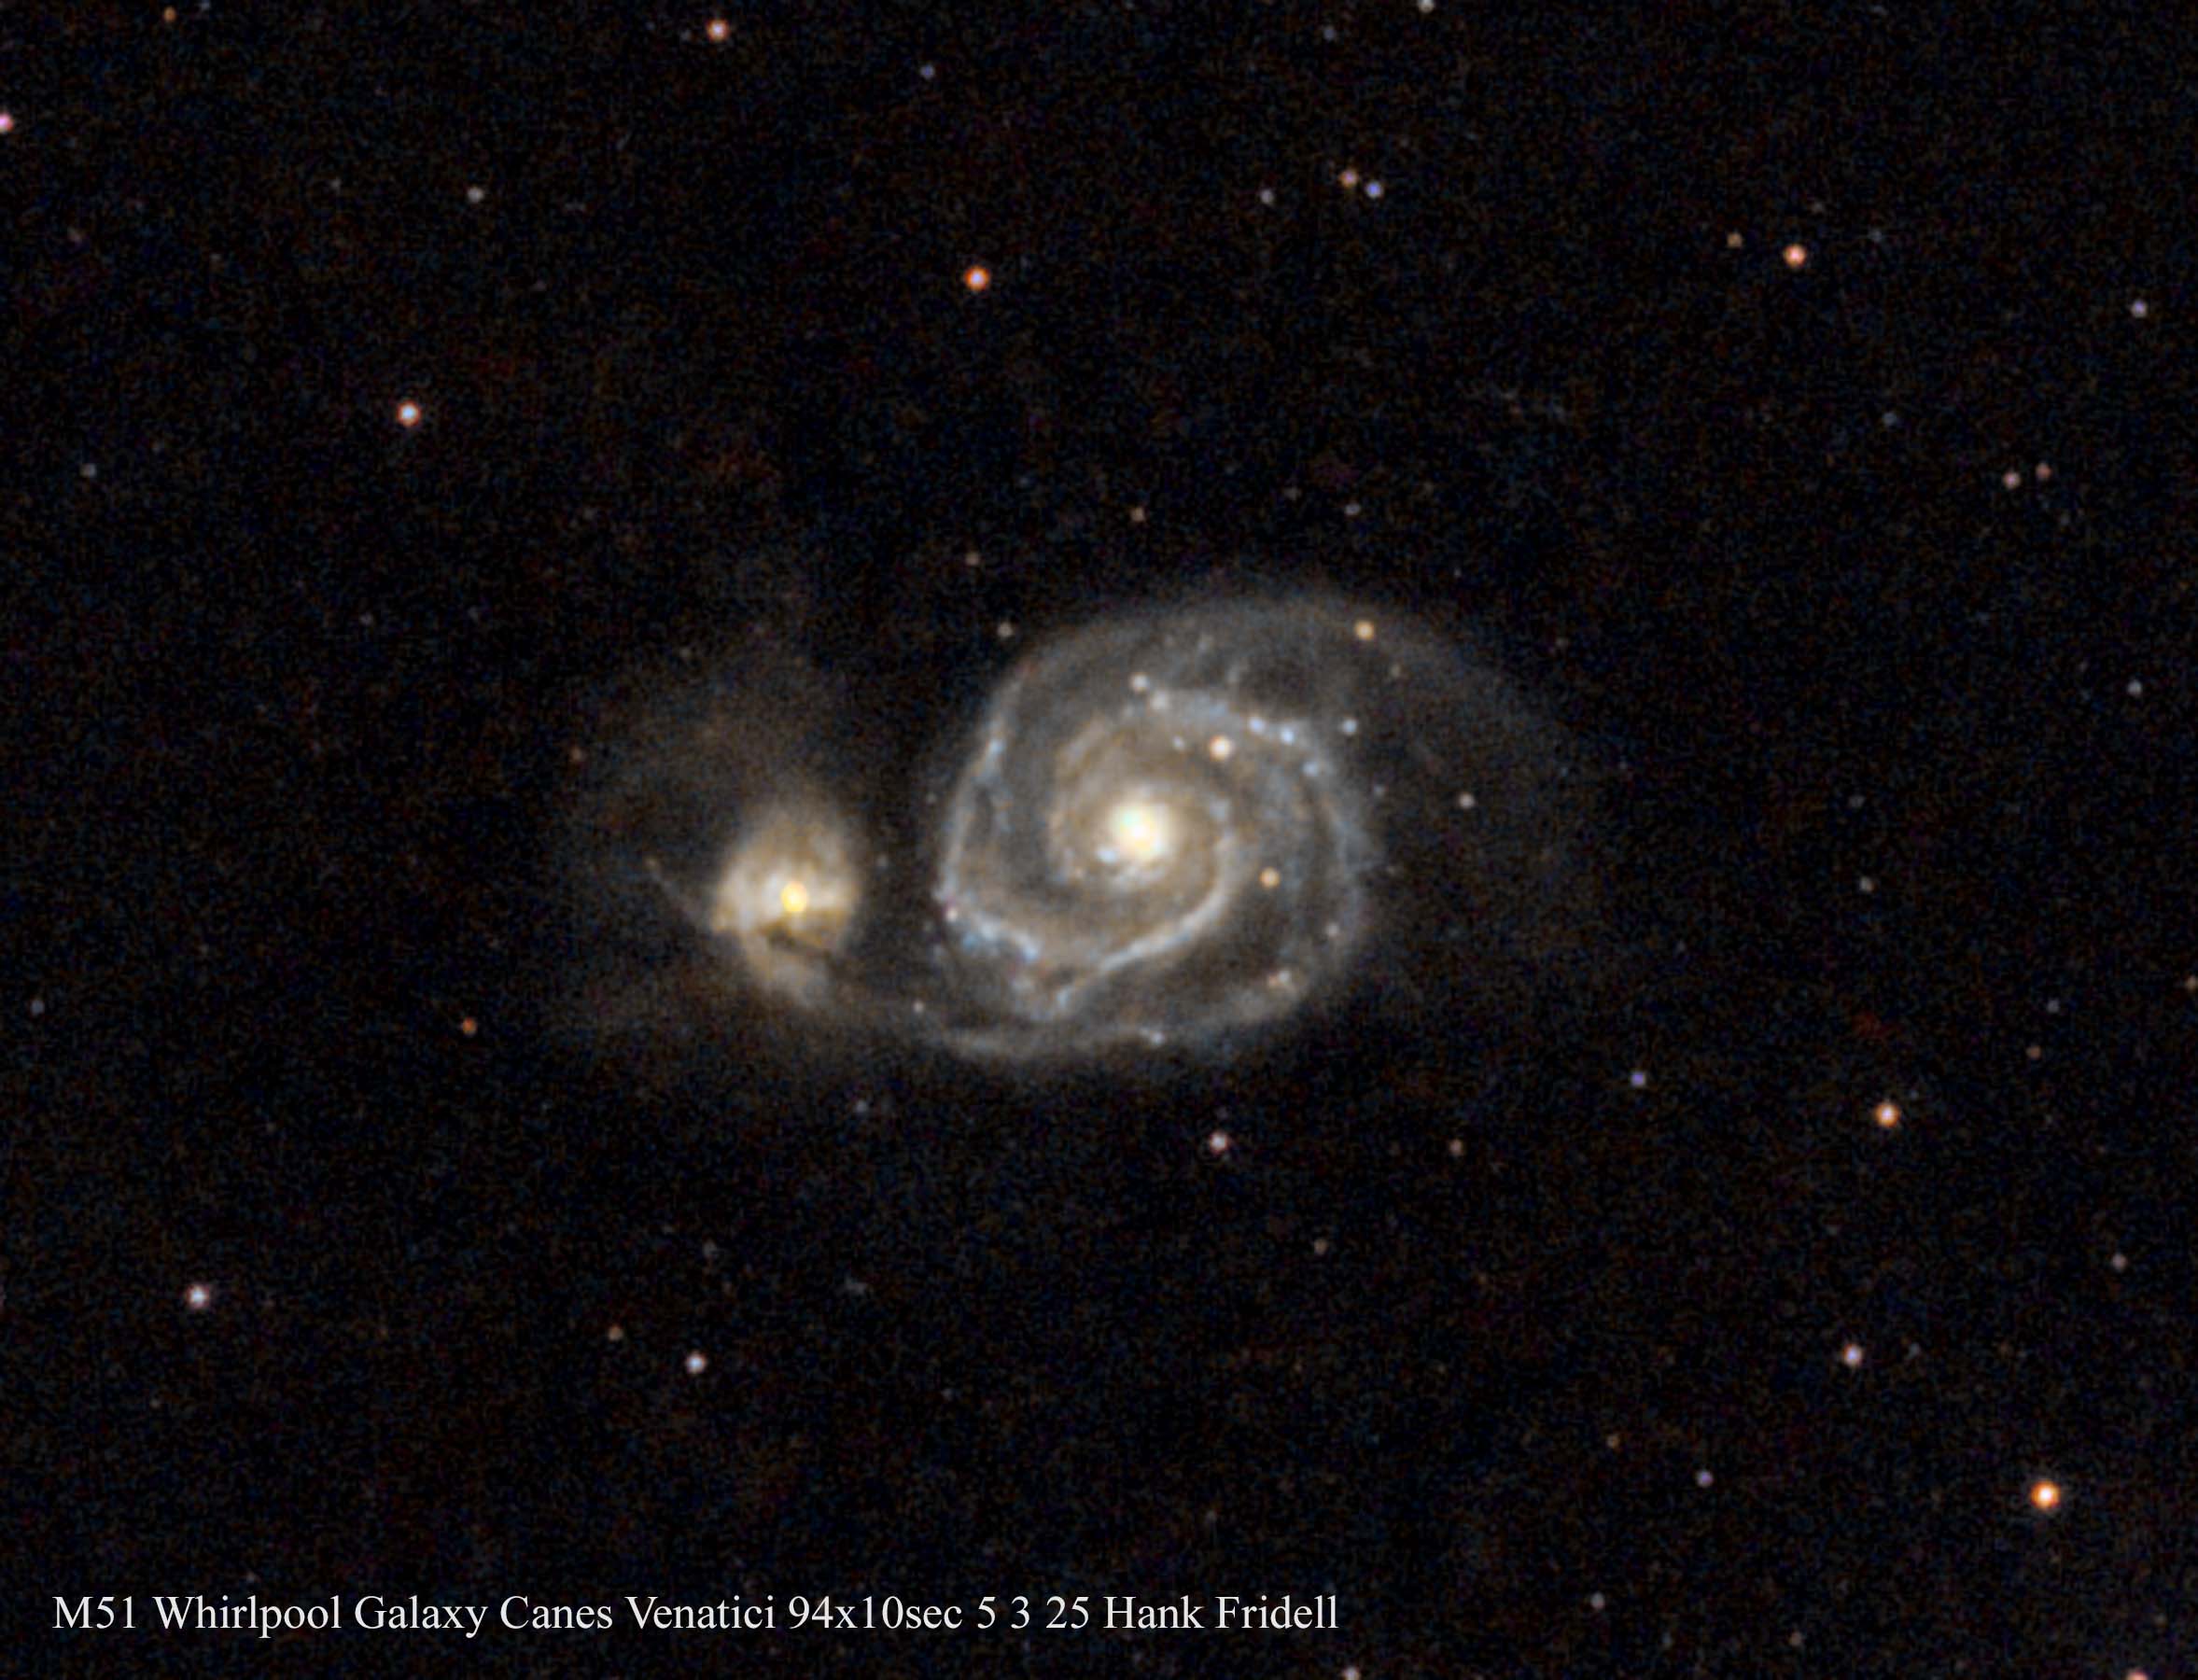
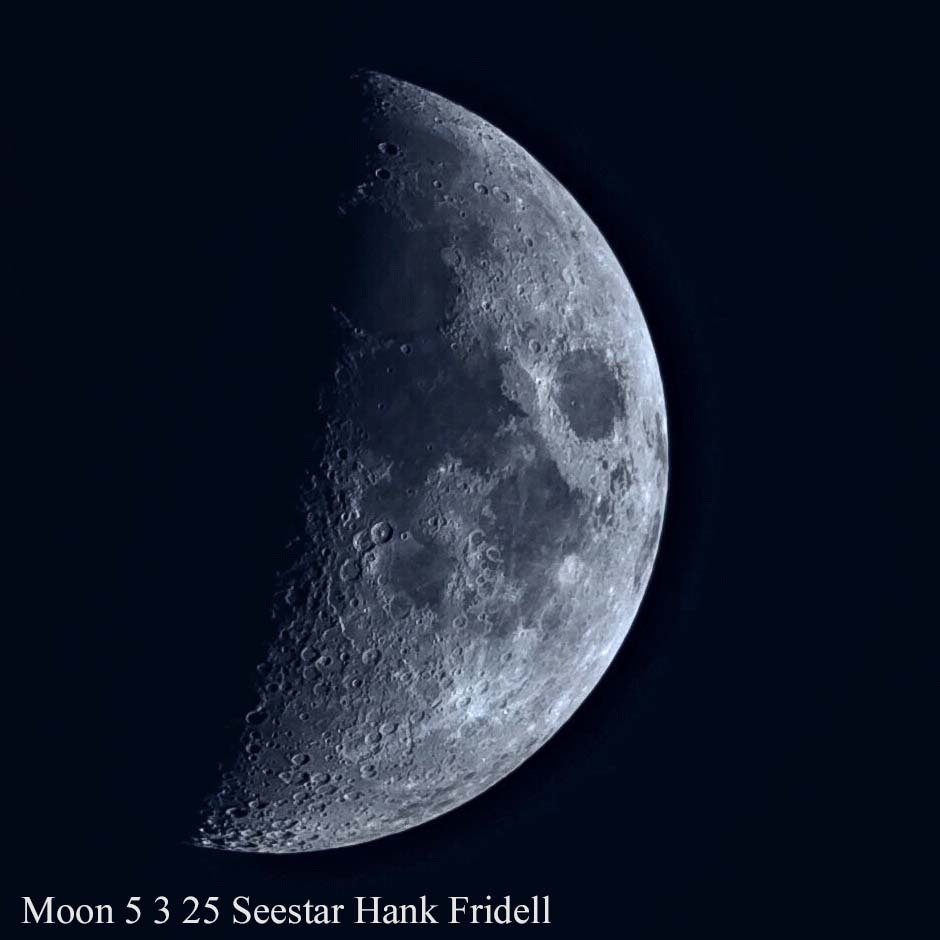
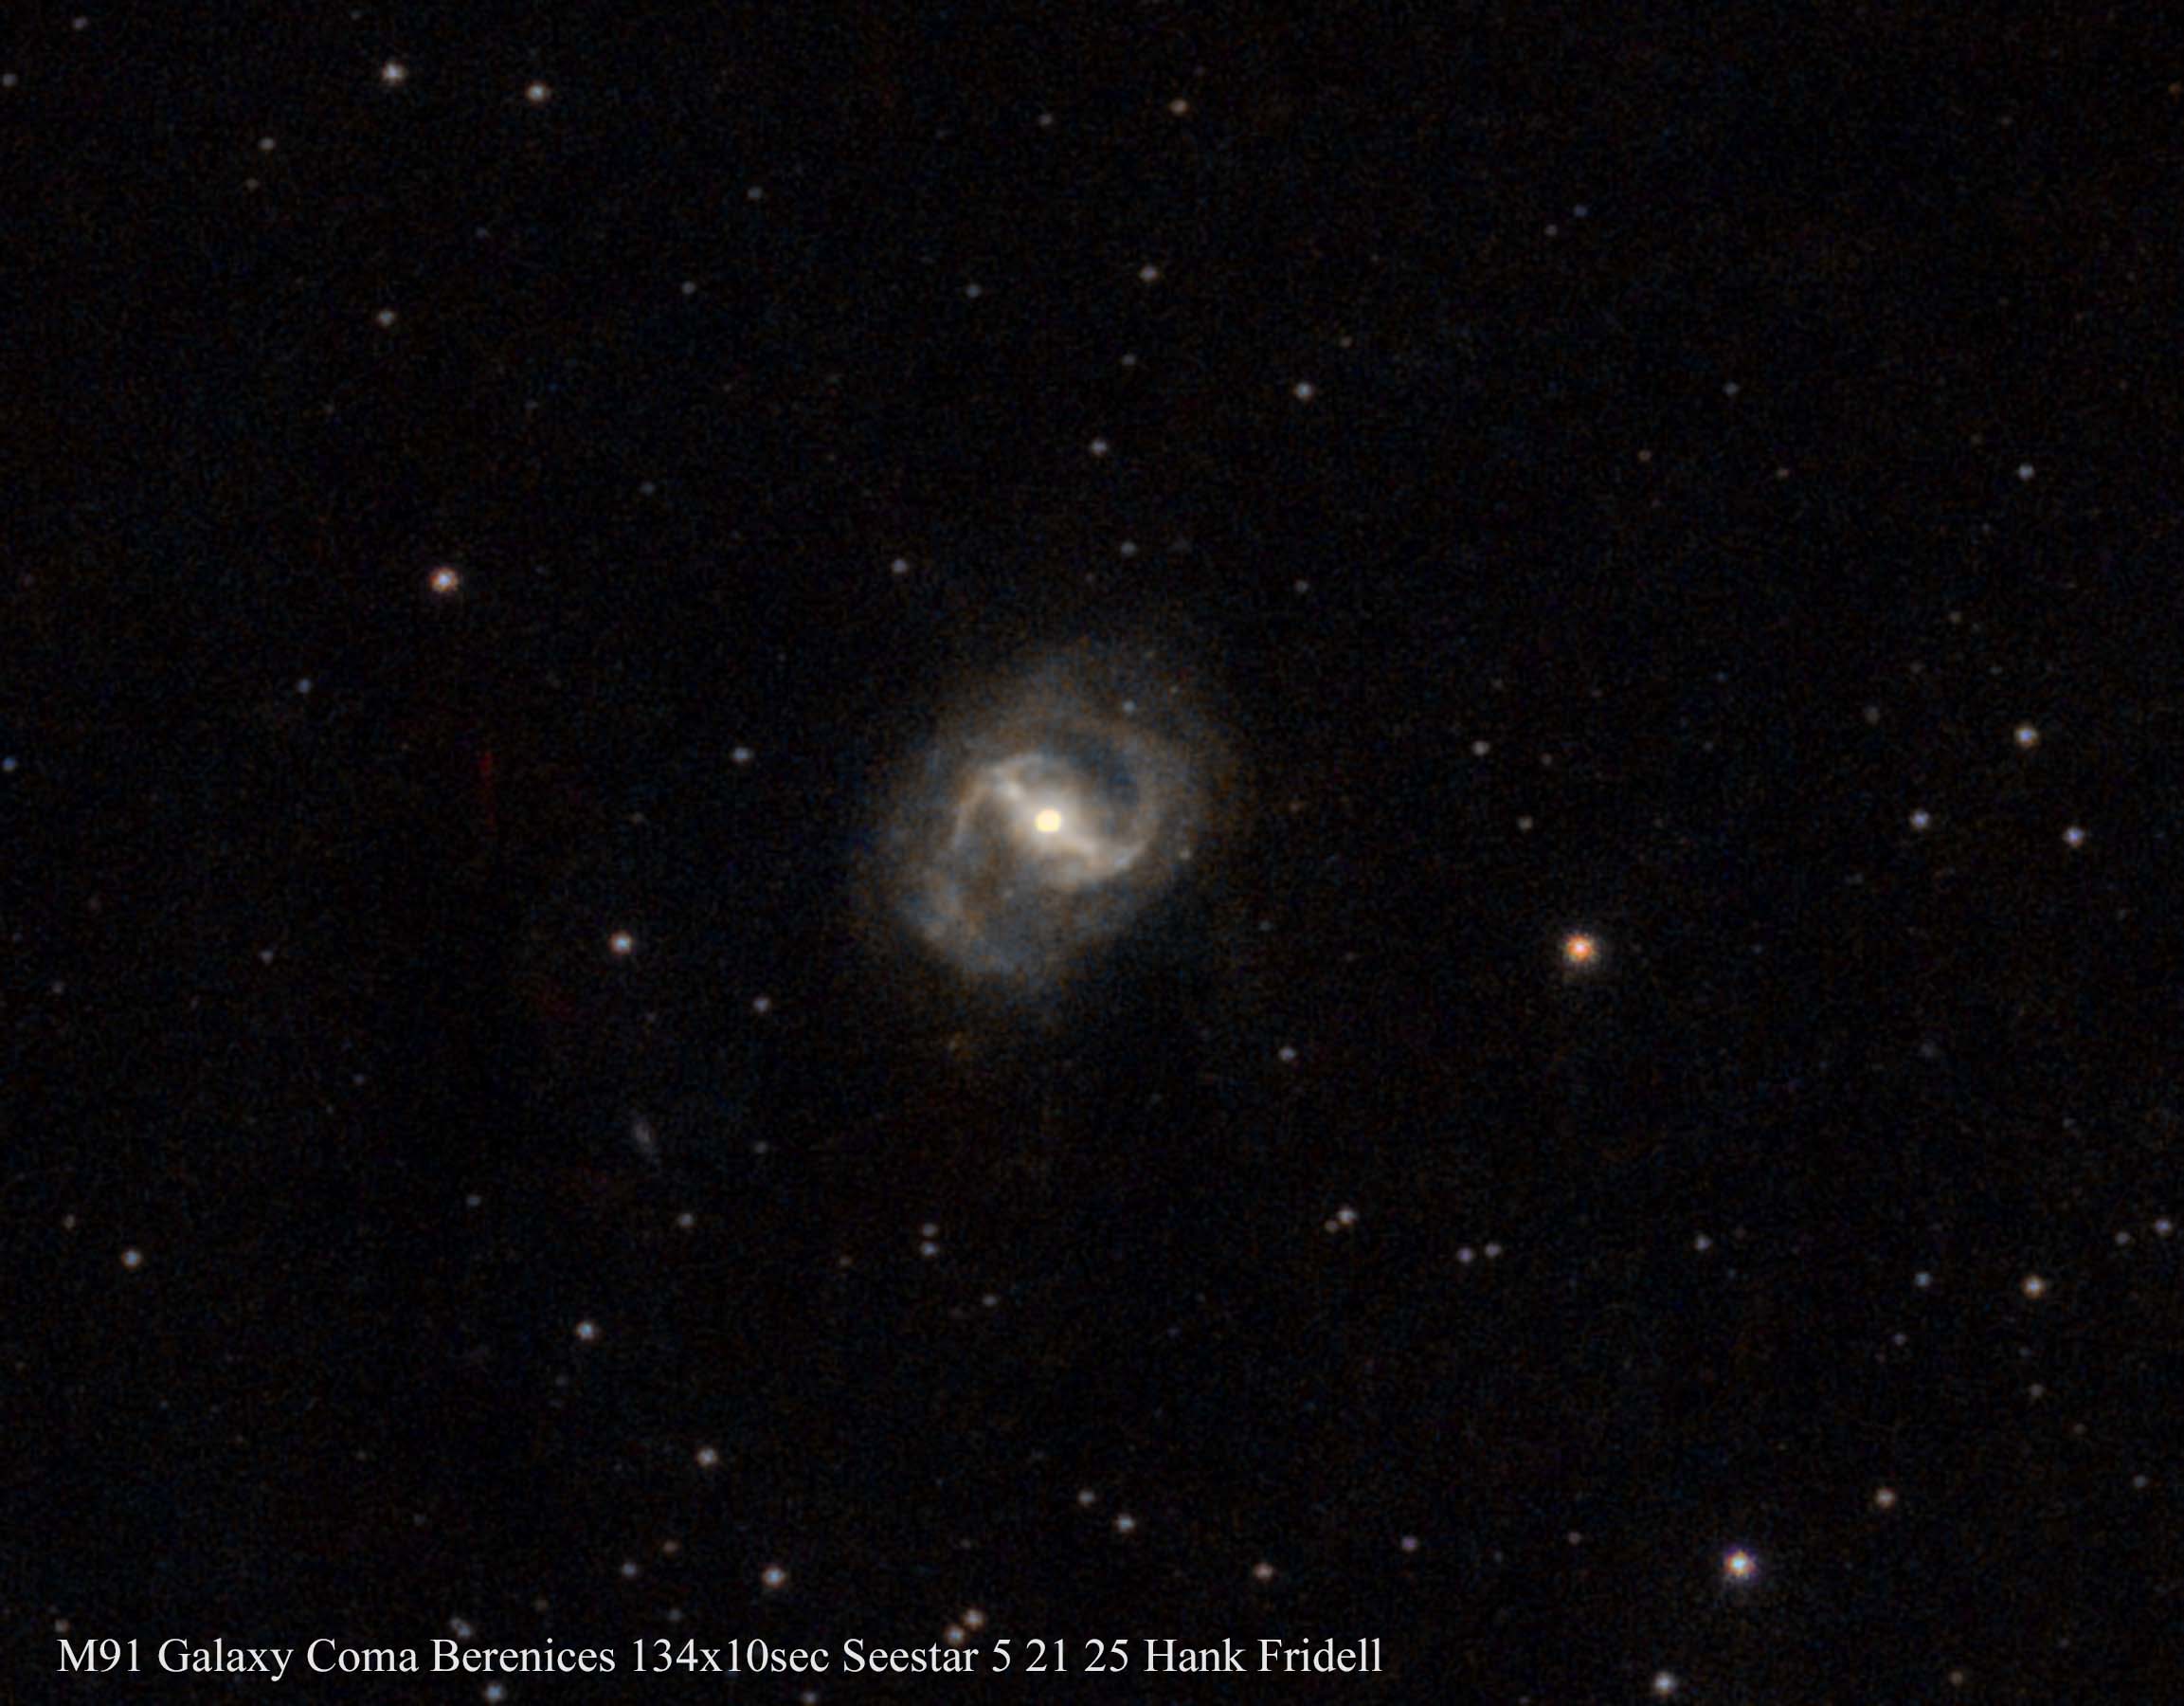
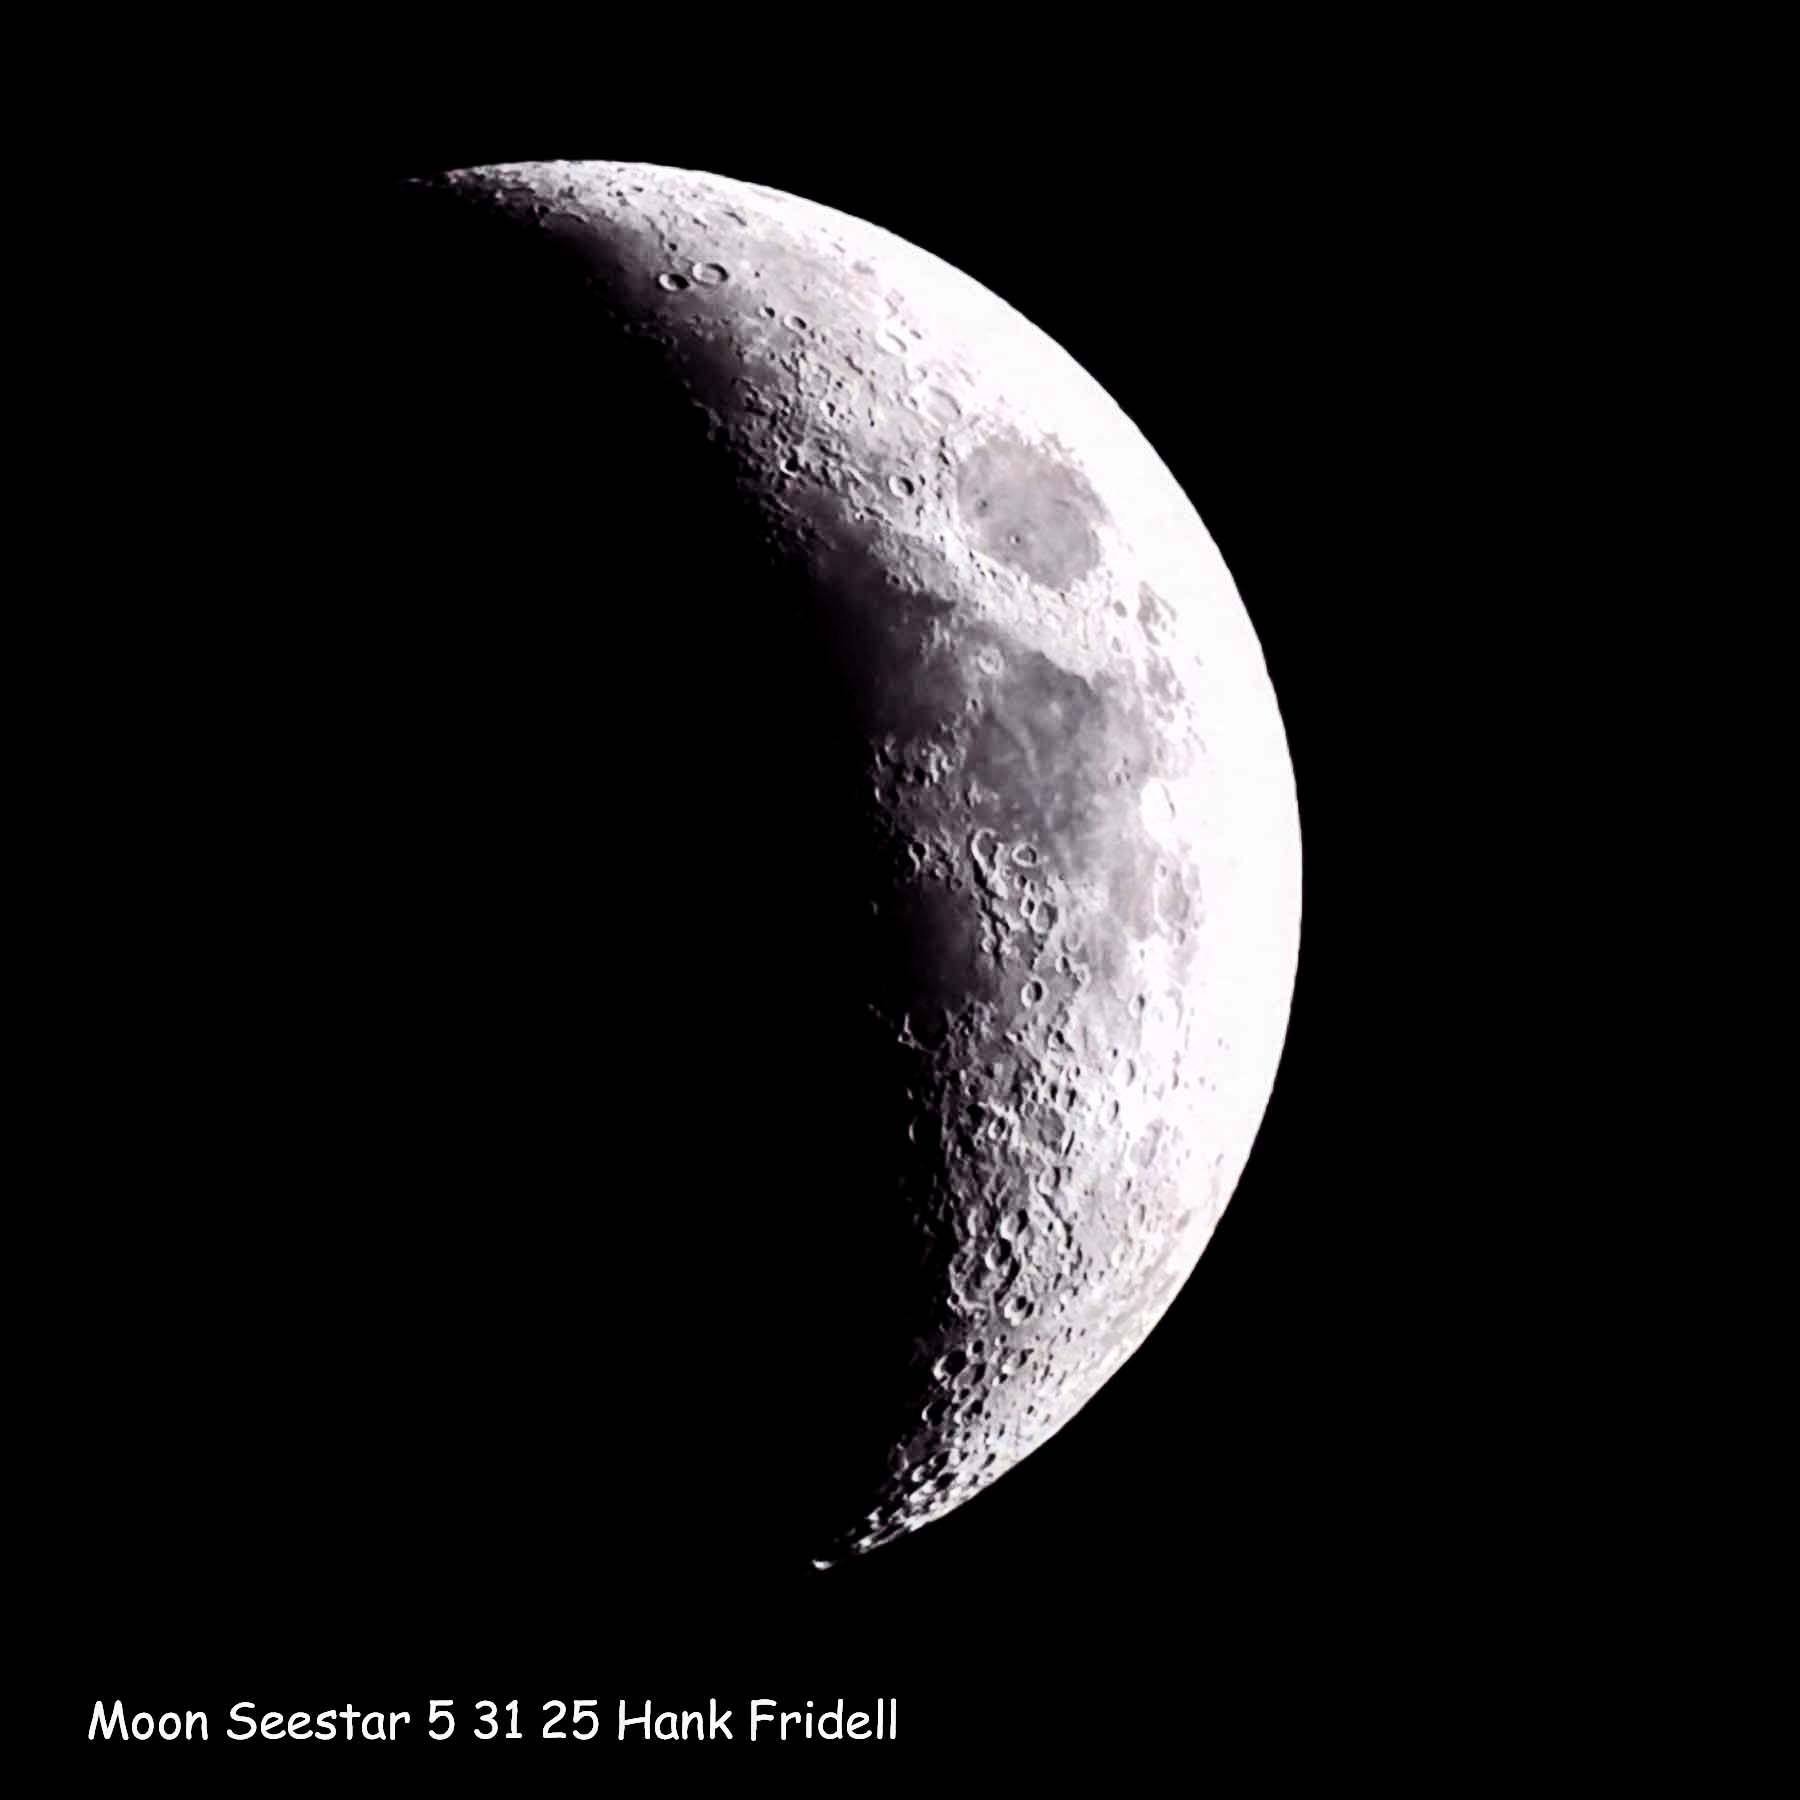
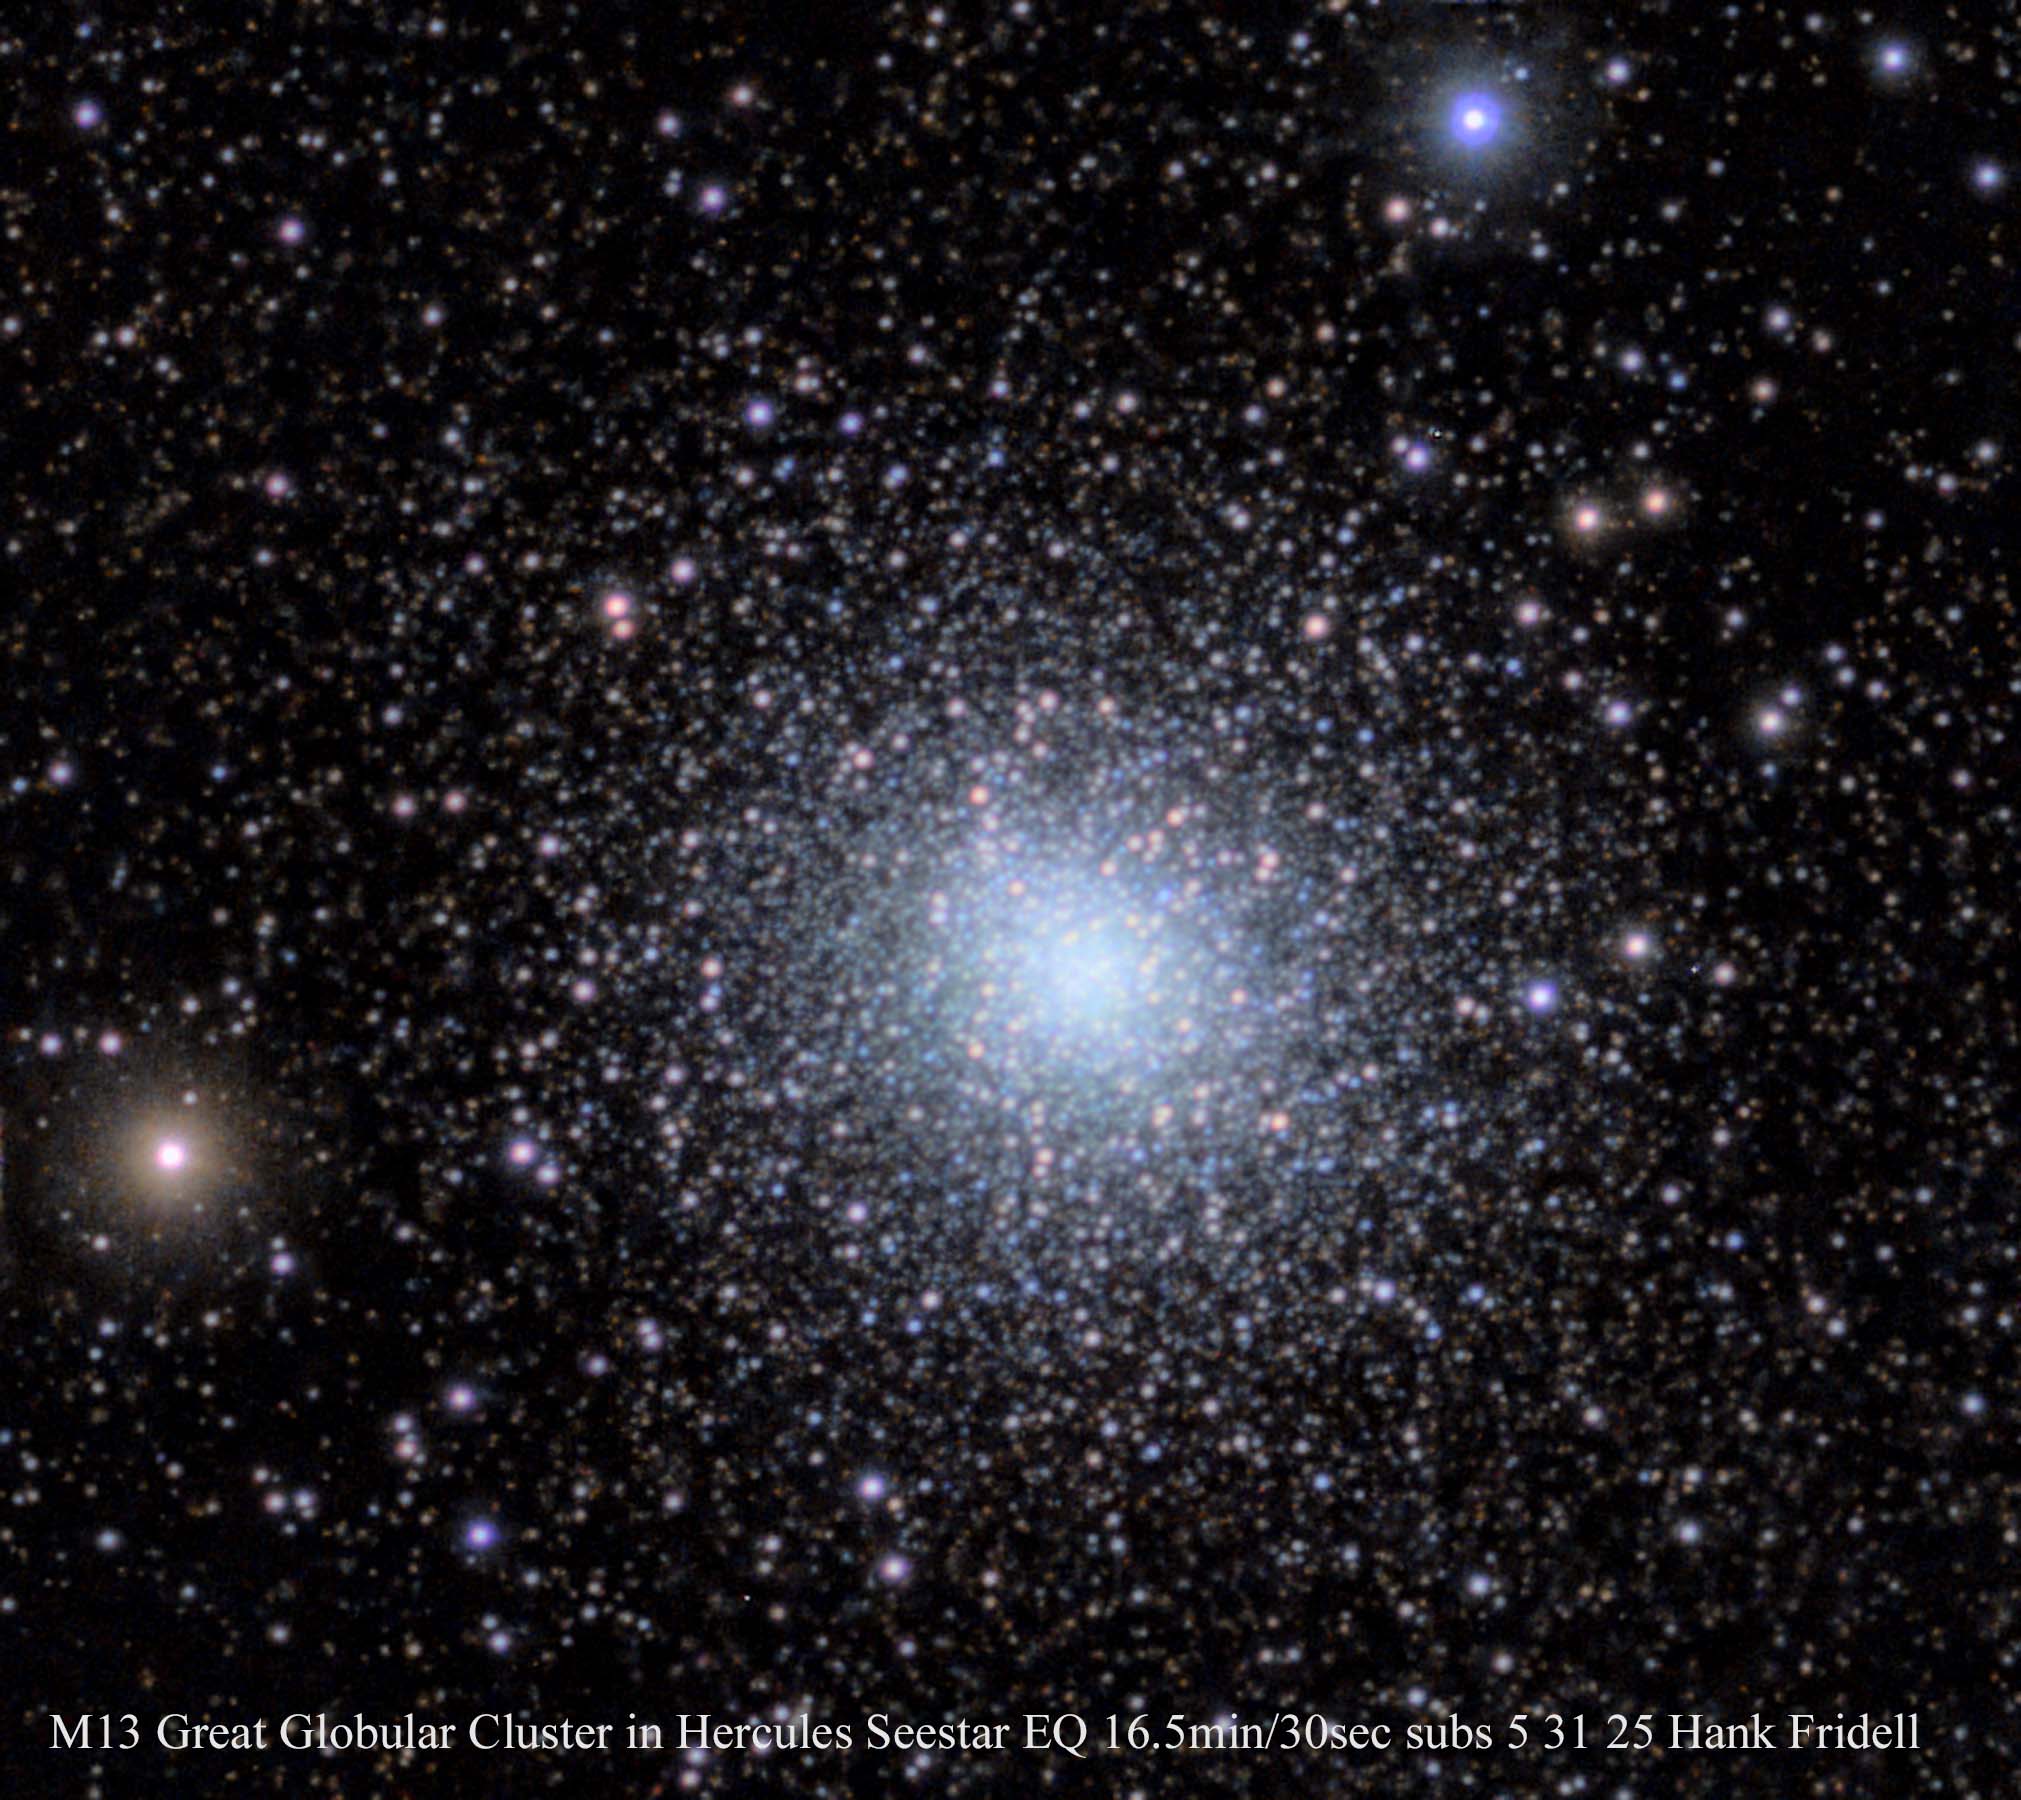
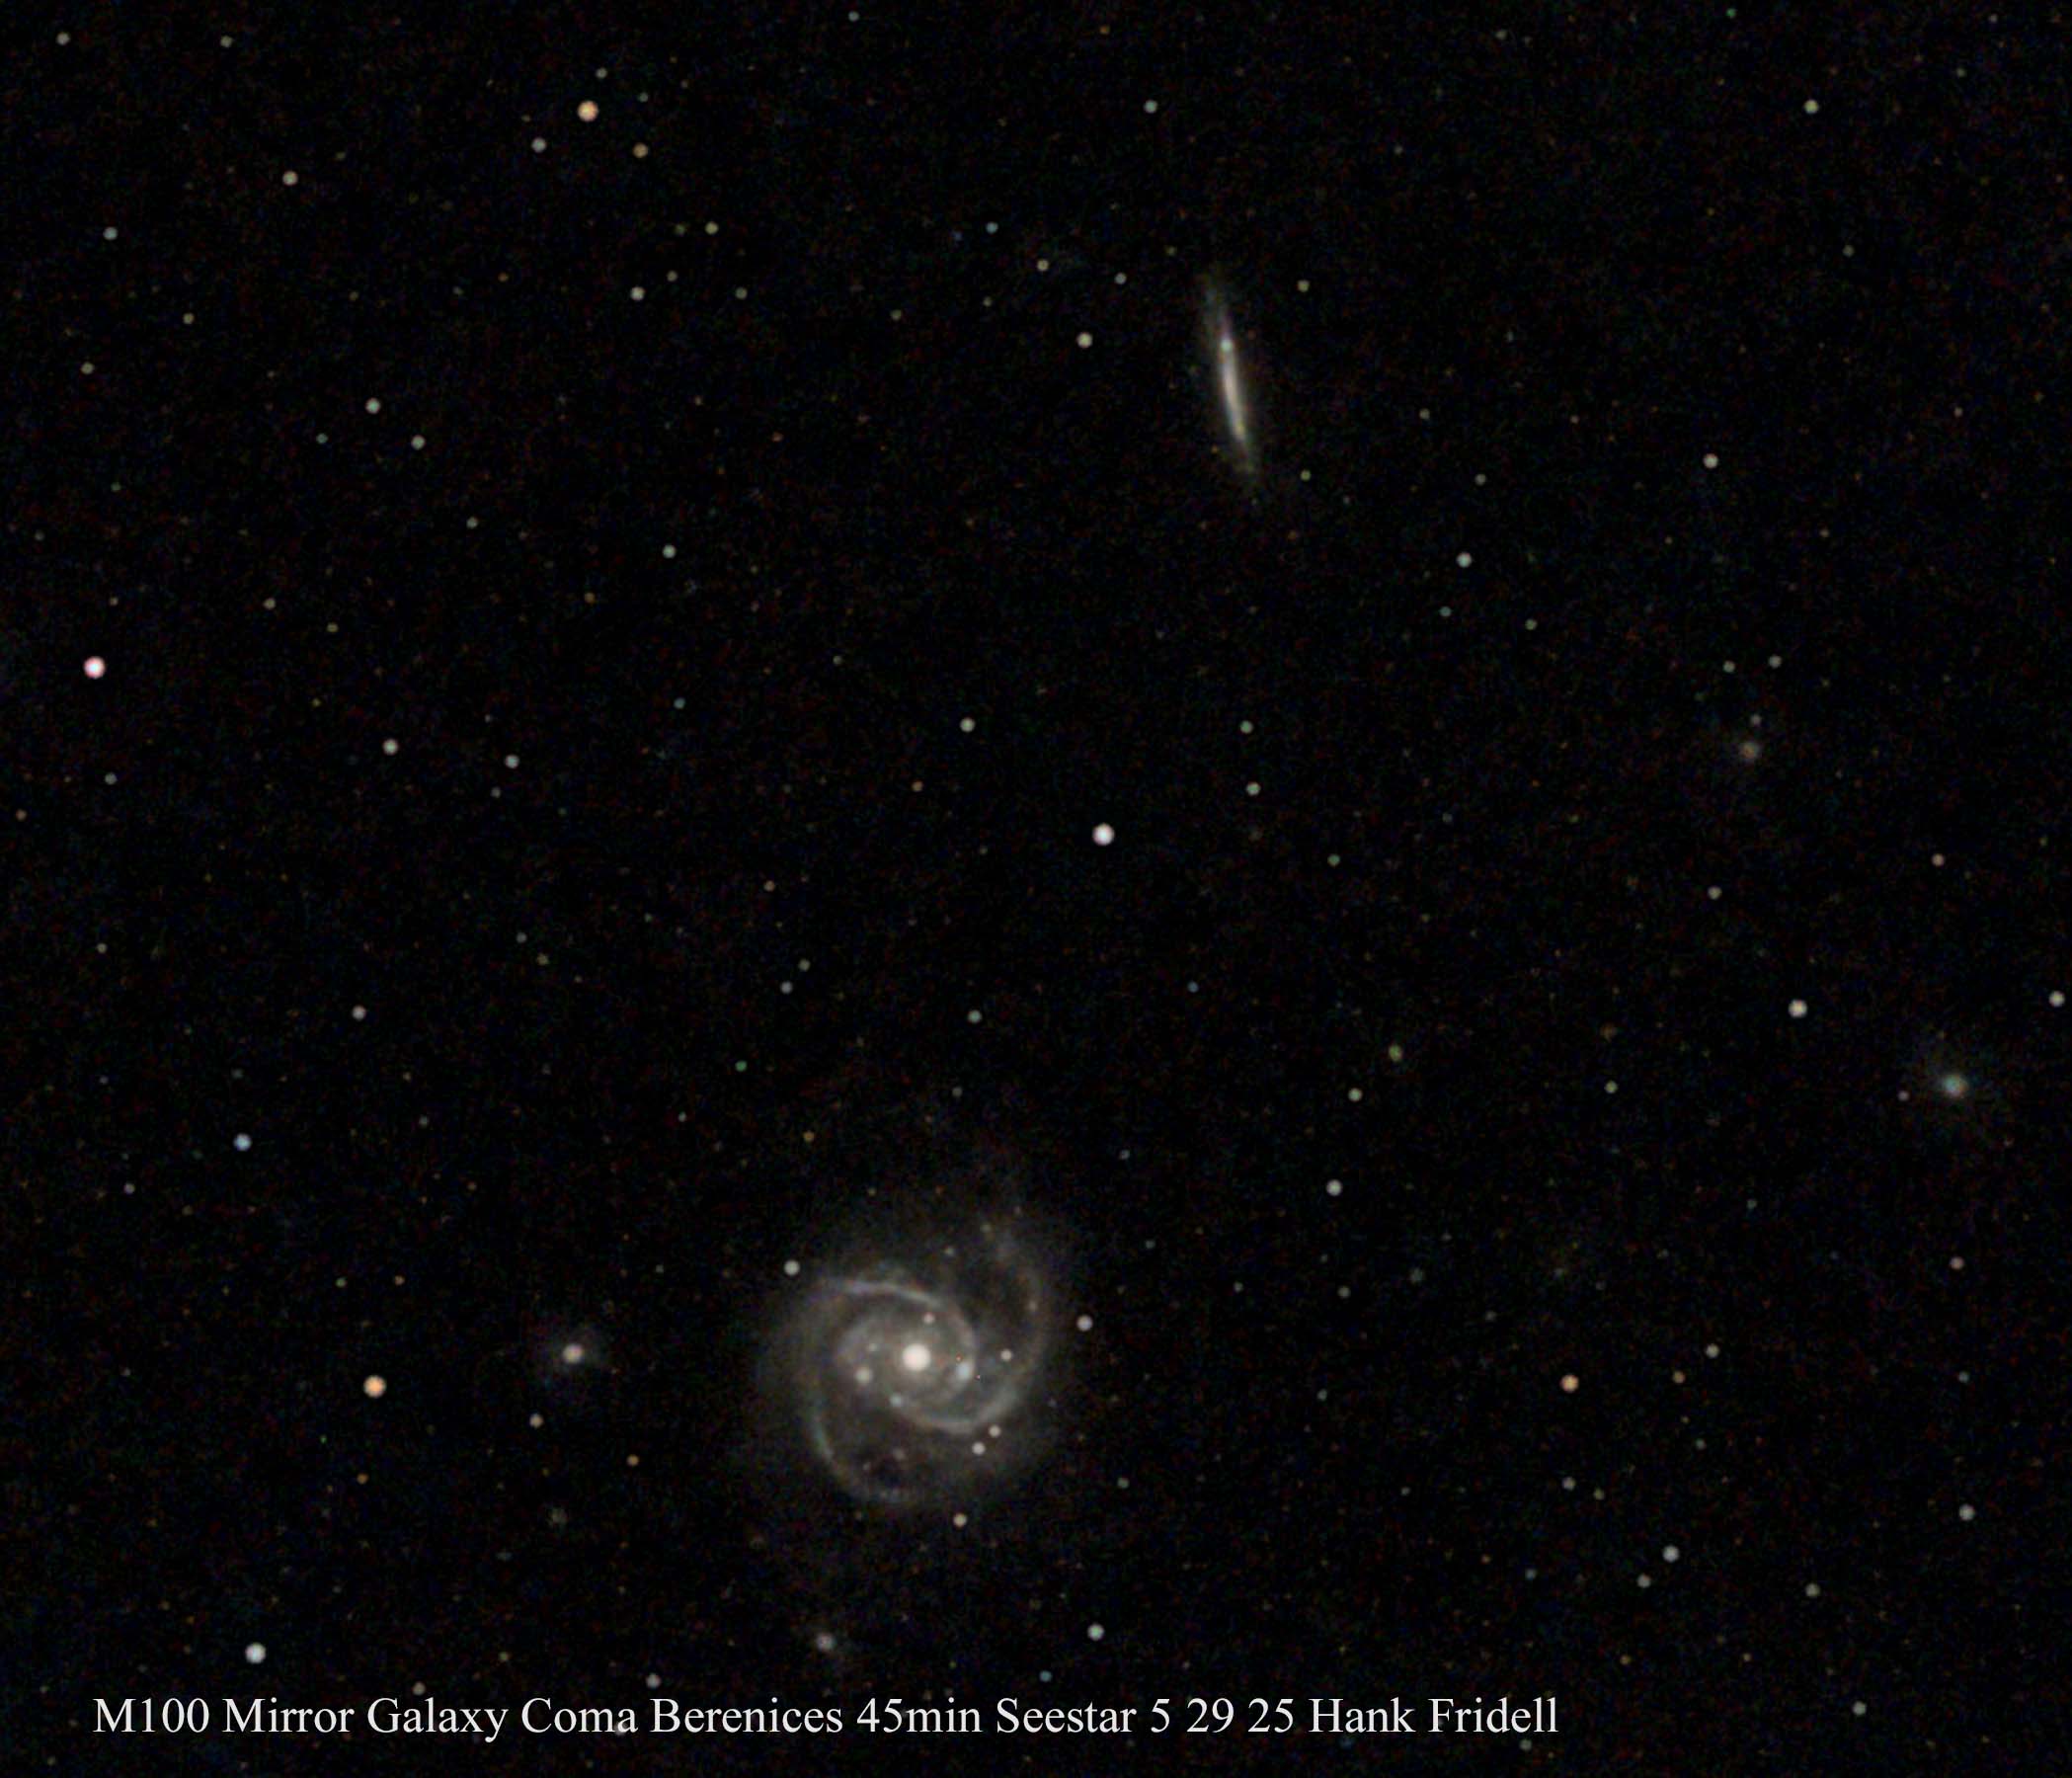
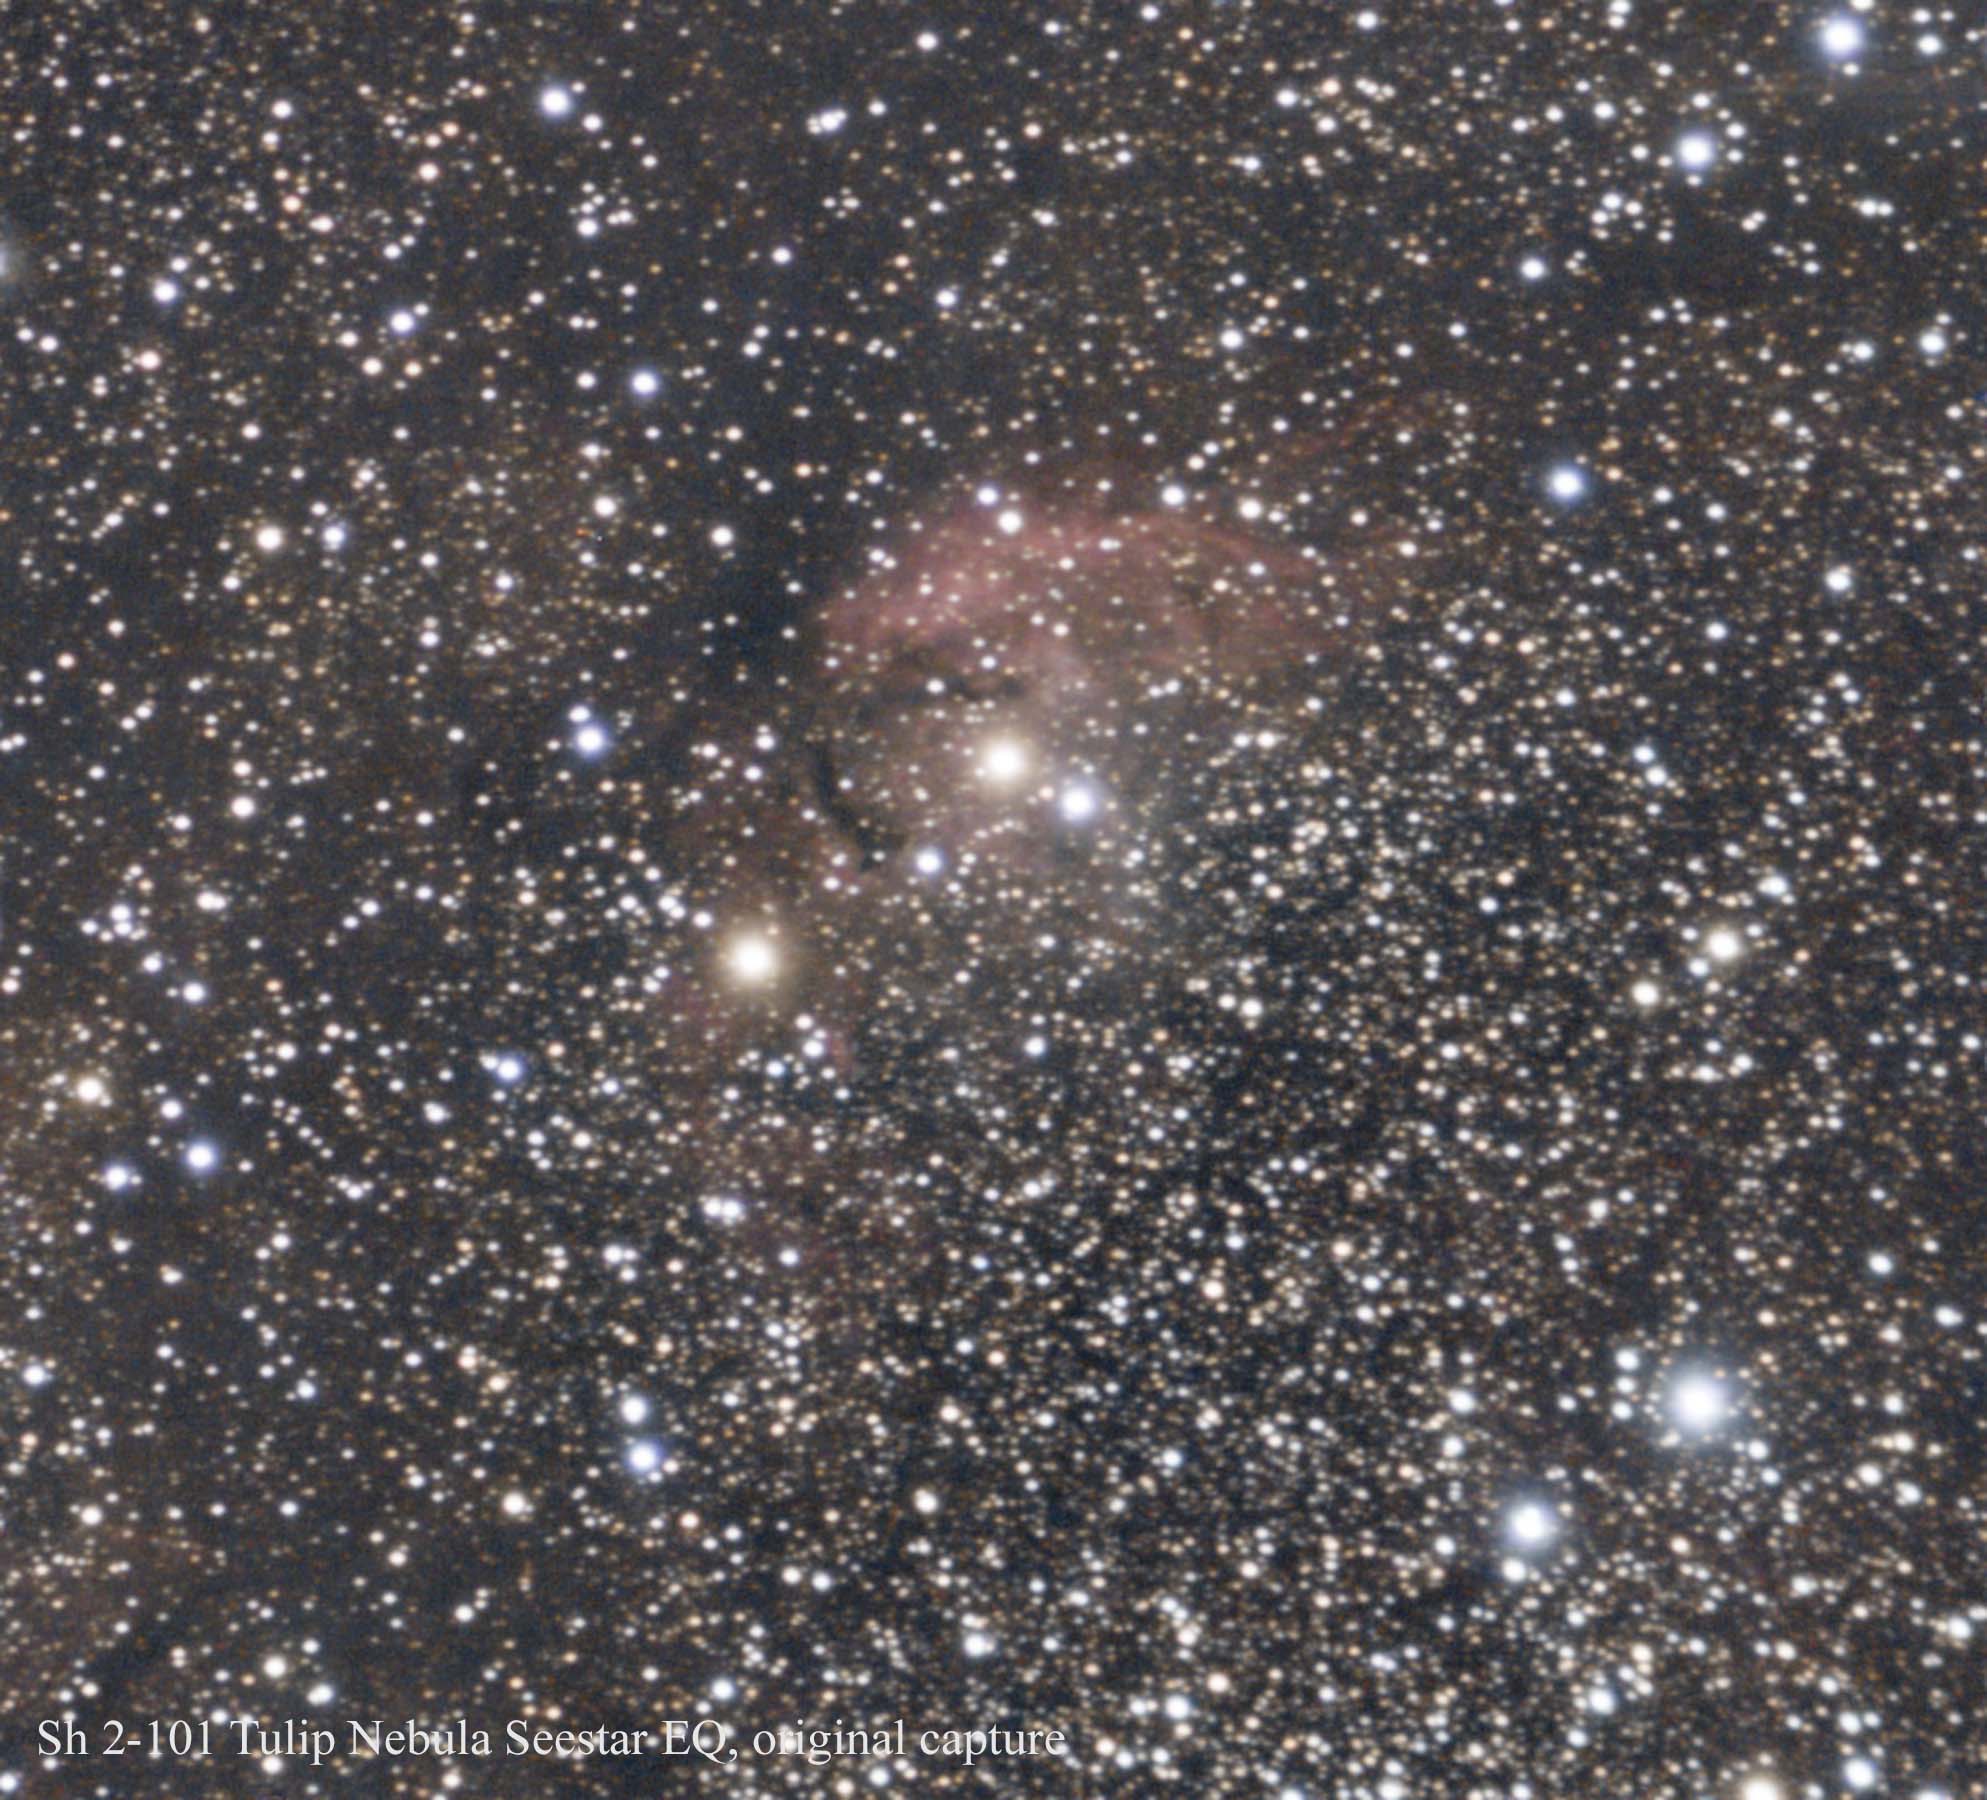
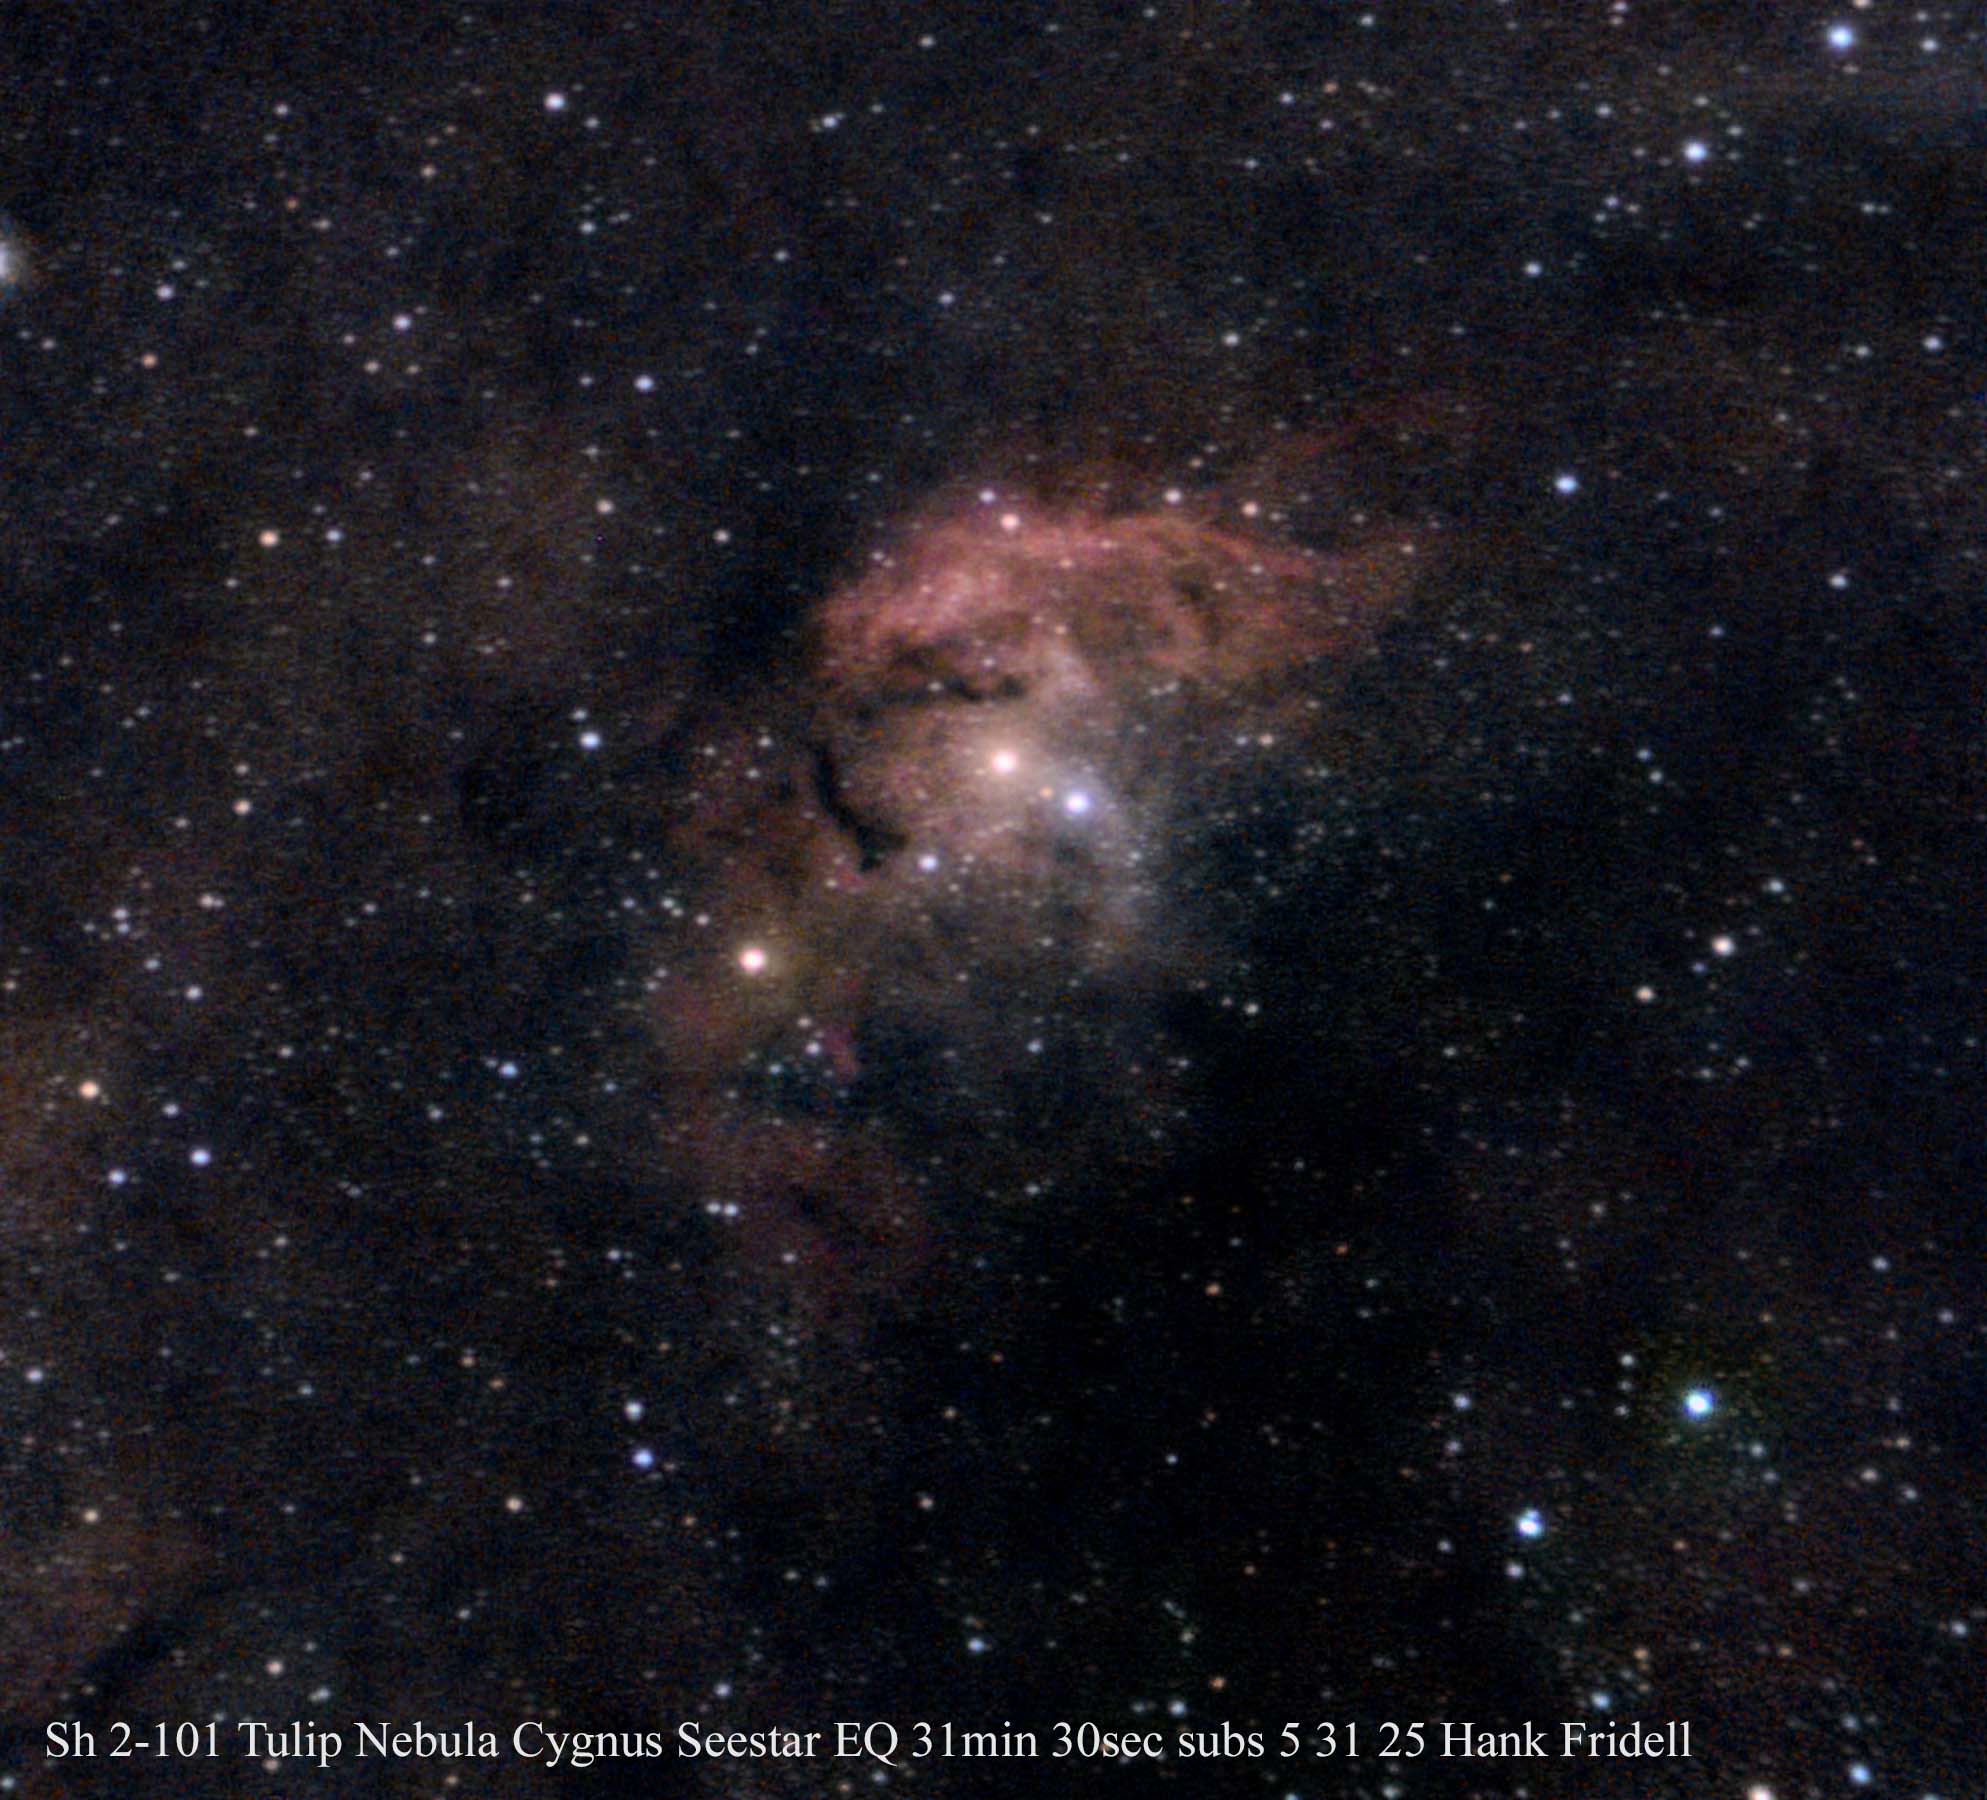
Here are some images I took this month with the Seestar.

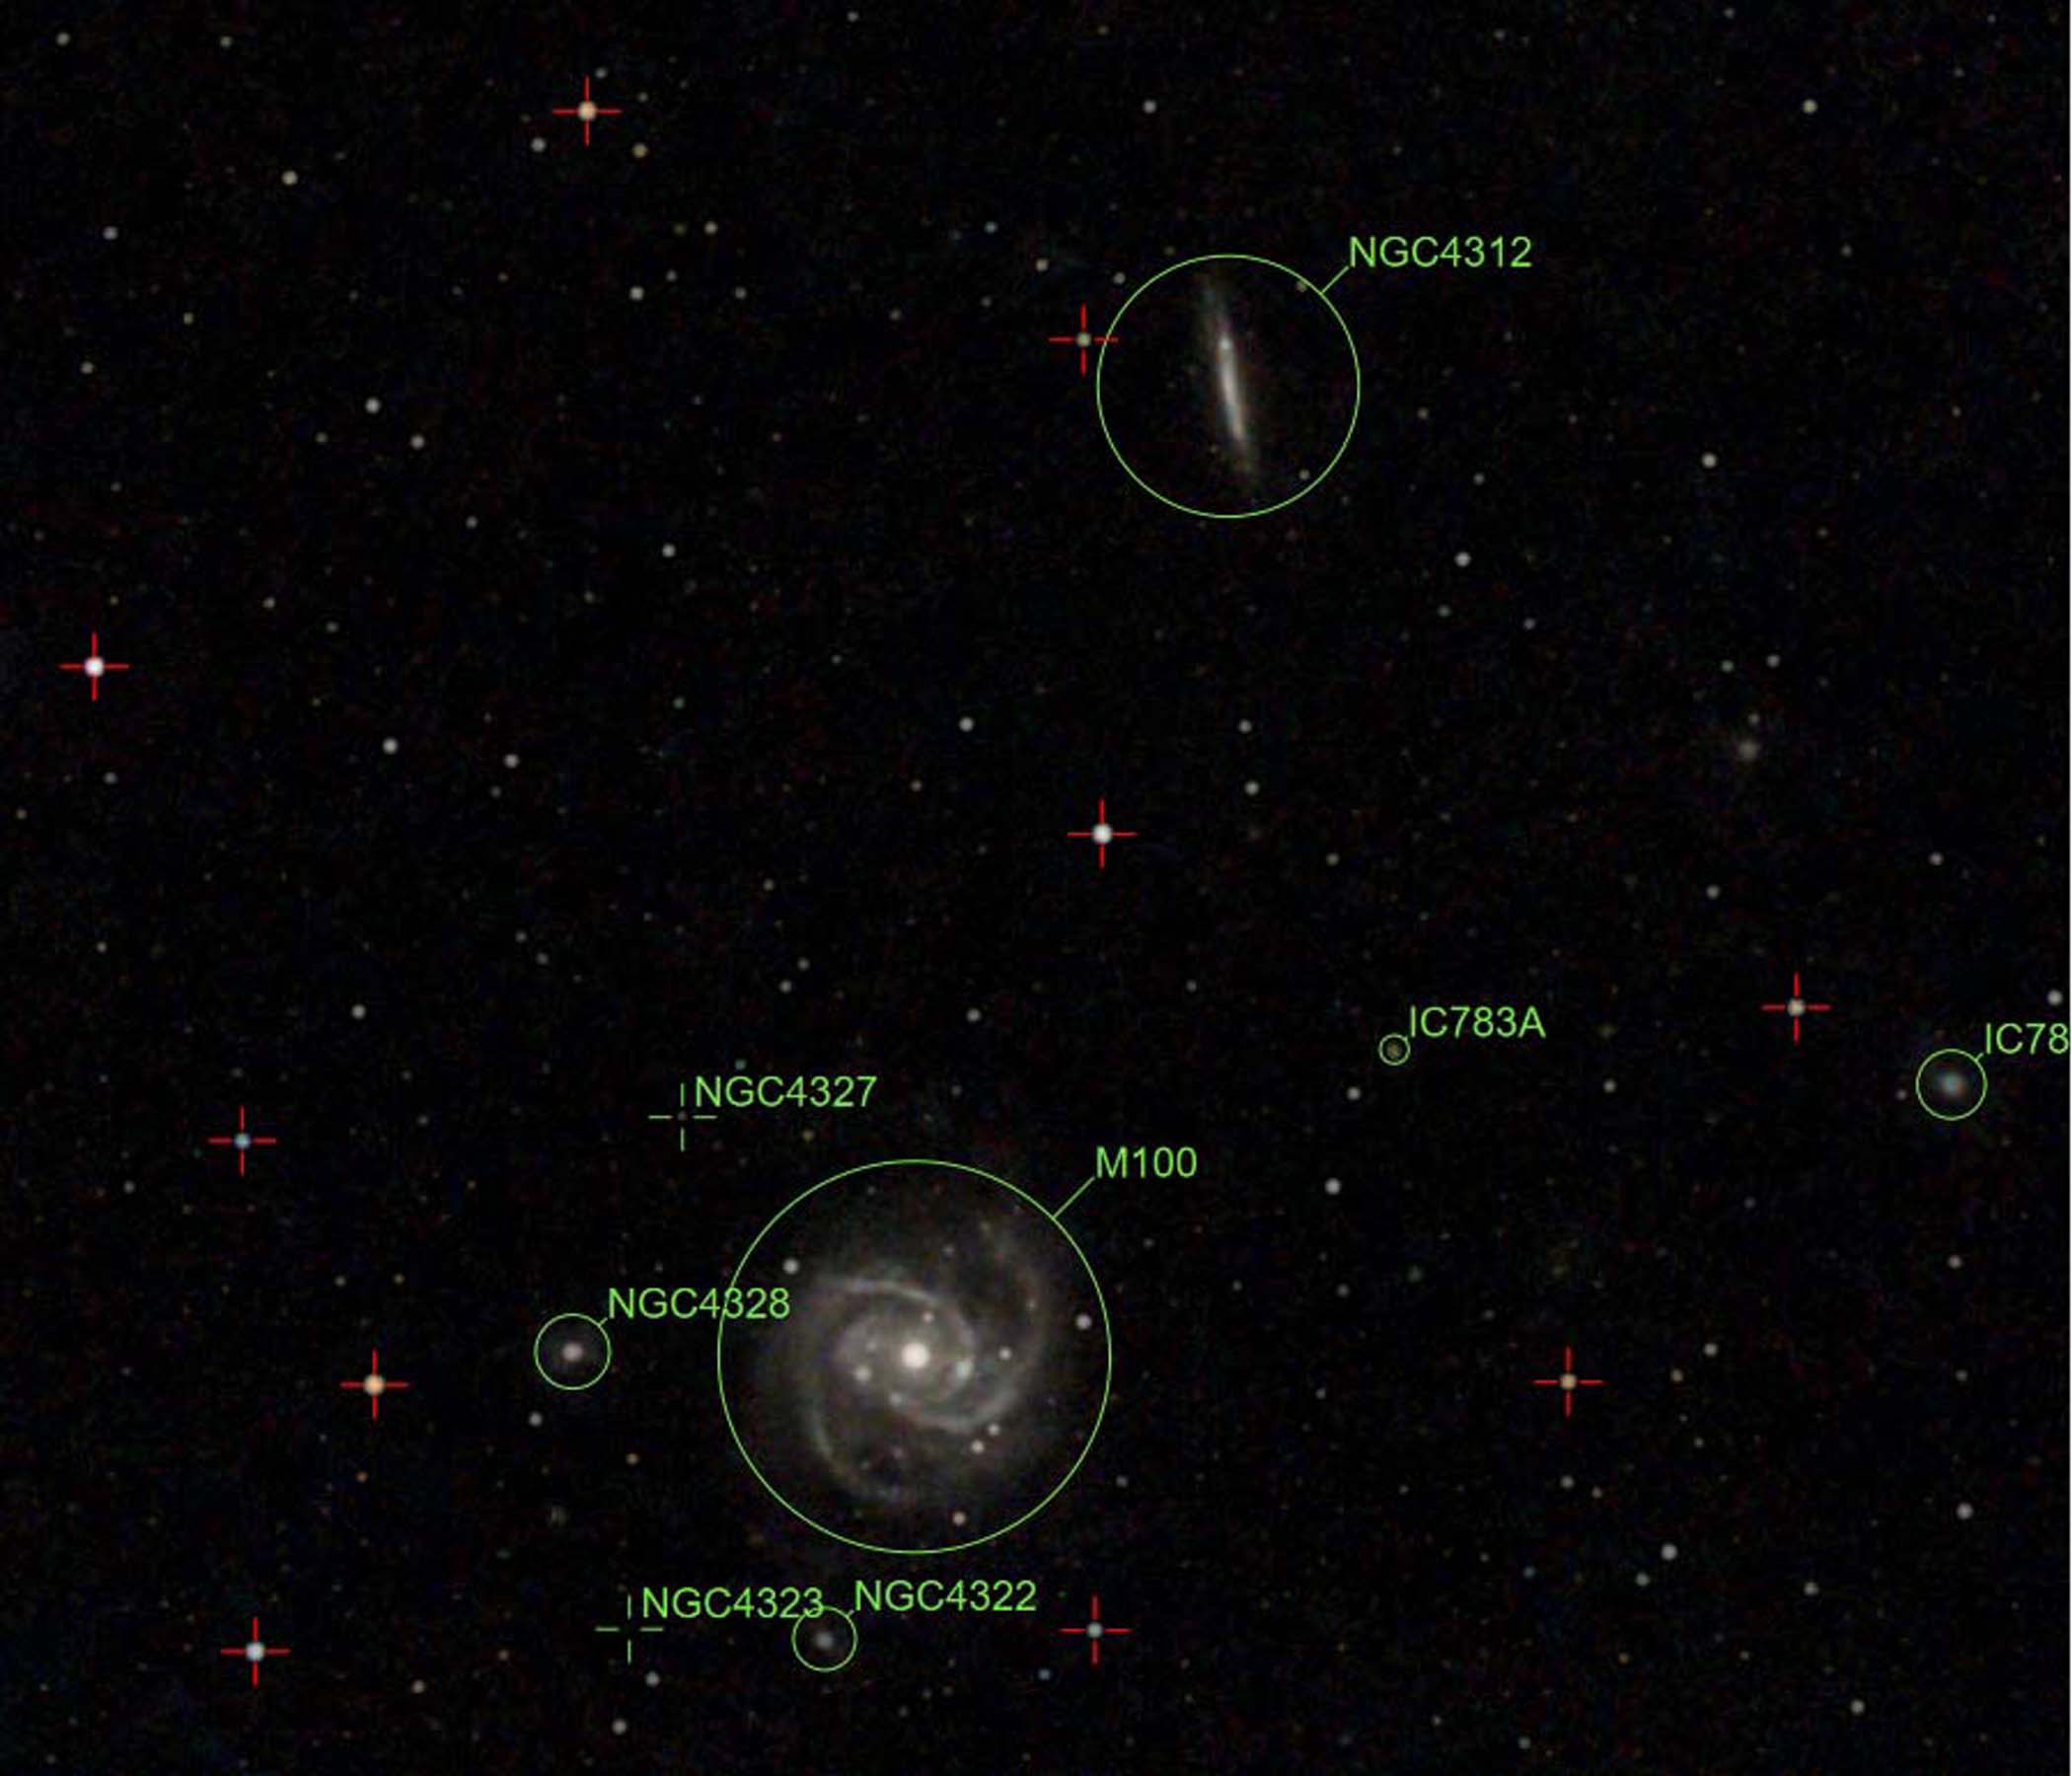
One of the cool things that Seestar can do is identify objects that are also in the image. Here’s M100 and the Annotated image.
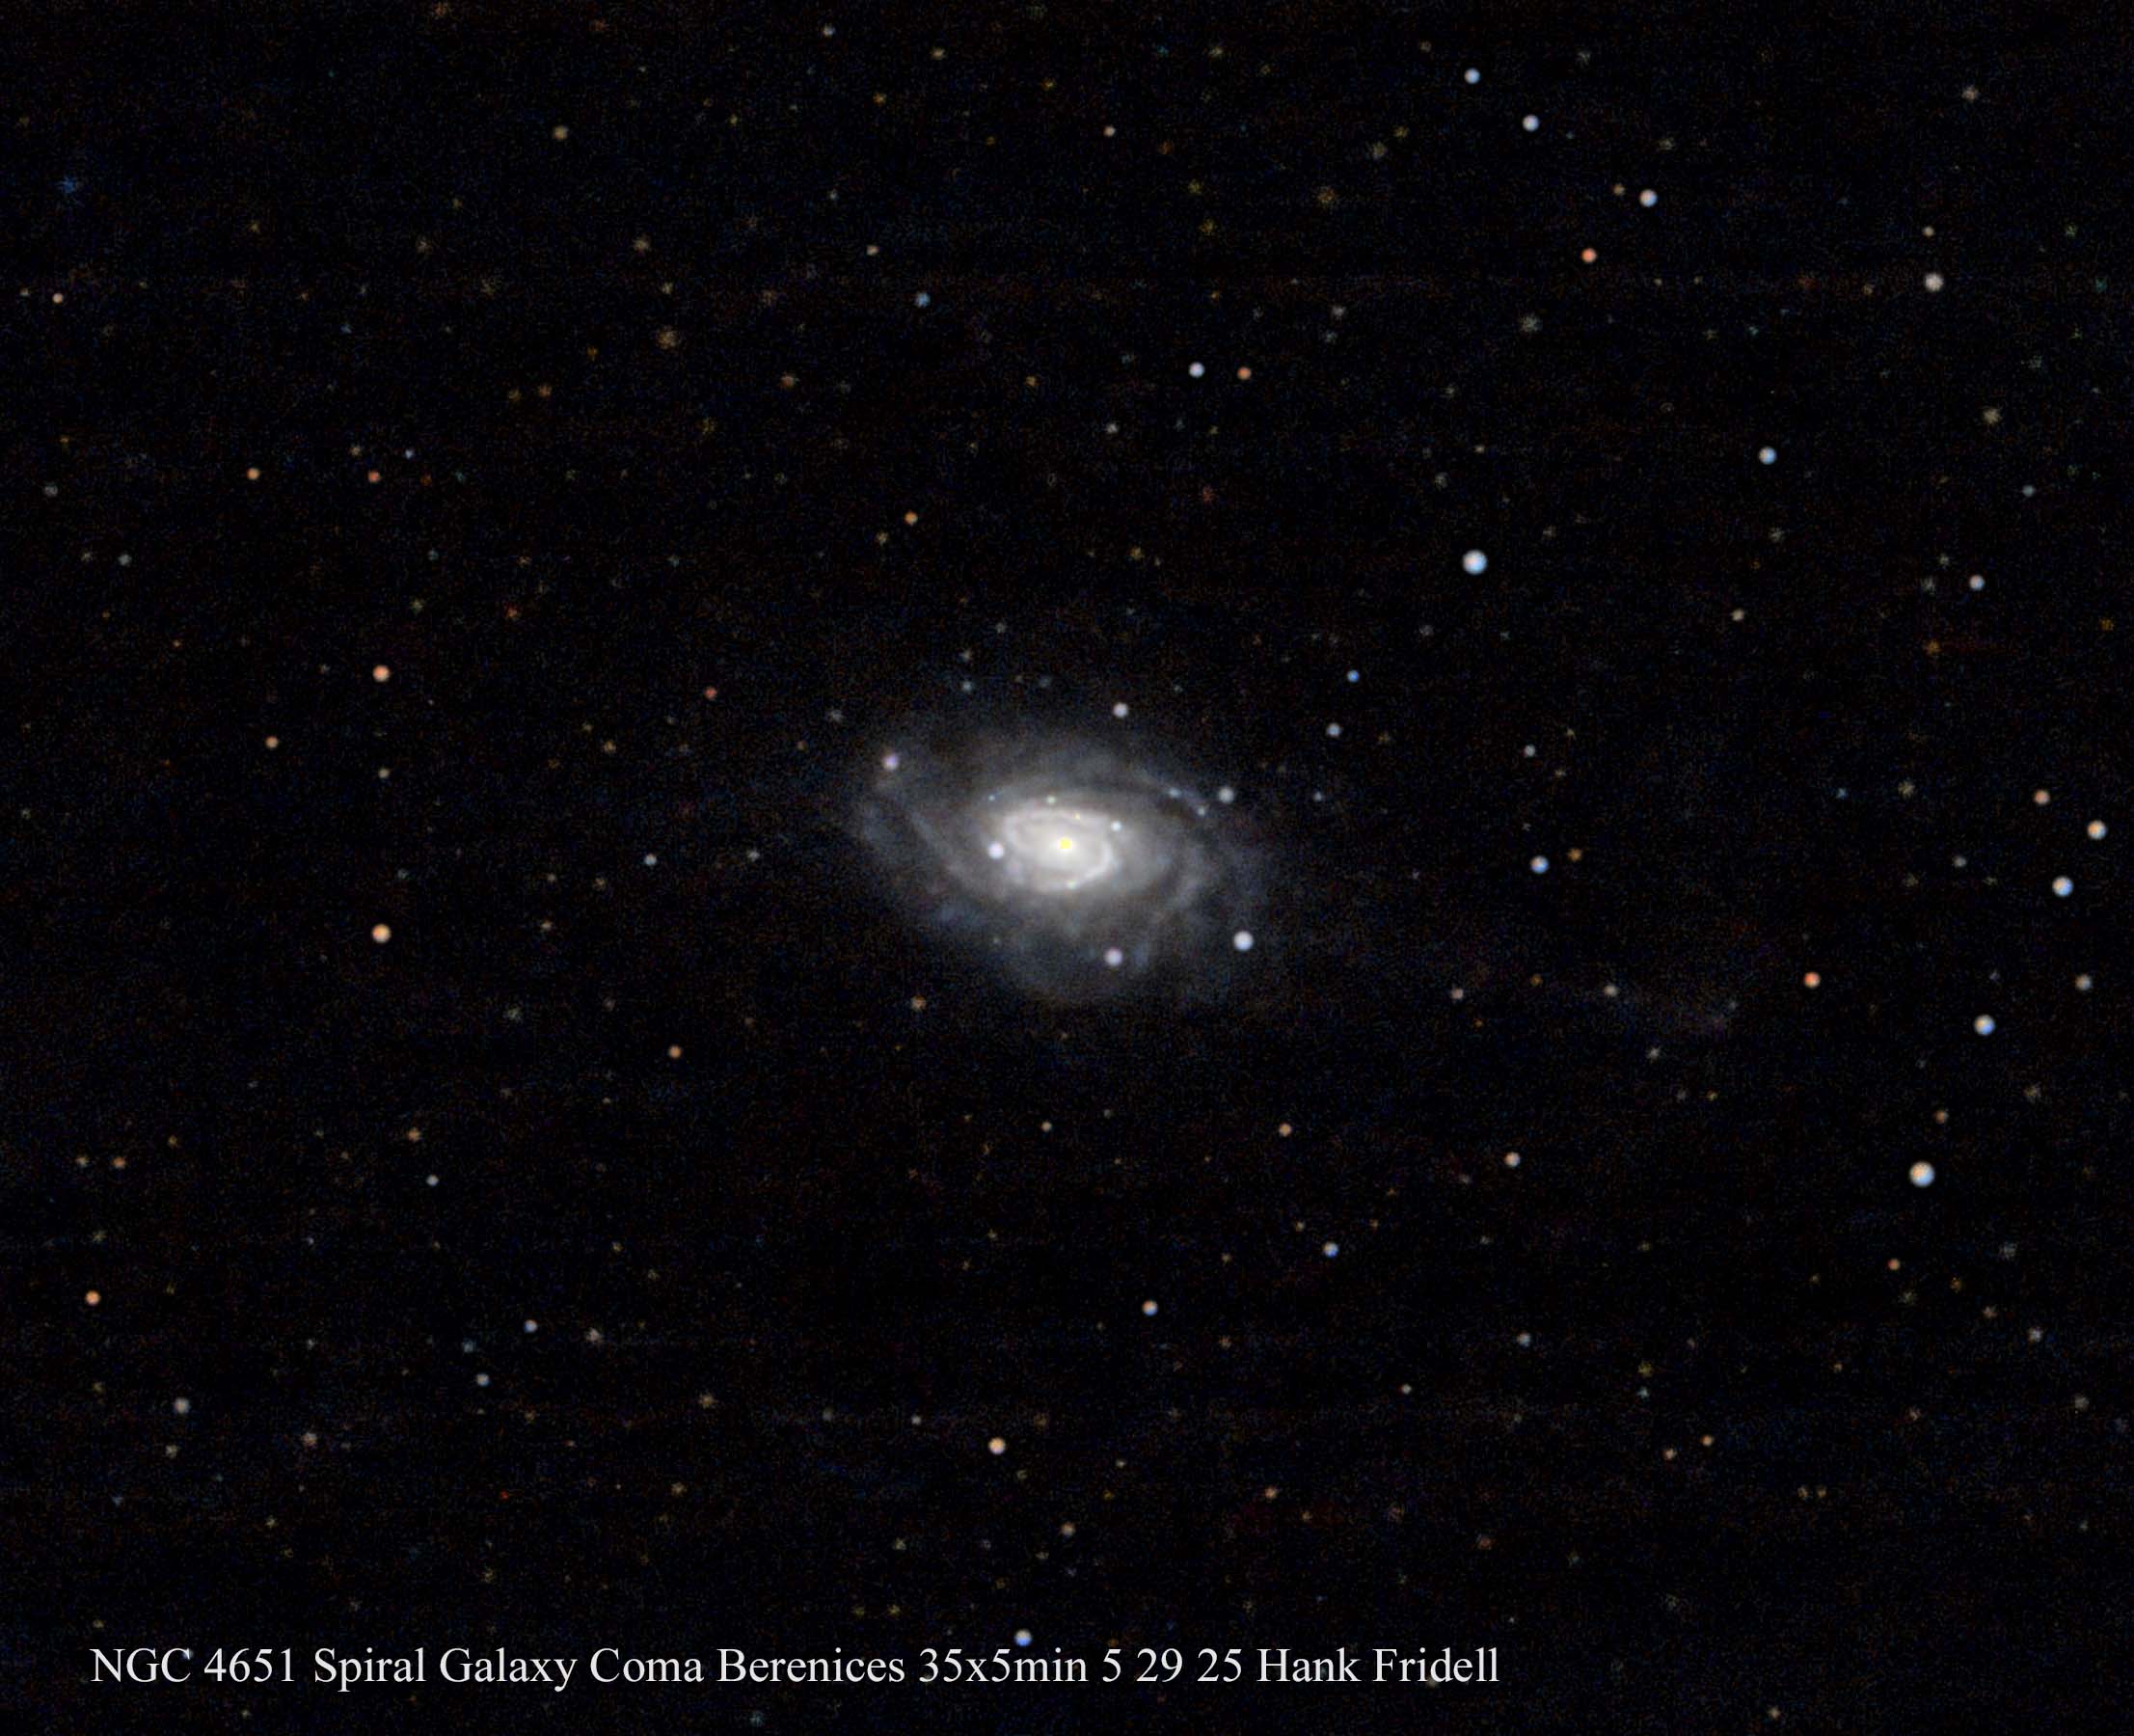
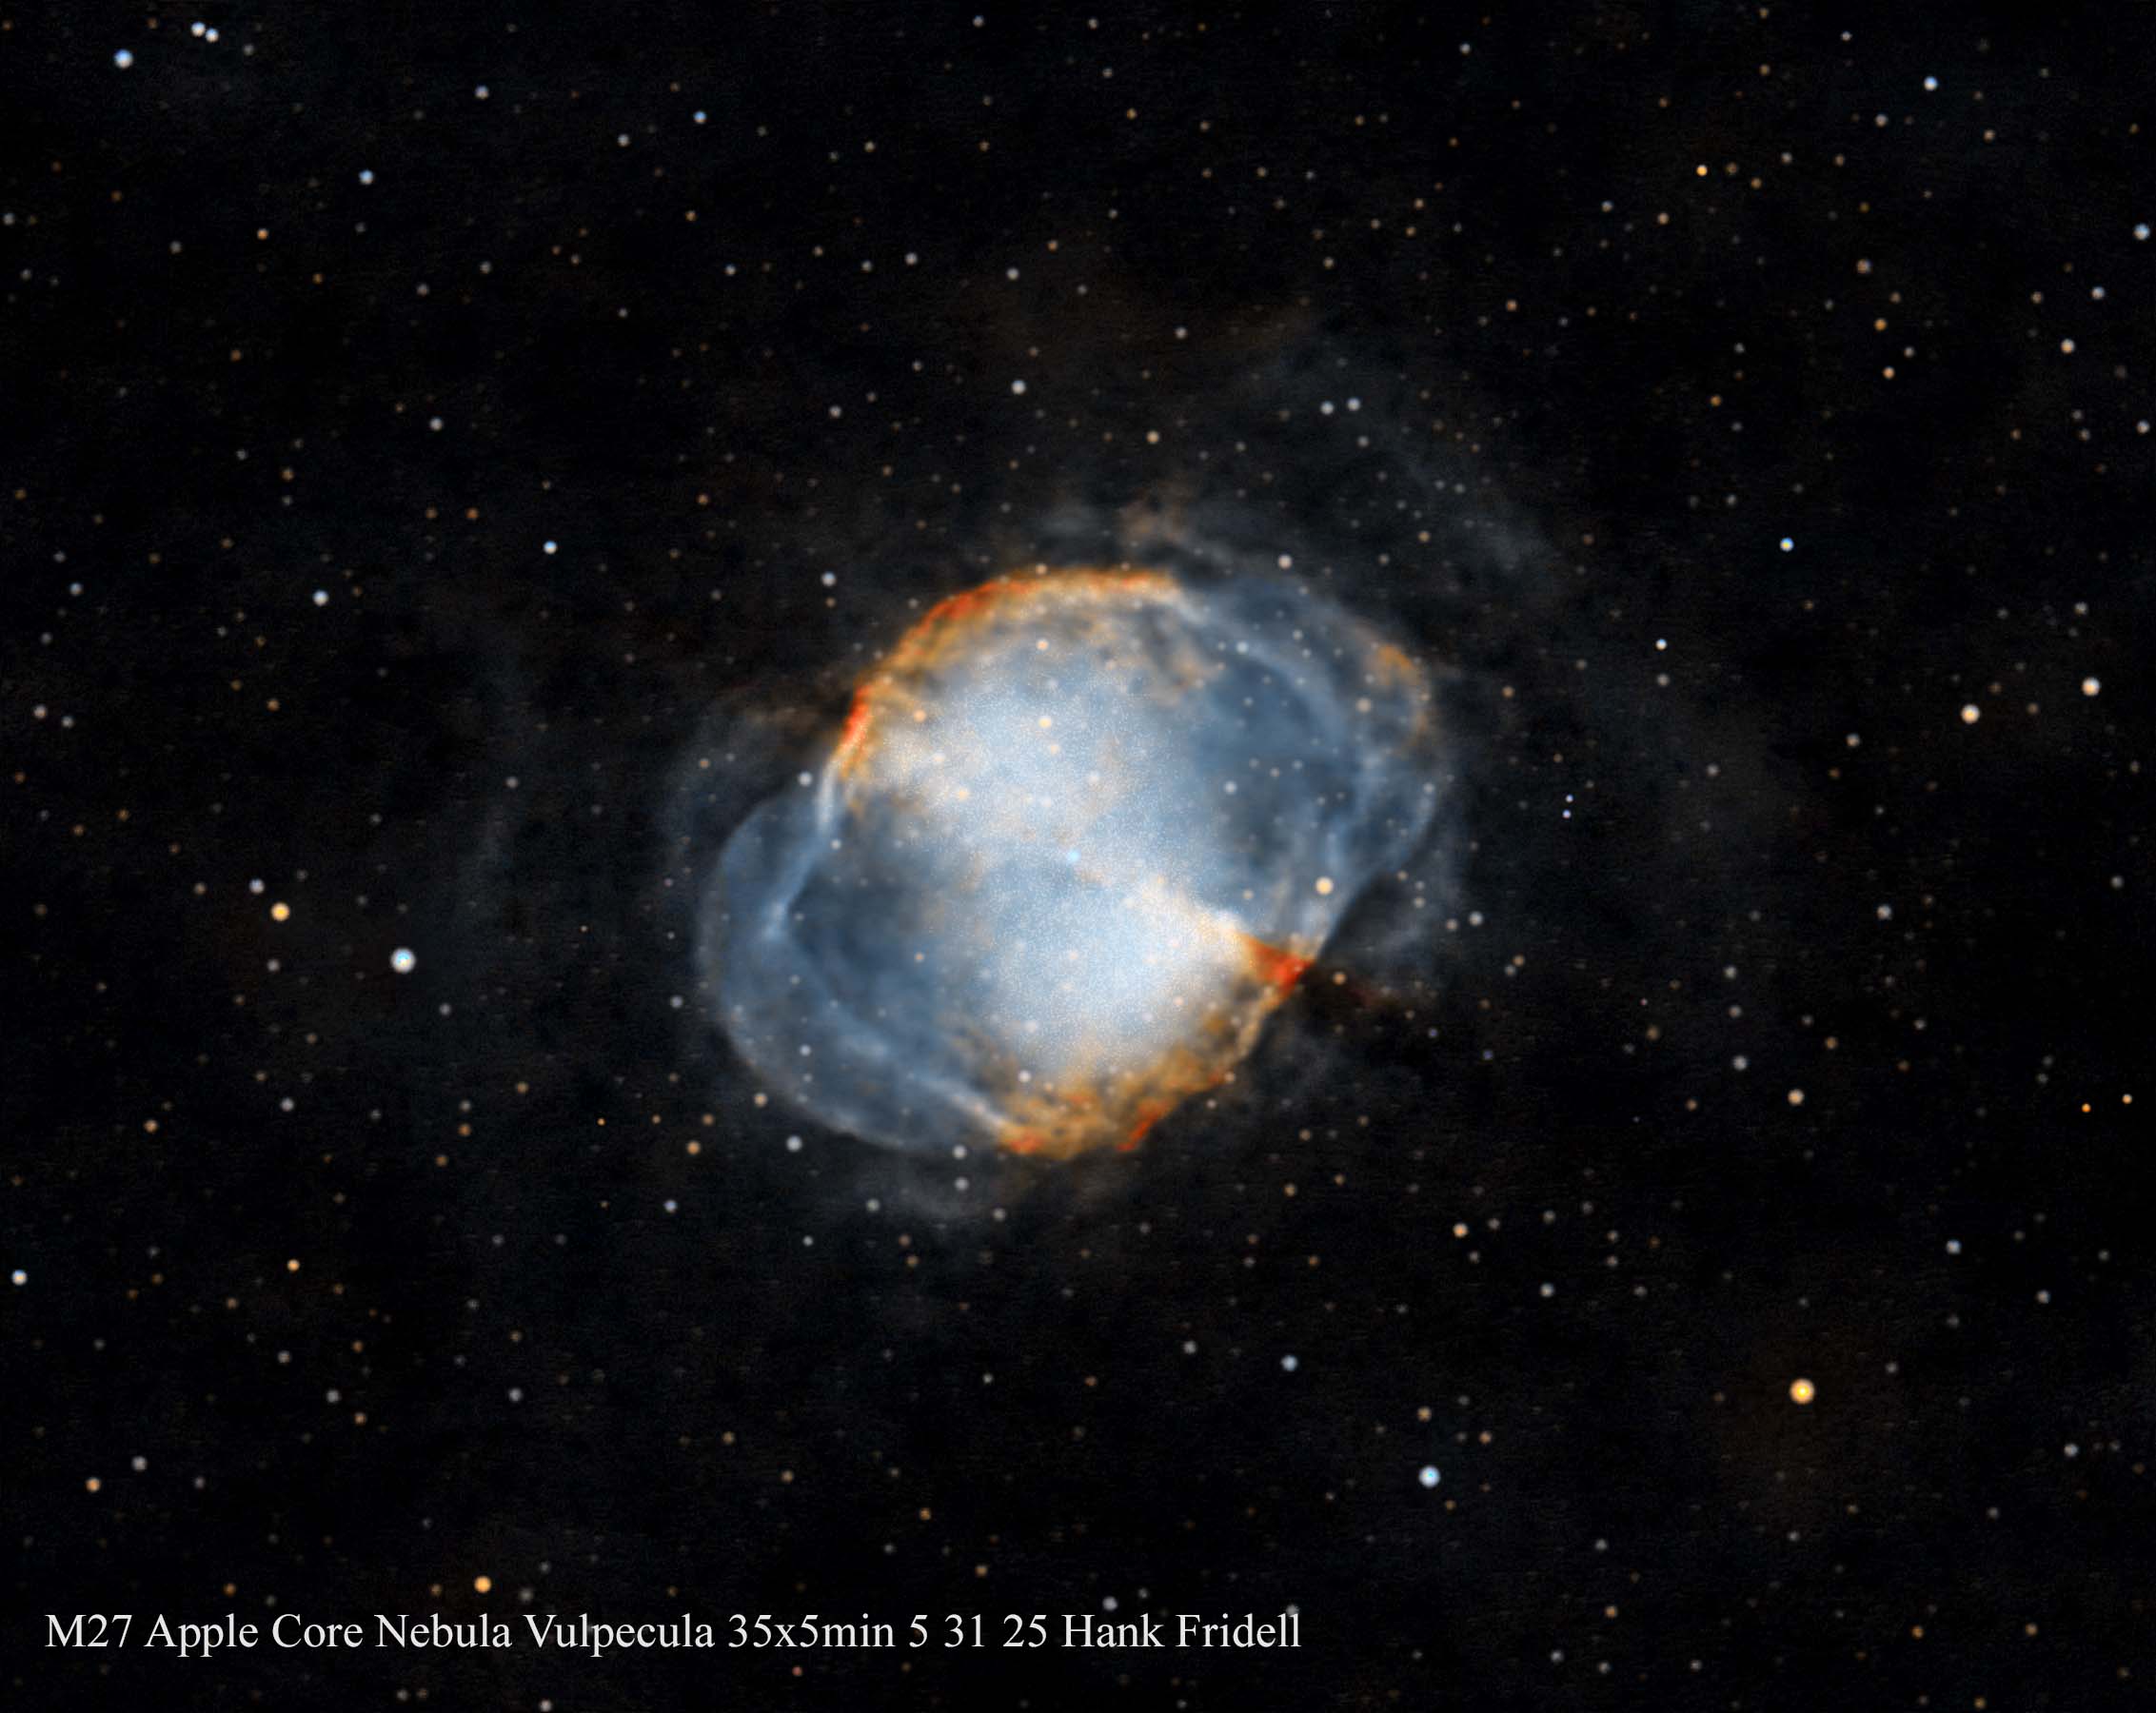
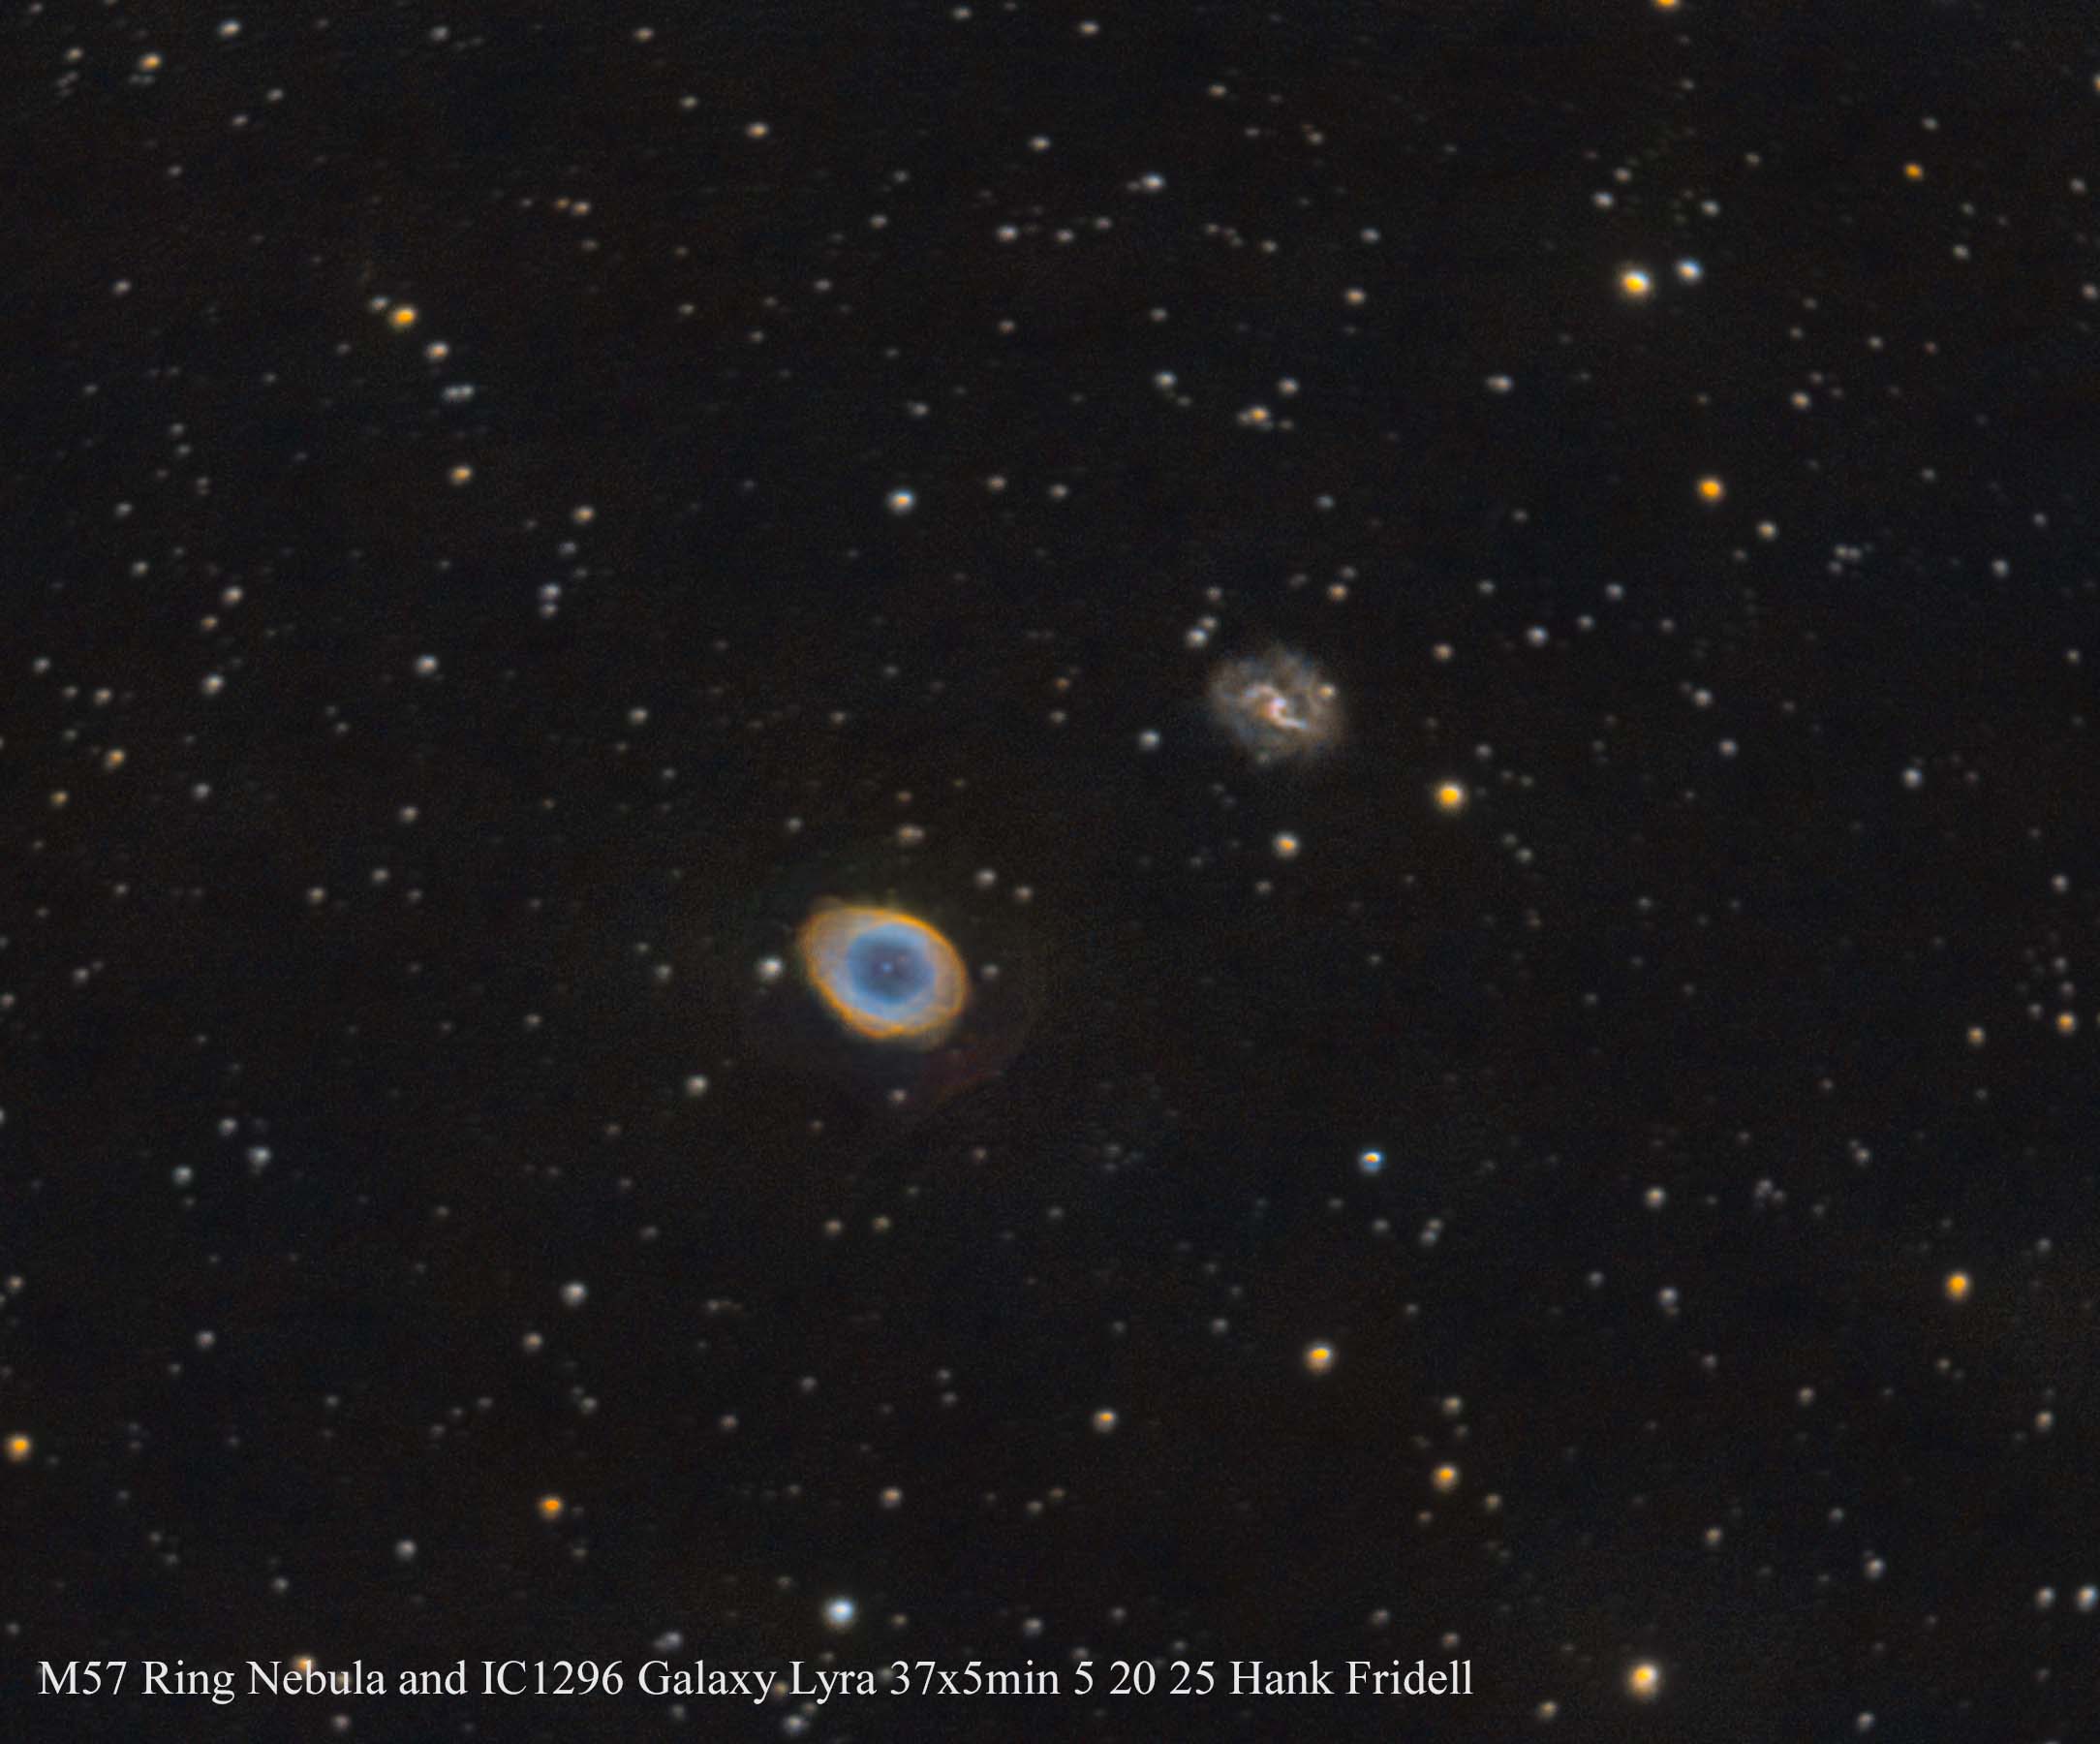
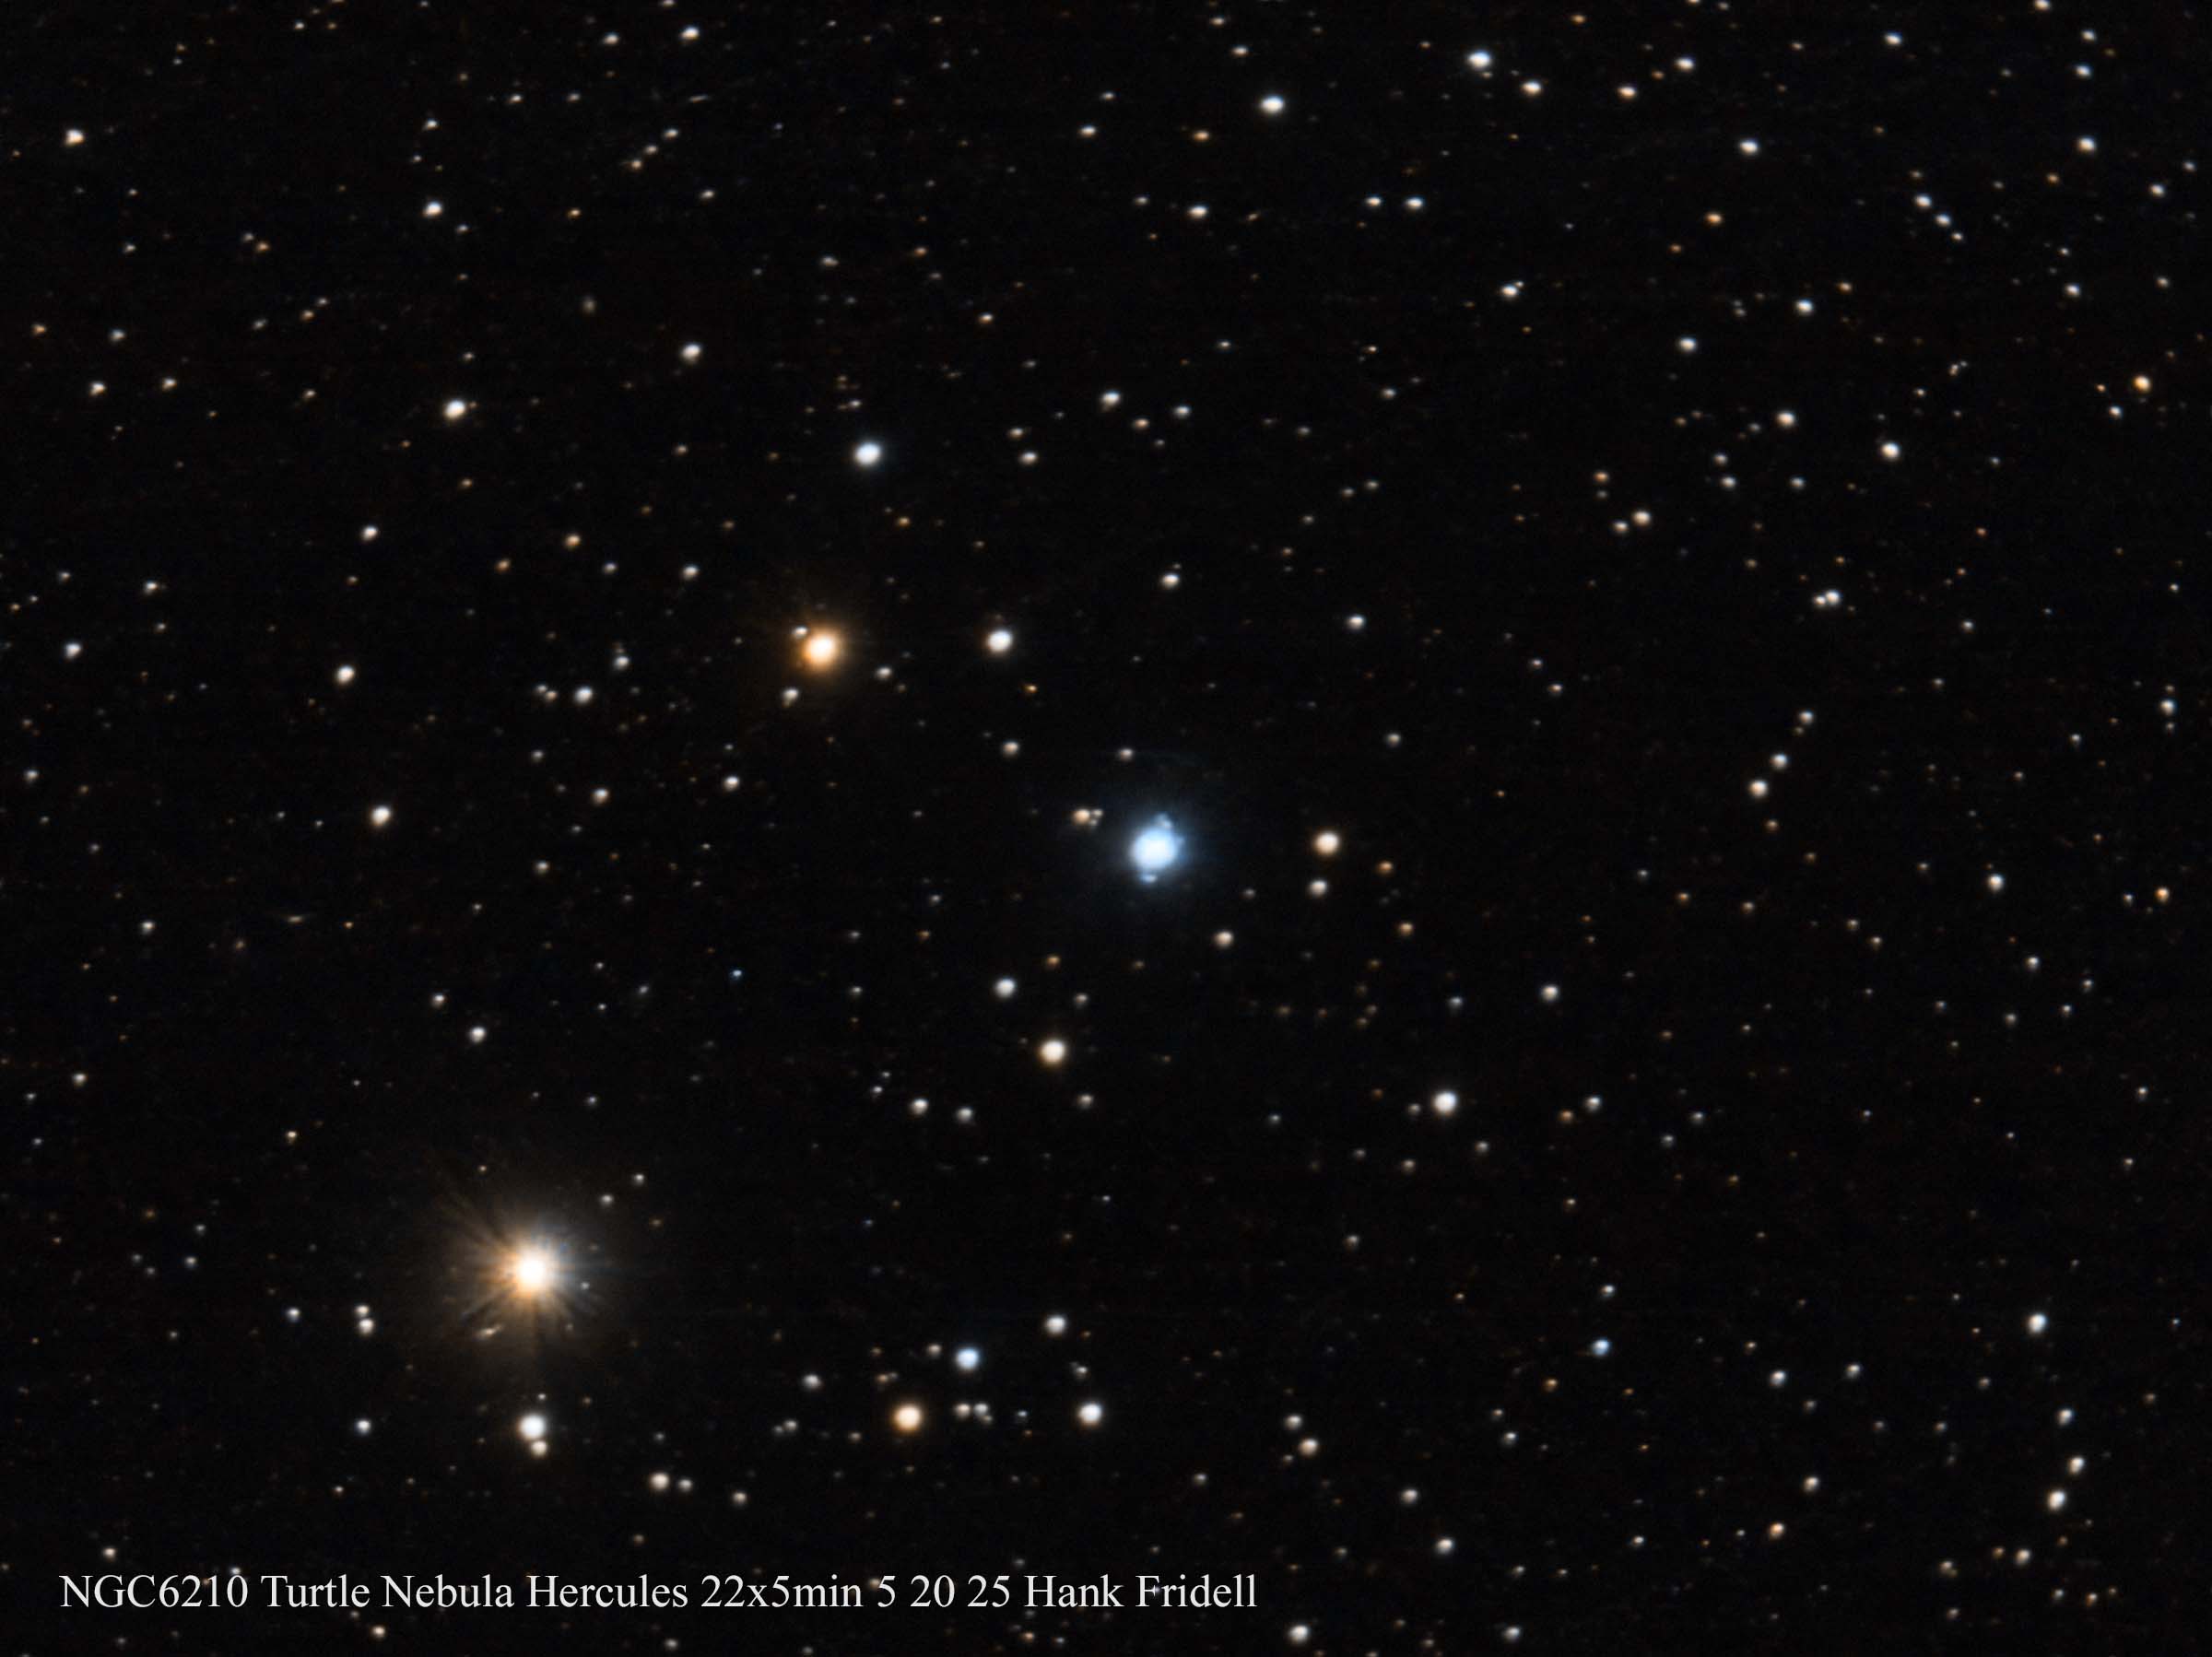
My best photos are taken using my 8” Celestron SCT telescope with my Mallincam DS10c camera. My current setup also includes a .63 focal reducer to give a wider field of view, a UV filter to block some of the light from town and the Moon, and an Off Axis Guider, that helps the telescope accurately follow the object. With this setup I can take longer exposures (5 minutes) and take images over a series of nights to gather more light from the object. Here’s the ones from this month:
Two more things:
Here is an example of what post processing can do for an image. The image on the left is what Seestar was able to capture, stars and all, of the Tulip Nebula. The image on the right shows the same image after post processing was applied: when I removed the stars from the image, brought out the details of the nebula, and then added back a more judicious number of stars so I can see the nebula better.
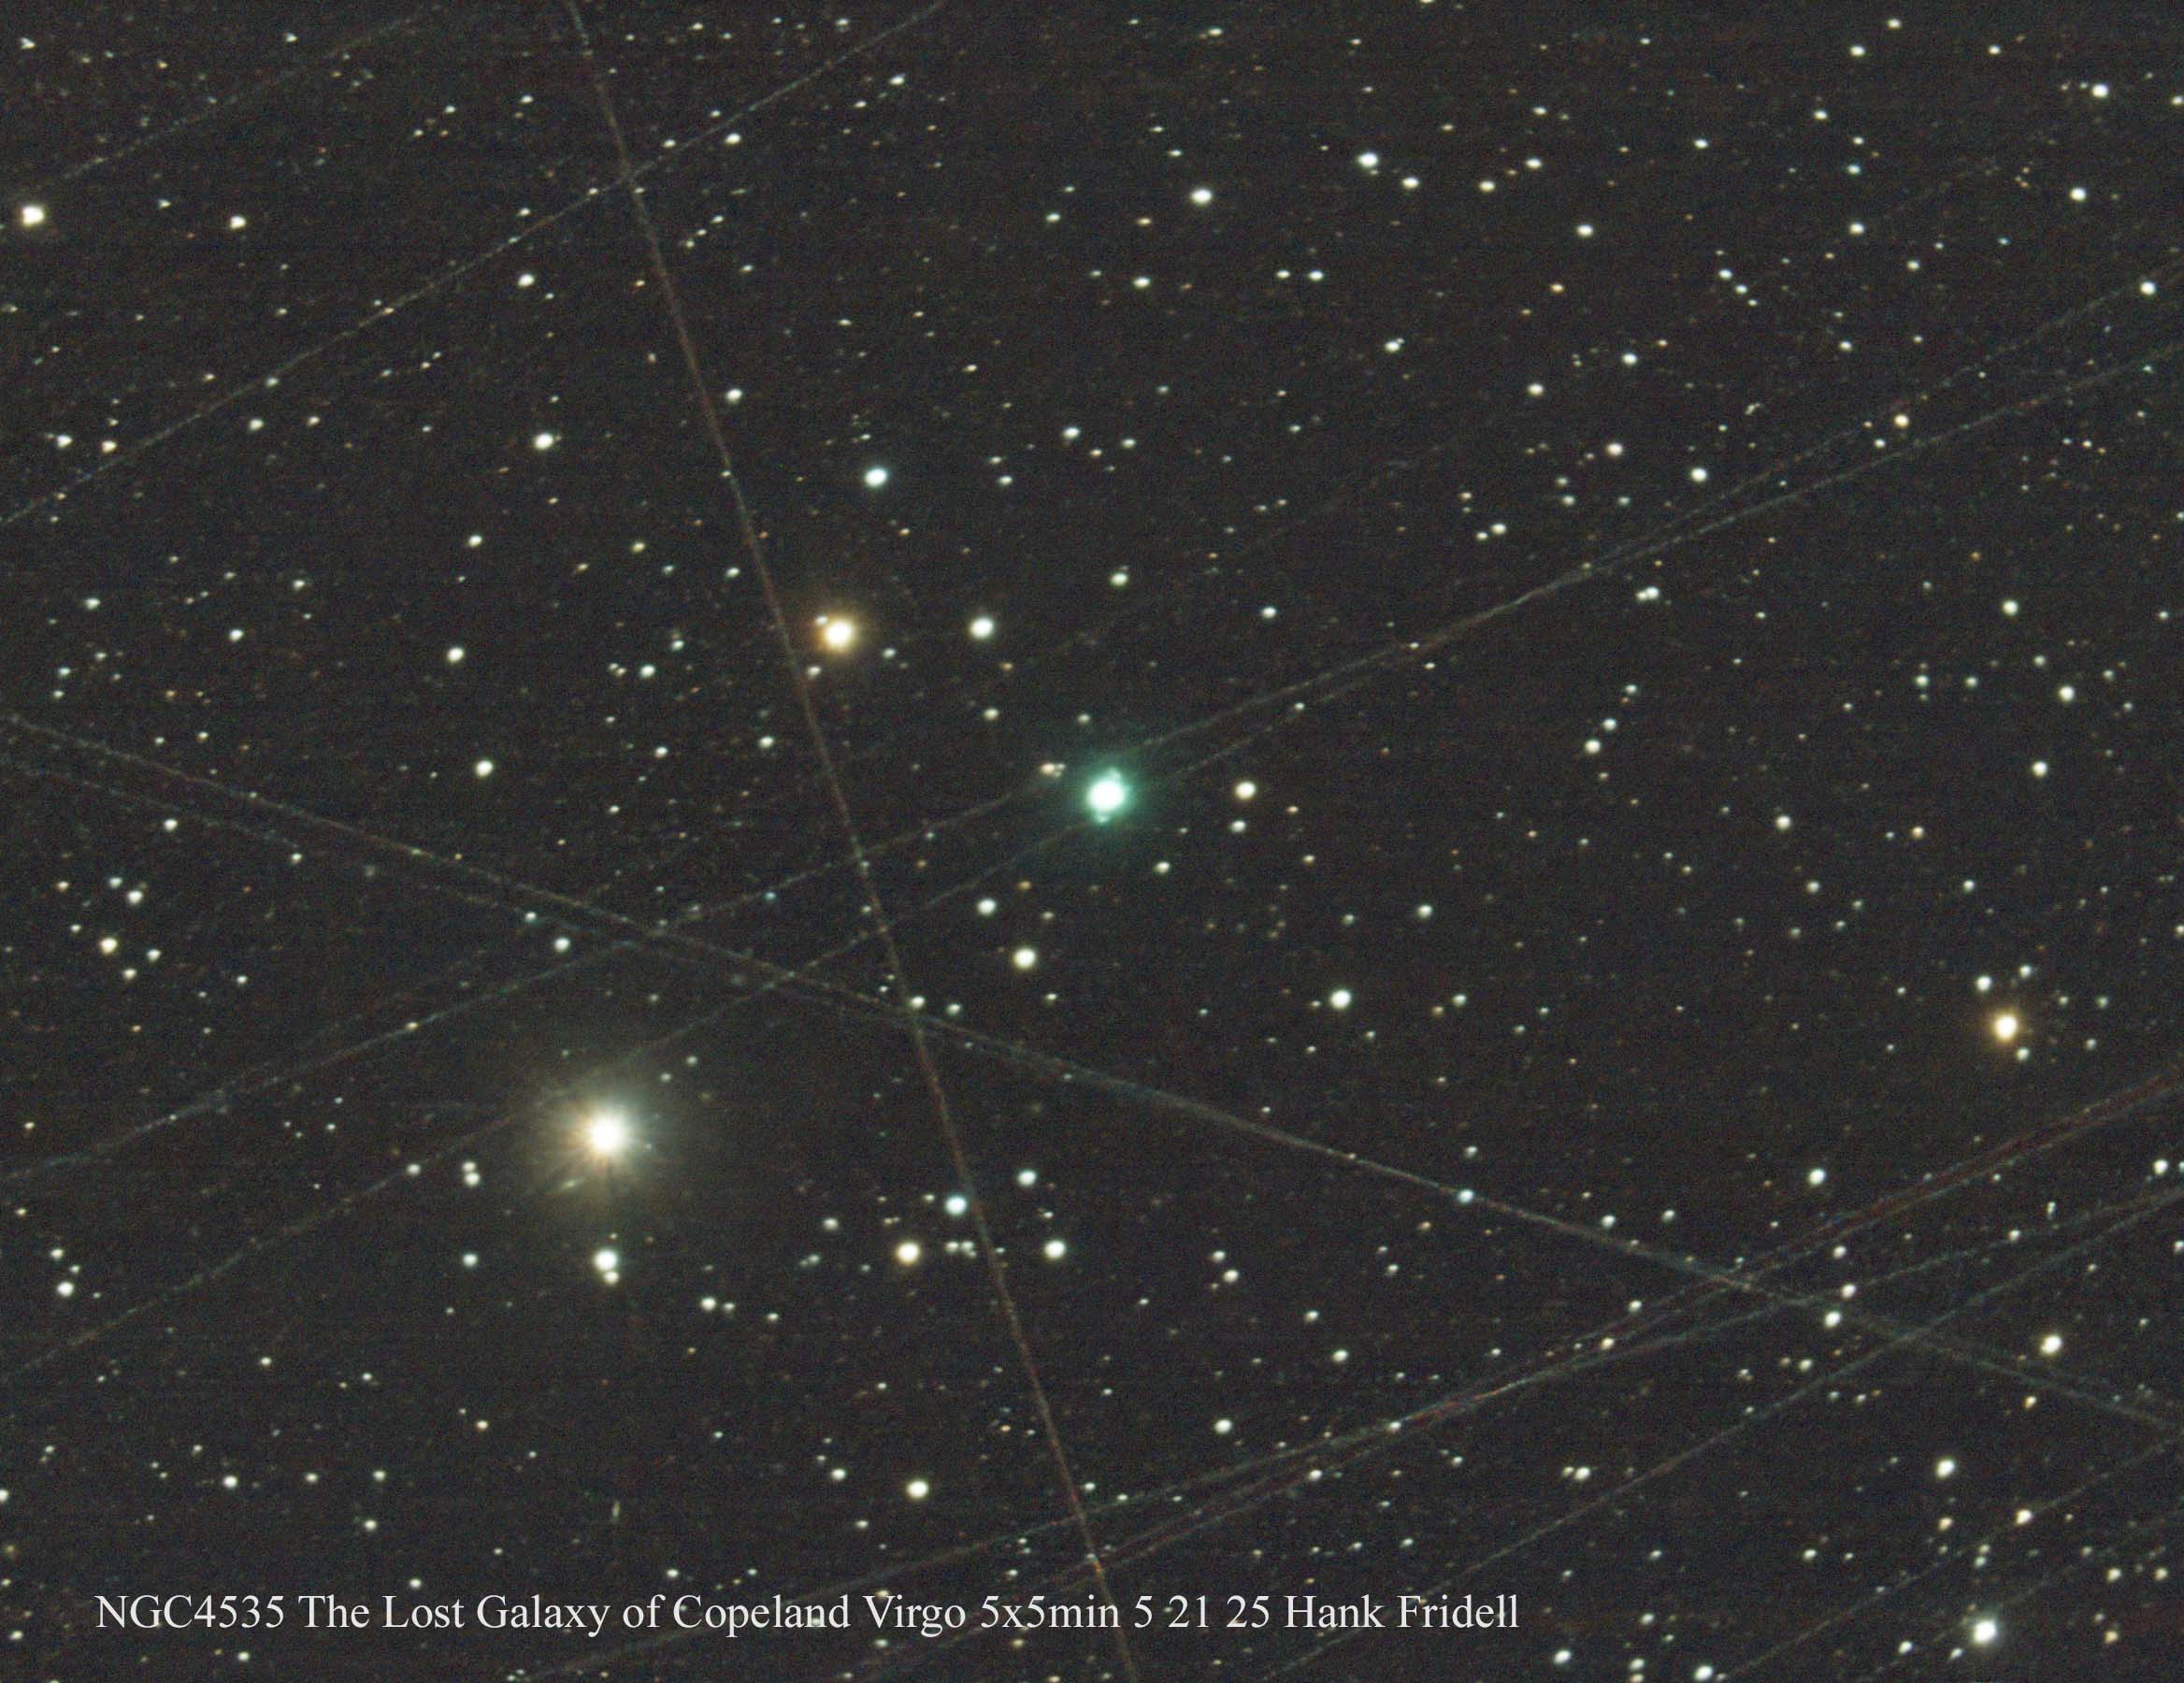
The last image shows what happens when I point my telescope in a flyway, where planes, satellites and who-knows-what fly by in the night. KEEP OUR SKIES DARK!
Until next month, Clear Skies!!! -Hank
Awesome images from your setup.
Enjoy your explanations.
Thanks, Rick Webb
Thanks Rick. I’ve been doing this for nearly 5 years now, and I still look forward to it. I appreciate your feedback! -Hank
hi Hank! The jig (entire) you built is the galvanized metal?
Mike–I purchased the hinged part ( what’s called the wedge) that connects to tripod to the telescope. Yes, the galvanized pieces that tie the base of the tripod to the upper arm of the wedge are what I put together to keep the wedge from changing the angle of the telescope. Astronomy is a great hobby for guys who like to “fix” stuff. It seems like there’s always something that needs work….
Thanks for asking. -Hank
I think I just like saying “globular”!!!! Thanks as always!
I love that word, too! I also like saying the name of the star, “Betelgeuse” that is a bright star in the Orion Constellation. Thanks for your note! -Uncle Hank