Welcome to Hank’s October 2024 Astrophotography Blog. The Black Hills Astronomical Society has added a new page to their website at https://sdbhas.org/blogs/members/bhas-imaging-project-blog/. This page highlights a new endeavor for our club. One thing that we know about astrophotography is that with more hours of capture, the more detail that can be brought out. That’s because the light that reaches us from distant night sky objects, like M101, is not even visible with the naked eye. Even with hours of capture, sometimes only a few stars show up…. until the images are processed using special software that can bring out those faint details. So, the idea is that if we get a group of us gathering light, we can put our images together to have an image that shows more detail than just what one of us can do. But to complicate this, everyone has their own equipment, and those who put the final image together have had several issues to deal with in planning and producing the final photo. This is a huge undertaking, and thanks to the experience and expertise of our club members, we have pulled off our first product—The Pinwheel Galaxy (M101). This post shows the final project, lists all those who contributed, how many hours, and the telescopes and filters used. Many of the images taken used special filters, and what each of those filters contributed to the final project is shown. Congratulations BHAS! This is an amazing feat! It took over 6 months to put together, and it is a great photograph! We have already begun our next group capture, the Ghost Nebula….so stay tuned!
With my home observatory, my goal this summer was to get set up to be able to take images all night long, when the skies are clear. I have finally reached that goal and have been working out the bugs this last month. Thanks again to BHAS Member Chris for his help!
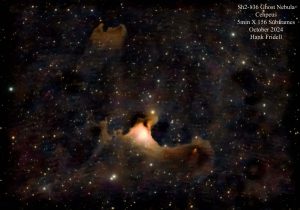
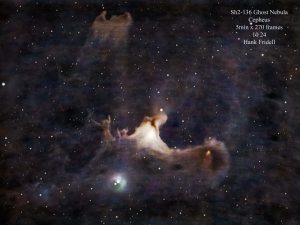
I have been gathering images of the Ghost Nebula, our next BHAS group project, and below are a few of the images that I have processed. You’ll note that in the photo labels I list how long each exposure is (5 minutes) and it is multiplied (x) by the number of those exposures (frames or subframes) represented. For example, the first image was 5min x 156 frames. That means the light I used to capture the image represents 13 hours. The light was captured over multiple nights. The image with 270 frames represents 22.5 hours. Every time I process an image, many decisions are made, and the results always come out a little different (some better, some worse). But I’m learning and hopefully I’m doing more justice to the time that is represented in those images.
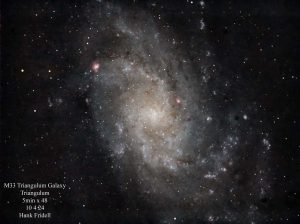
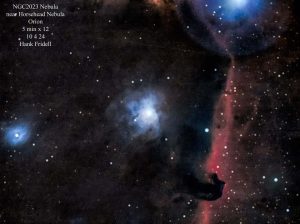
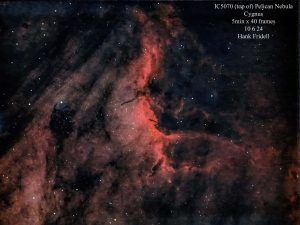
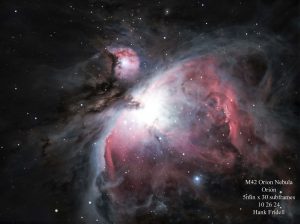
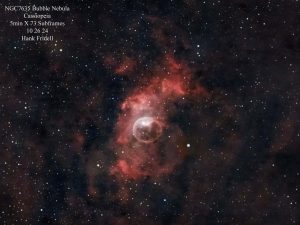
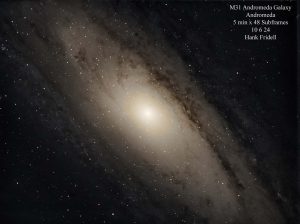
Since I began this astrophotography journey in the spring of 2020, I spent most of the time taking images where the exposures were just a few seconds in length, and they were “live stacked” for perhaps 10 to 20 minutes in length, using a process called EAA (Electronically Assisted Astronomy). Live stacking is a process where the light from each image is added to the previous images, so you can in effect see the image grow in brightness and detail during the time the exposures are taken. But EAA only takes you so far in the search for detail, so now my main telescope is set up for long exposures (2 to 5 minutes each) for hours at a time. This is a big change for me, and I’m excited to see how it all works out. Here are other images I have been taking this month, using longer exposures.
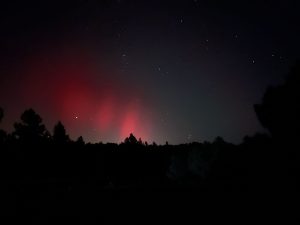
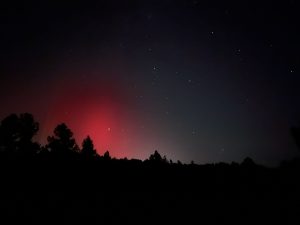
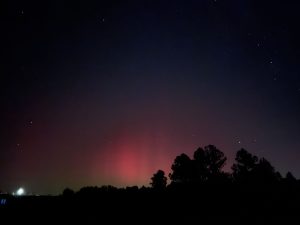
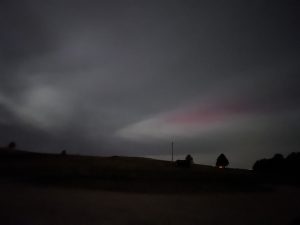
This month we had the Aurora Borealis show up, and I was able to catch a few glimmers of the lights.
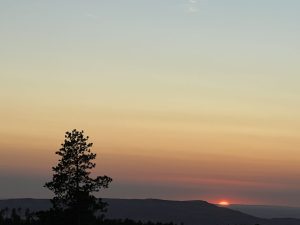
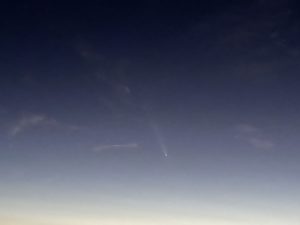
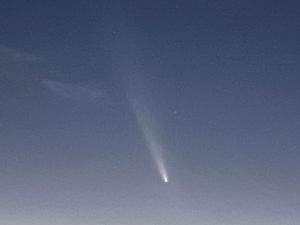
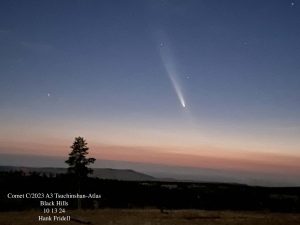
The big event for me was the appearance of Comet C/2023 A3 in the west. I’d been hearing about its arrival and made a couple of trips out to my favorite spot north of Jewel Cave with my astro-buddy Jim and Marianne to see if we could see it. The first image shows the Sun setting…no comet yet. 54 minutes later the sky got dark enough for my first view of it, shown here in the 2nd photo (thanks to Jim for finding it in the sky for me!). It kept growing in brightness as the sky darkened. Wow! It was Amazing!
That’s all for now. Until next time, Clear Skies! -Hank


hahahaha. hank, nice trick. the thumbnails of the aurora borealis are right side up but the enlargements are upside down. unless it’s my computer playing tricks on me,
overall, pretty interesting stuff.
i suppose the tracking of the telescopes must be extremely accurate when doing such long exposures.
Miguel–I think the flipped enlargements bug is fixed, but I’m not exactly sure why it happened or why what I did fixed it! Such are computers….
Precise tracking for long exposures is really important. Two things make it work. First, once the mount finds the object to track, the mount software knows how fast the sky is moving, so it does its best to follow it. But it’s not enough for sharp photos. So what I have is an Off Axis Guider (OAG), that has a small prism that takes a little of the light from the optical channel leading to the main camera, and that light is sent to another small camera. That small camera reveals stars for the PHD2 (Press Here Dummy 2) software, that zeros in on a single star and tracks it. Every time the star moves a bit, the PHD2 software sends the telescope mount information to correct its position. It can keep the telescope zeroed in on the object by a few arcseconds. If you hold your pinky up at arms length, that is about a degree. An arcminute is 1/60th of a degree, and an arcsecond is 1/60th of an arcminute. So an arcsecond is 1/3600th of a degree (60×60). Pretty darn accurate! Thanks for asking!
i just saw you replied to my comment last month. and i can’t resist saying that those very precise measurements you talk about, must be what be what, in scientific circles is known as the “gnat’s ass”.
Miguel–That’s the one!