Welcome to Hank’s September 2024 Astrophotography Blog! The last day of August found Marianne and I traveling west to see family and friends for a couple of weeks.
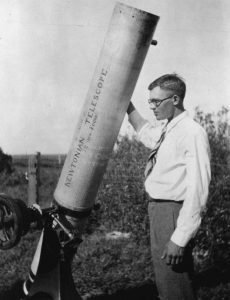
One of our stops was Flagstaff, Arizona, home of the Lowell Observatory. It was established in 1894 by businessman/author/mathematician/astronomer Percival Lowell, who built it to pursue his interest in astronomy. He speculated that there were canals on Mars and that there was a 9th planet in our solar system, Planet X. Lowell Observatory is one of those storied places where astronomical history has been made, and we were there! Today its primary mission is educational rather than research, and it is open to the public in the evening for viewing the night skies. Our first stop at the Observatory was at the telescope where the discovery of Pluto was made. Lowell had died in 1916 without finding his Planet X, so the discovery was left for a poor farmer’s son, Clyde Tombaugh. Clyde became interested in astronomy early on but was not able to attend college due to a hailstorm that ruined the family’s crop at their Kansas farm. Clyde read about discoveries being made about Jupiter, and began building his own telescopes by hand grinding his own lenses and mirrors. With a pick and shovel he dug a pit 24’ long and 8’ deep to shelter his telescope from the Kansas wind and weather, as well as provide his family with a root cellar/tornado shelter. Here’s a photo I found of Clyde at home in Kansas with his 8” telescope.
Clyde would draw on paper what he saw on his telescope, and he sent his drawings of Jupiter and Mars to Lowell Observatory. Clyde must have made an impression because he was offered a job at the Observatory! He worked there from 1929-1945. A year after starting work, Clyde was searching an area where Lowell had predicted Planet X would be, using an astrograph telescope to take photos on 13” glass photographic plates, when he found Planet X. Here’s the telescope:
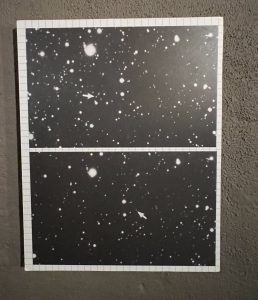
The plate exposures were about an hour in length, and during that time Clyde would have to track the telescope by hand to follow the movement of the sky. Clyde would then take another photo of the same area several days later and compare the two plates to see if any of the “stars” had moved. Here’s a photo of the photographic plates that confirmed that Planet X had been discovered (the arrows point to Pluto).
In 1930 Planet X officially became Pluto when the American and Royal Astronomical Societies said so. In mythology “Pluto” was one of six surviving children of Saturn and by the 30s all the other children’s names had been used to name other celestial objects (Jupiter, Neptune, Ceres…), making Pluto a natural choice. It also was helpful that the first two letters of Pluto, PL, were Percival Lowell’s initials. Pluto became something of a meme as well, with the naming of Mickey Mouse’s companion and the element plutonium. Then Pluto jumped back in the news in 2006 when it was demoted from a planet to a dwarf planet. Such is fame. I have yet to image it in my telescope!
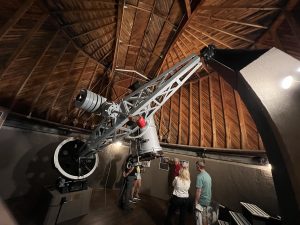
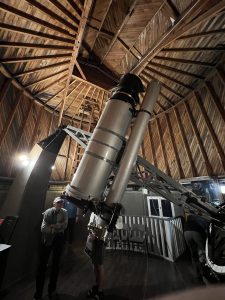
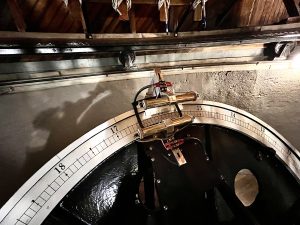
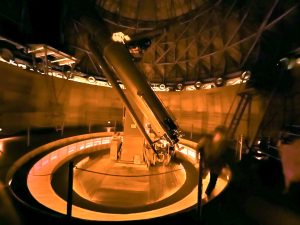
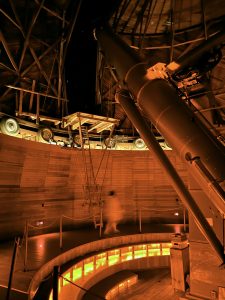
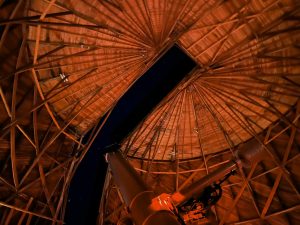
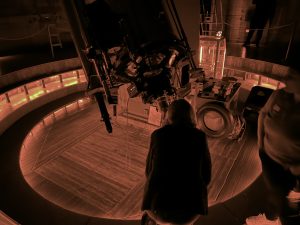
Our next stop was at the Clark telescope. This refractor was built in 1896, has a 24” lens, and a 32’ focal length! It’s huge. The wooden observatory sits on truck tires and when it rotates it gets your attention! Marianne and I were able to look through the eyepiece to a distant star cluster. Wow! And Yes, that’s Marianne peering in the eyepiece…
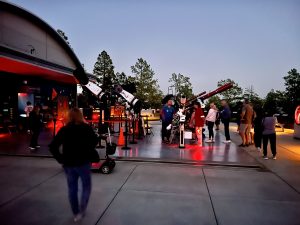
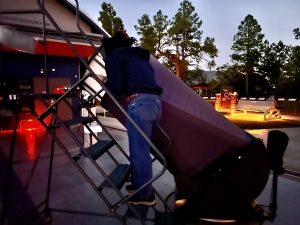
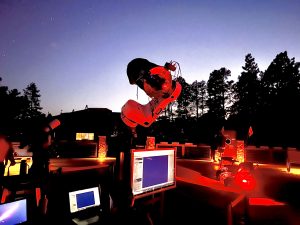
They also have modern high-powered telescopes to look through on their Observation Deck. The deck has a large building over it that can roll away for night viewing. They also had EAA (Electronically Assisted Astronomy) stations set up so you can see images being stacked on video monitors.
We also went to a presentation on how astronomers analyze the spectrum of light that telescopes collect—really interesting.! Lowell Observatory is a great place to visit. If you are in the area, don’t miss it!
We took our new Seestar telescope with us on the trip and it proved to be an easy traveler. It packed up quickly, didn’t take up much room, held its charge, only took about 15 minutes to set up, and we were able to capture a few night sky objects on the way.
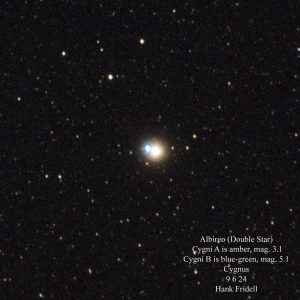
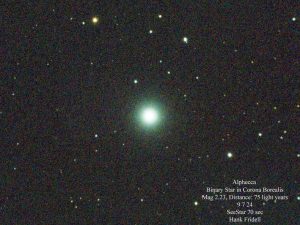
While visiting our friends Jeff and Ronnie in California, Jeff pointed out a couple of double stars to me. Albiero is interesting because its two stars display different colors in their spectrums (Hey, I was just at that presentation!). Alphecca also shows an interesting color. (Note: I had to boost the color saturation to get the colors to pop out a bit.)
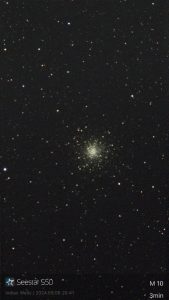
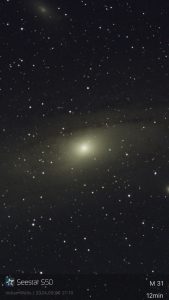
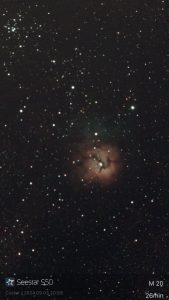
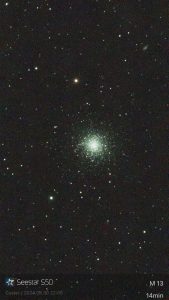
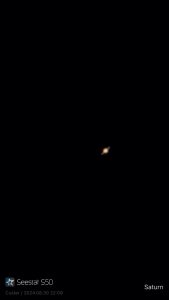
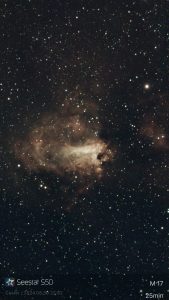
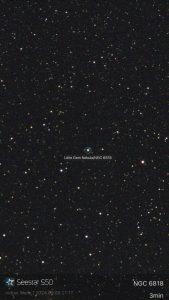
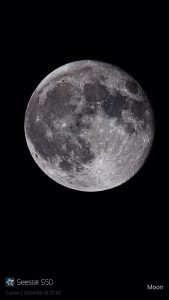
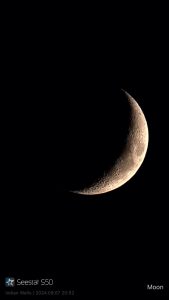
Here are other Seestar images taken at home and on the trip west:
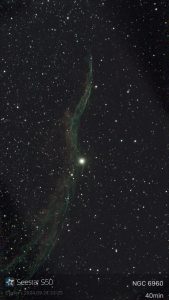
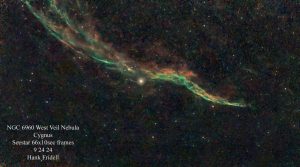
Last month I posted an image I took with my 8” Celestron telescope of the West Veil Nebula. I love photographing this nebula! This month I thought I’d compare it to a Seestar image. Seestar does two things when it takes an image. First it processes the image “on the fly” and shows it to you as it stacks more and more 10 second frames. Those images are the ones that show up on your tablet or smart phone. The other thing it does is save those images (.fits file format) on the Seestar so they can be processed later. For me that means I can use Siril, GraXpert, GIMP, Photoshop Elements and Topaz DeNoise software to try to squeeze out as much as I can from the data collected in the images. So I had the Seestar take 40 minutes worth of 10 second images (10 seconds x 40 minutes = 480 images!). The first image below is what Seestar showed on my tablet screen. I then took 66 of those 480 images and processed them using my software, rotated it so it looks like the veil is diving and there you have it.
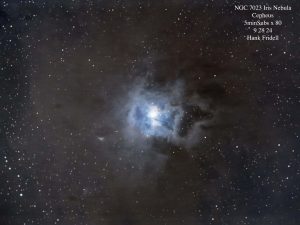
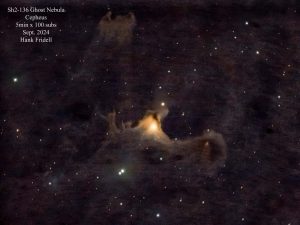
The other thing I did this month is to do my first Sequence in the software I use (CCD Ciel) to capture images using my 8” Celestron telescope. What that means, is that I can set up a list of instructions for the telescope to do over a long period of time. For this Sequence, I had the telescope capture 5 minutes per image, for a total of 80 images (6+ hours), keep the image in focus, dither the image, do a meridian flip when the mount reaches the end of its reach, have the guide scope keep the image on target, and when it gets done, park the telescope. For me, it means that I don’t need to be there all night to get hours of images; the telescope does it on its own (hopefully) and when done, puts itself to bed for the night. So, I got it running about 9:30 at night, stayed with it long enough to feel it was working, went to bed, got up about 6:00 to check to see if everything went ok, and then turned everything off and put the lid on the observatory. It not only worked, but worked twice! Having over 6 hours of capture time makes a huge difference with the image quality! Here are the images:
Until next time….Clear Skies! -Hank


💫so very cool Hank! thanks for sharing! 🩵J&J